Admin: eCommerce Admin
Page: Content Management > Banner
URL: [CLIENTID].retailadmin.directscale.com/#/Banner
Permission: Banners
Banners are a great way to communicate new events or products to your customers.
The following are the three types of banners you can select. Each type appears in specific areas of the eCommerce Shop.
-
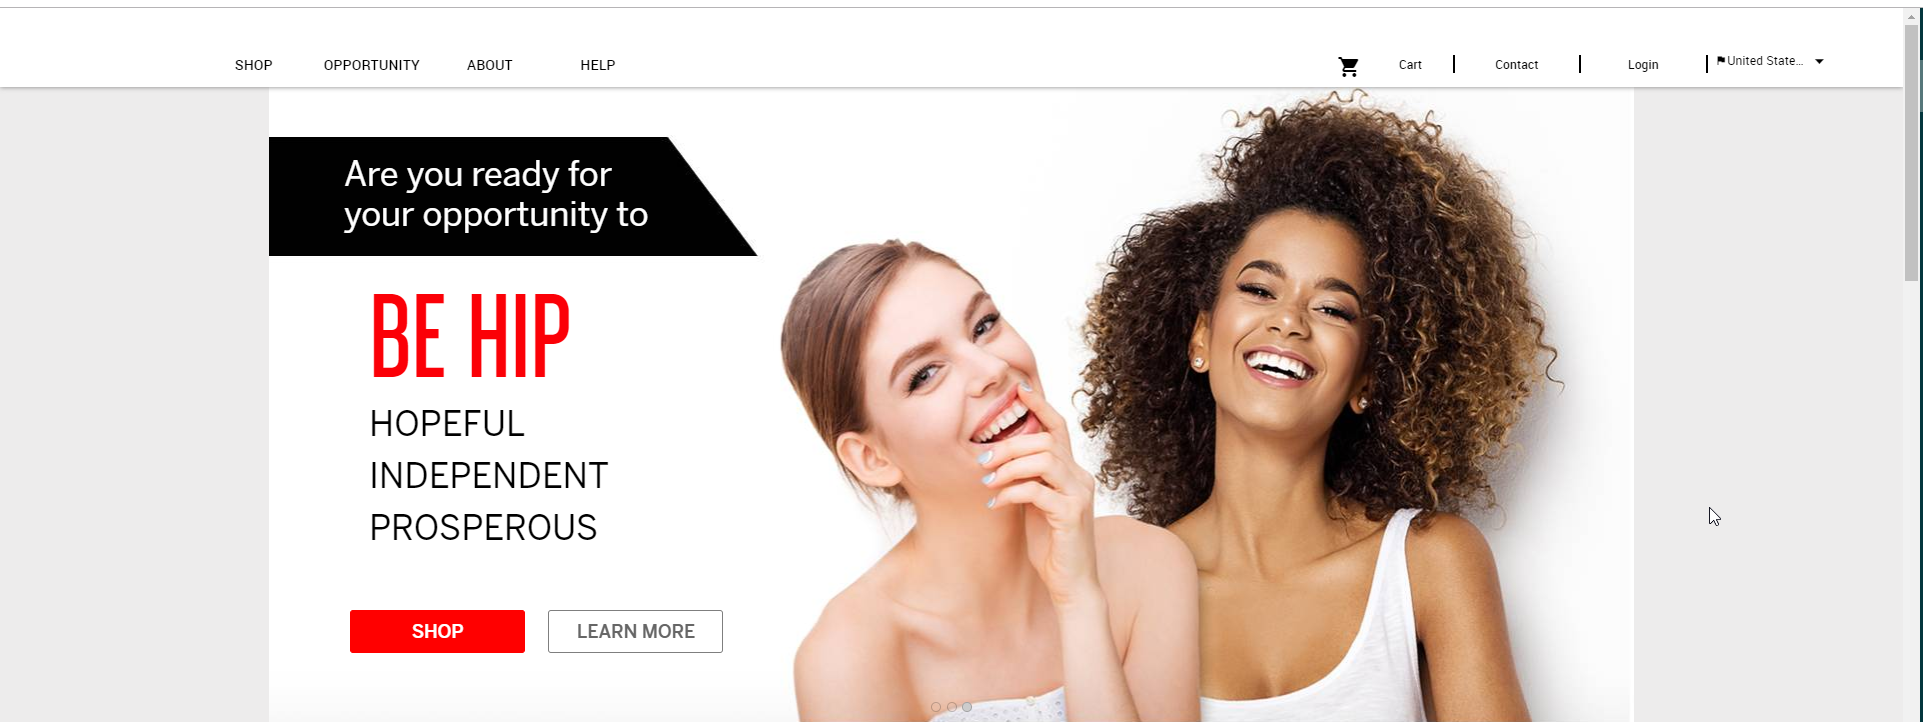
Primary - The image appears in the slider on the eCommerce Shop homepage.
Recommended size: 1365 px x 770 px.
-
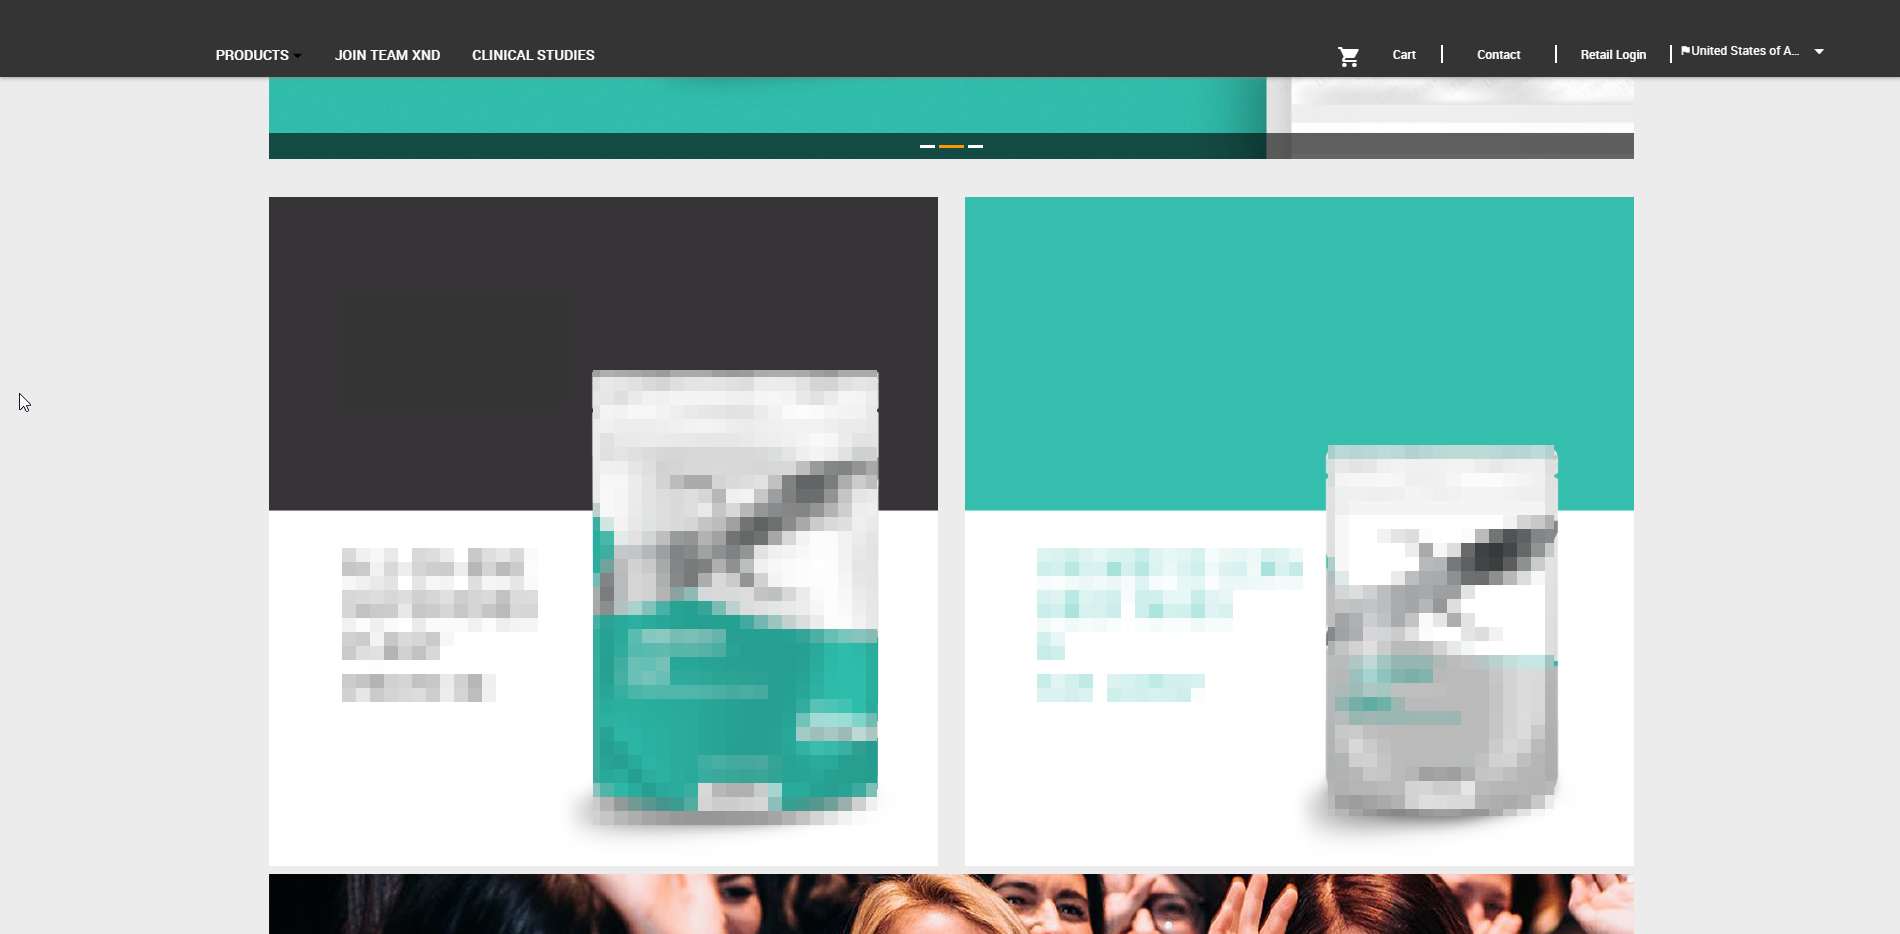
Secondary - The image appears in the 2x2 content block below the homepage slider.
Recommended size: 670x670 square images. However, any image you use will crop to fit.
-
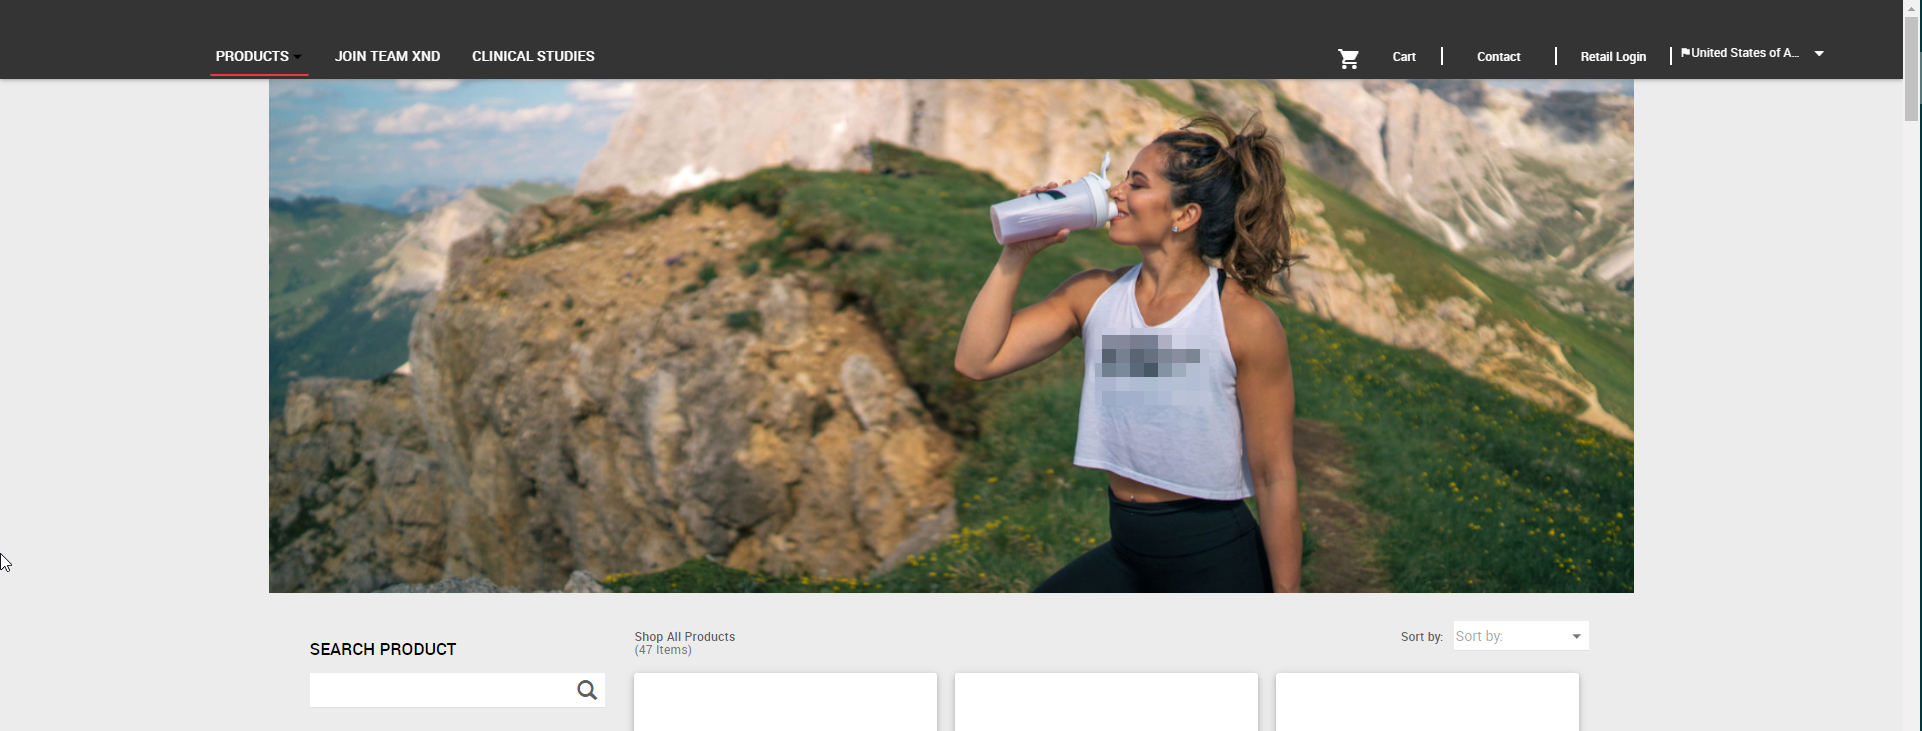
Product - The image appears in the slider on the eCommerce Shop Products page.
Recommended size: 1365 px x 770 px.
To add a banner, follow these steps:
-
Click ADD BANNER.
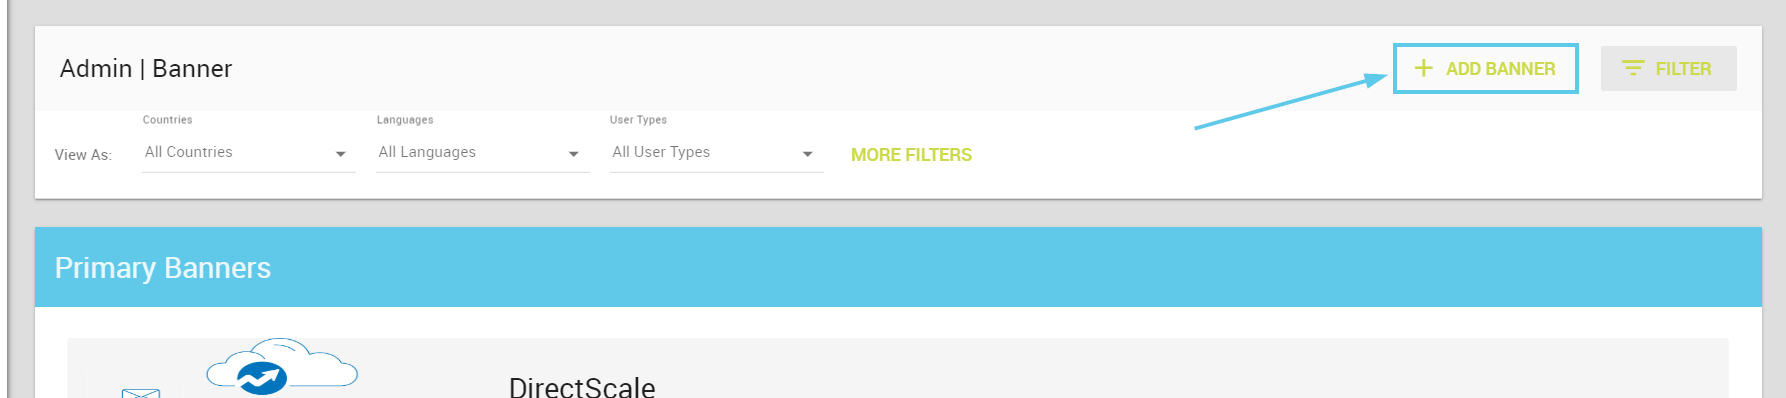
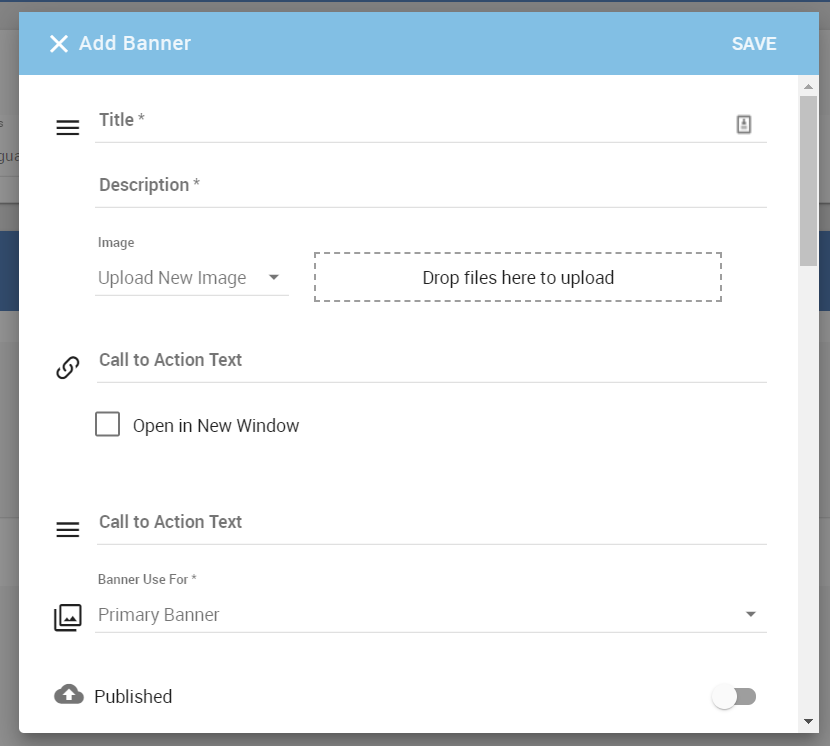
The Add Banner pop-up window opens.
-
In the pop-up, complete the fields:
- Title - A memorable name for your banner.
- Description - A description for your banner.
- Call to Action Text - Type the URL where the banner takes you when clicked.
- For internal pages: Add the page location using a forward slash before the location name. Precede the page name with
/{webalias}. For example,/{webalias}/Home,/{webalias}/BusinessDashboard,/{webalias}/Community. - For external pages: Use the complete URL, including the protocol. For example,
http://orhttps://).
- For internal pages: Add the page location using a forward slash before the location name. Precede the page name with
- Open in New Window - If enabled, the link opens in a new browser tab. It’s good practice to enable this setting if the link points to an external site.
- Call to Action Text - Enter any text you want to appear on the banner. This can be flavor text or indicative text (for example, “Click Here to Learn More!”). Only necessary if you’ve added the first Call to Action Text link.
-
Under the Image section, click the Drop files here to upload area. Your computer’s file finder dialog box will open.
-
Navigate to your image and click Open. Images must be less than 50 MB to upload.
-
Alternatively, in the Image section dropdown, select Enter Image URL. Type the Image URL to the image file. Use this when an image is hosted in a cloud-based app or your own CMS with a public URL.
The complete URL, including the protocol (
https://), should be used. For example,https://www.example.com/images/banner.png/.
-
-
Click Banner Use For and select whether the banner will be Primary, Secondary, or Product.
-
Click the Published toggle on if you’d like to publish the banner once you save the configuration.
Note: You can also publish the banner later in the Banners List by clicking the icon.
-
The rest of the settings are Multi-Faceted Configuration (MFC). Enter your specific configurations on who can view them.
-
Click SAVE.
Comments
Please sign in to leave a comment.