Admin: Web Office Admin
Page: Advanced Settings > Volumes
URL: [CLIENTID].admin.directscale.com/#/Volumes
Permission: Setup Volumes
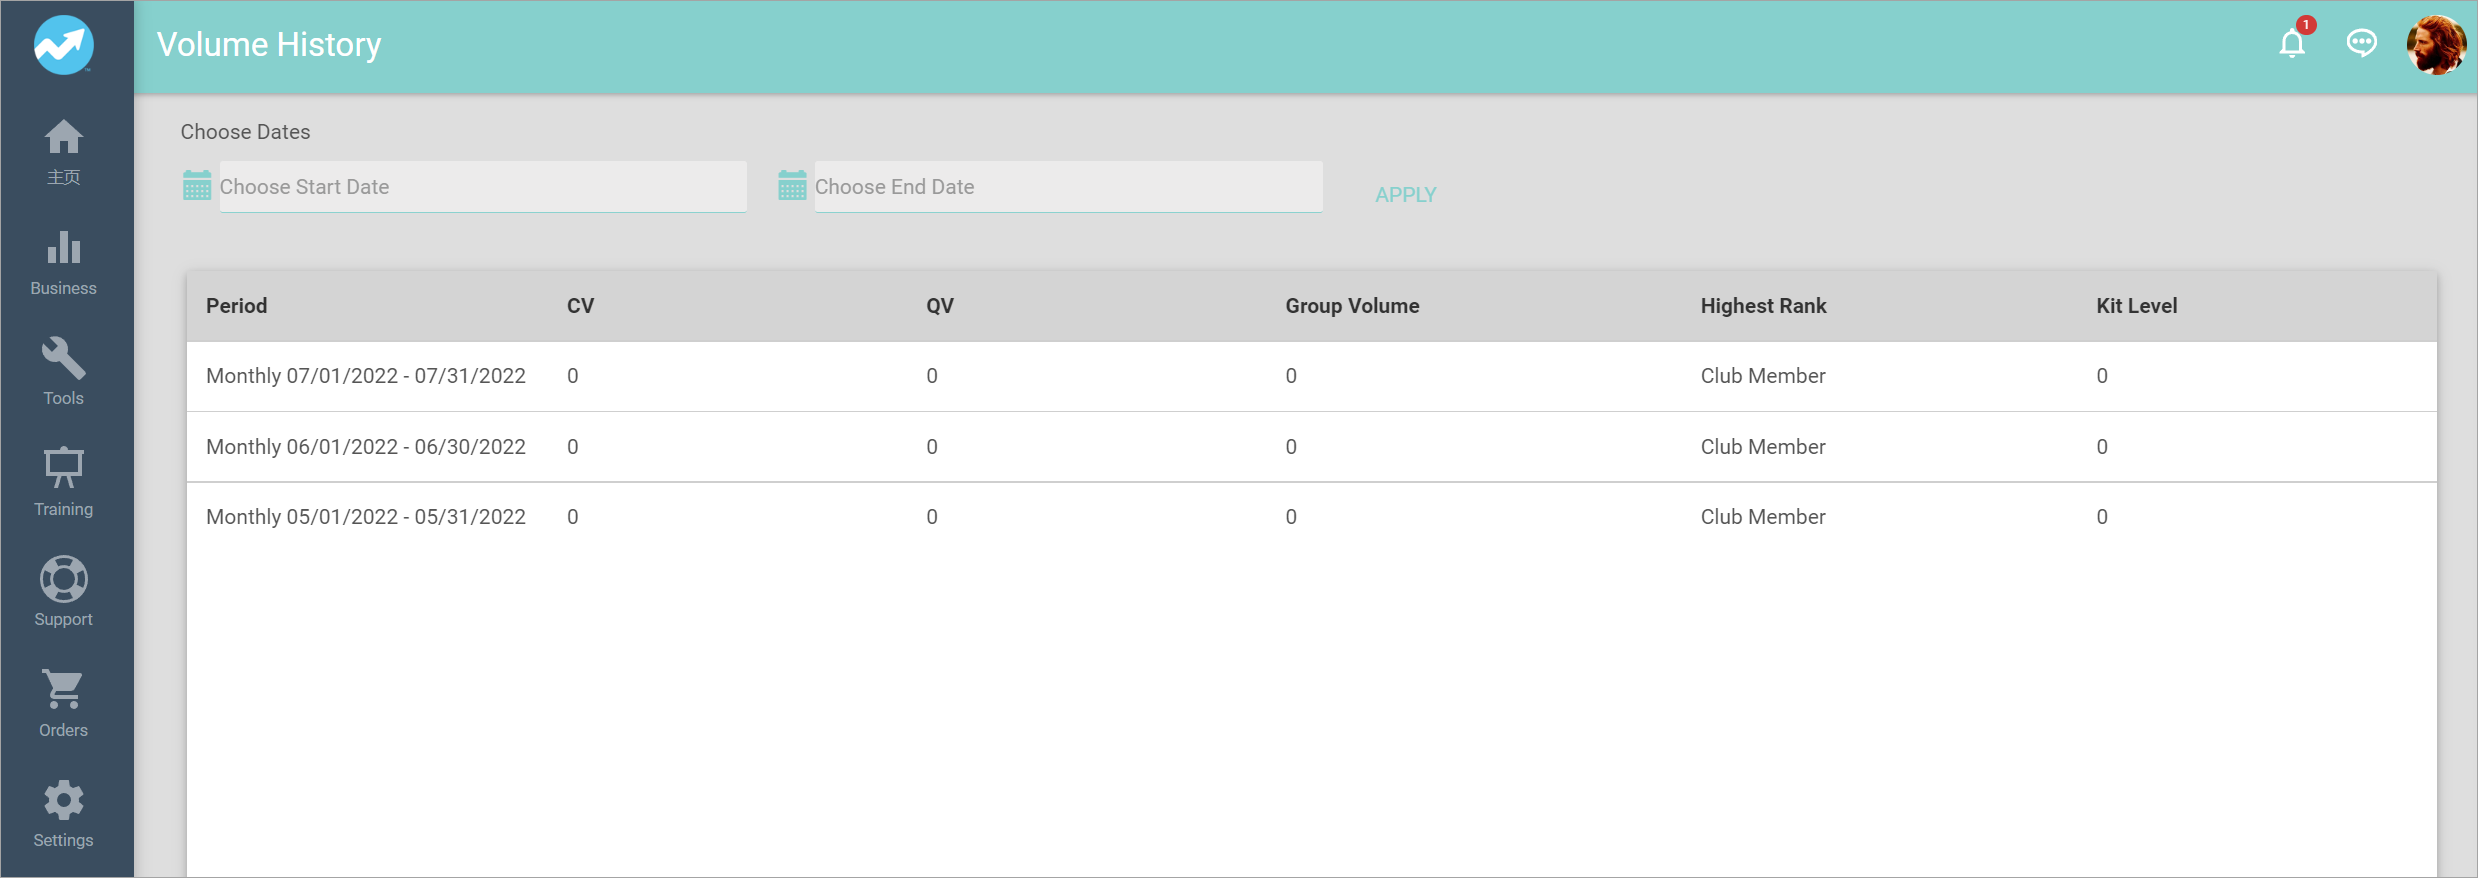
The Volume History page, in Web Office, reports on the Associate’s volume accumulation for a certain period. You can modify the data that appears on this report in Web Office Admin.
You can find the Volume History page under the Orders tab in the default Web Office navigation. If it doesn’t, you can add it using the Site Navigation page in Web Office Admin.
The Web Office relative URL: /VolumeHistory.
Adding Data to the Report
-
Click ADD VOLUME to add a new row.
-
In the new row, click the Key drop-down and select a KPI to create a column of data on the report.

You define Key values in your compensation plan. Learn more about Creating KPIs. -
Select the checkbox to make the column sortable in the Web Office.
-
Enter the Display Name that will display as the column name on the report.
-
If your plan has a Stage environment and you would like to publish to Stage, click the Stage checkbox and then PUBLISH.

-
Repeat the steps for each KPI.
-
You can delete data from the report by clicking the icon.
-
Click SAVE.
You can change the columns' order by dragging and dropping the entry with the icon.

Modifying the Default Commission Period
The default commission period for the Volume History page is Monthly. If you would like to change this or add more periods, navigate to:
Advanced Settings > Settings.
[CLIENTID].admin.directscale.com/#/Settings
To modify the Volume History report’s period:
-
On the Settings page, scroll down and expand the VolumeHistoryReport section.
-
Click the AllowPeriodTypeIDVolumeHistory dropdown and select either All, Weekly, or Monthly.
-
Click SAVE.
Viewing the Report in Web Office
You can see your Volume History report on the Web Office Volume History page.
[CLIENTID].office2.directscale.com/app.html#/VolumeHistory

Comments
Please sign in to leave a comment.