Site: Web Office
Page: Orders > Manage Autoship
URL: [CLIENTID].office2.directscale.com/app.html#/ManageAutoship
Associates have the option to create and manage AutoShips directly from their Web Office. This process is similar to creating any order in the Web Office.
Adding AutoShips
-
Click the button in the bottom right corner.
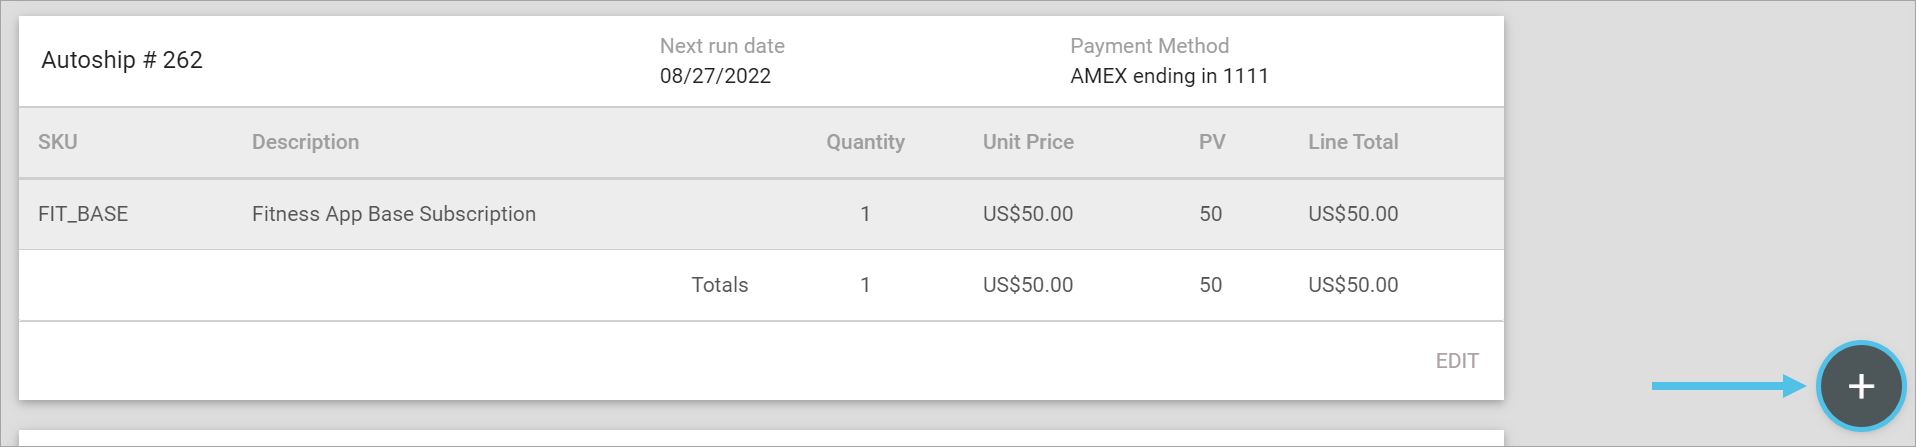
You navigate to the Web Office AutoShip store.
-
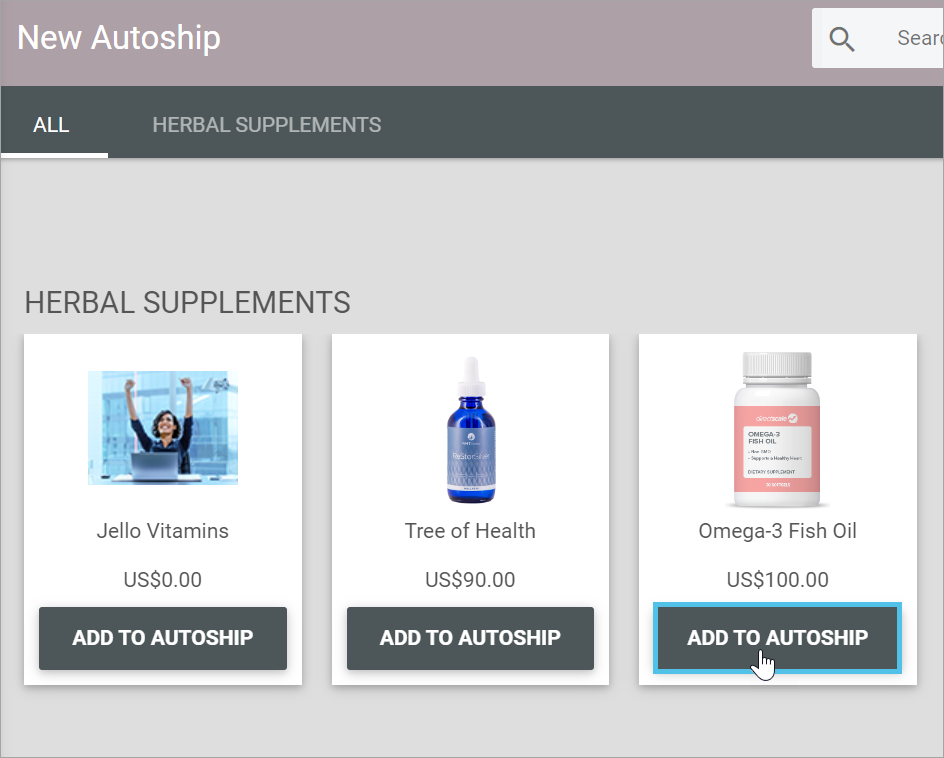
Locate the product and click the ADD TO AUTOSHIP button.
-
In the Your Autoship sidebar, click REVIEW.
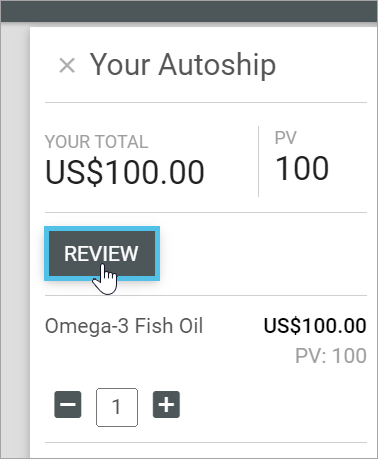
You navigate to the Autoship Editor page.
-
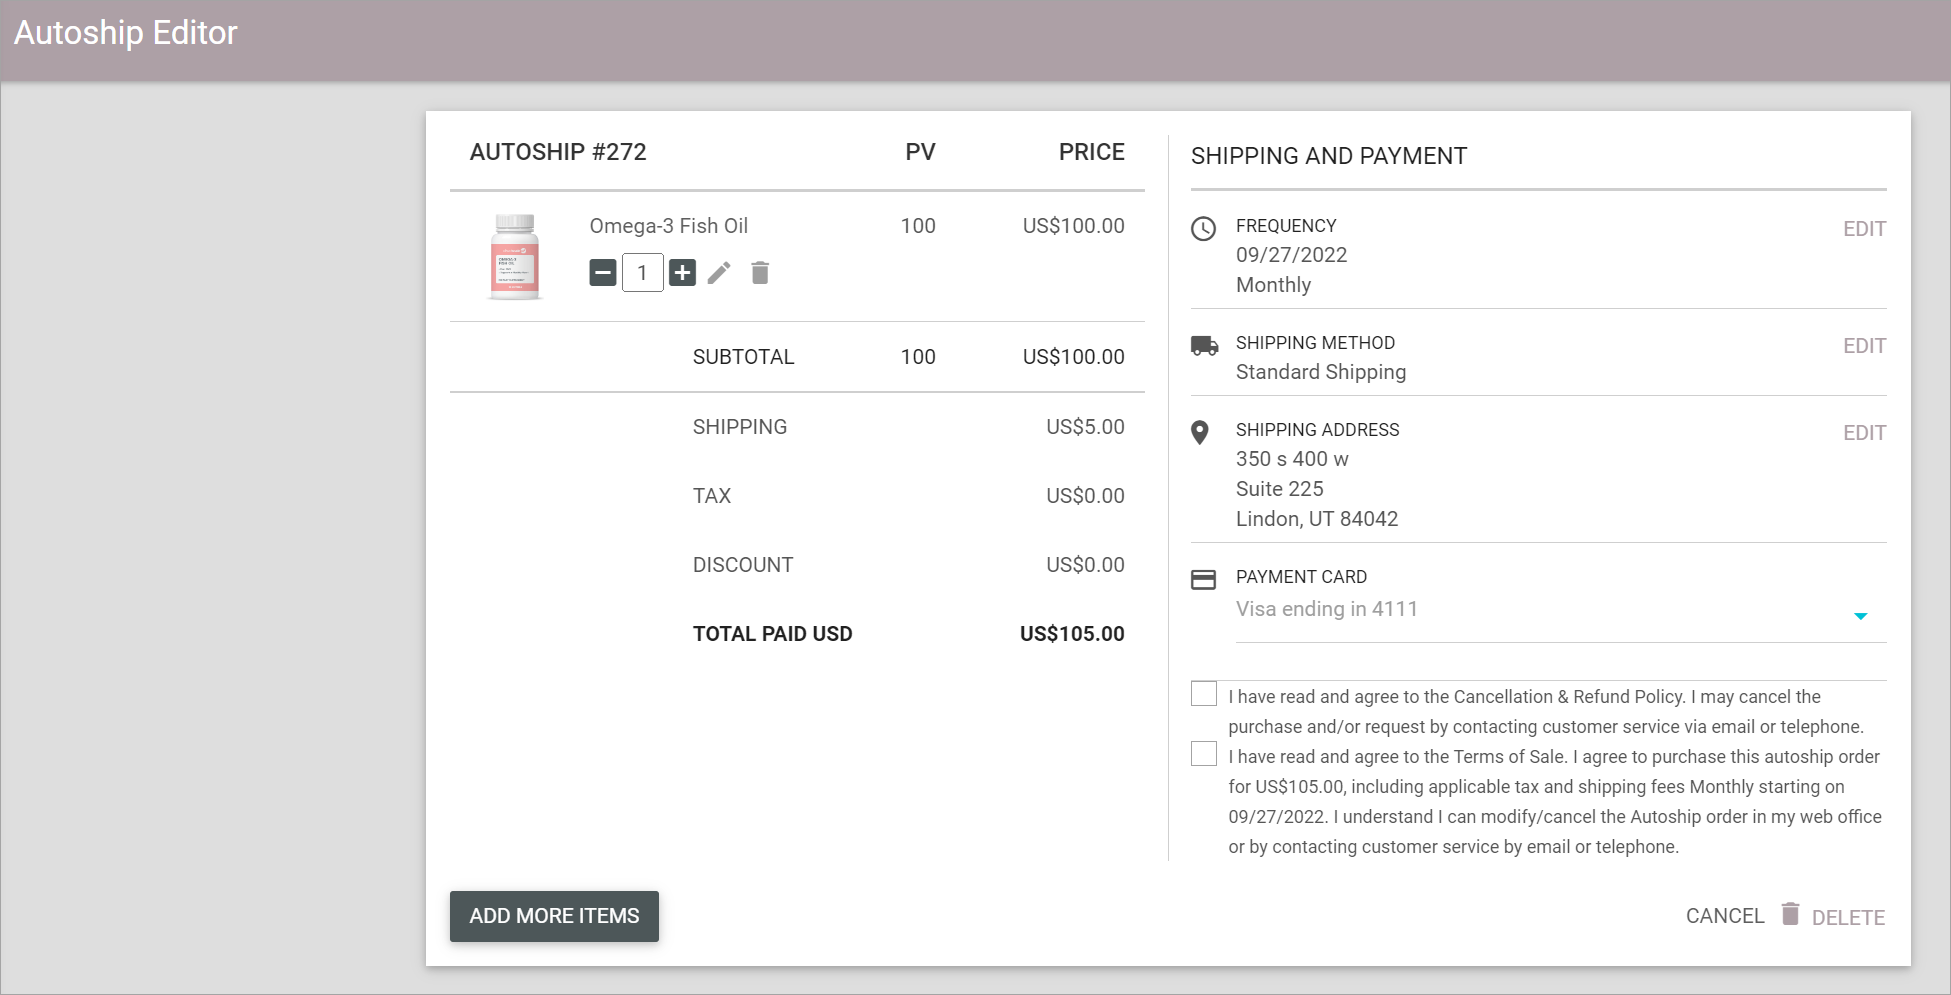
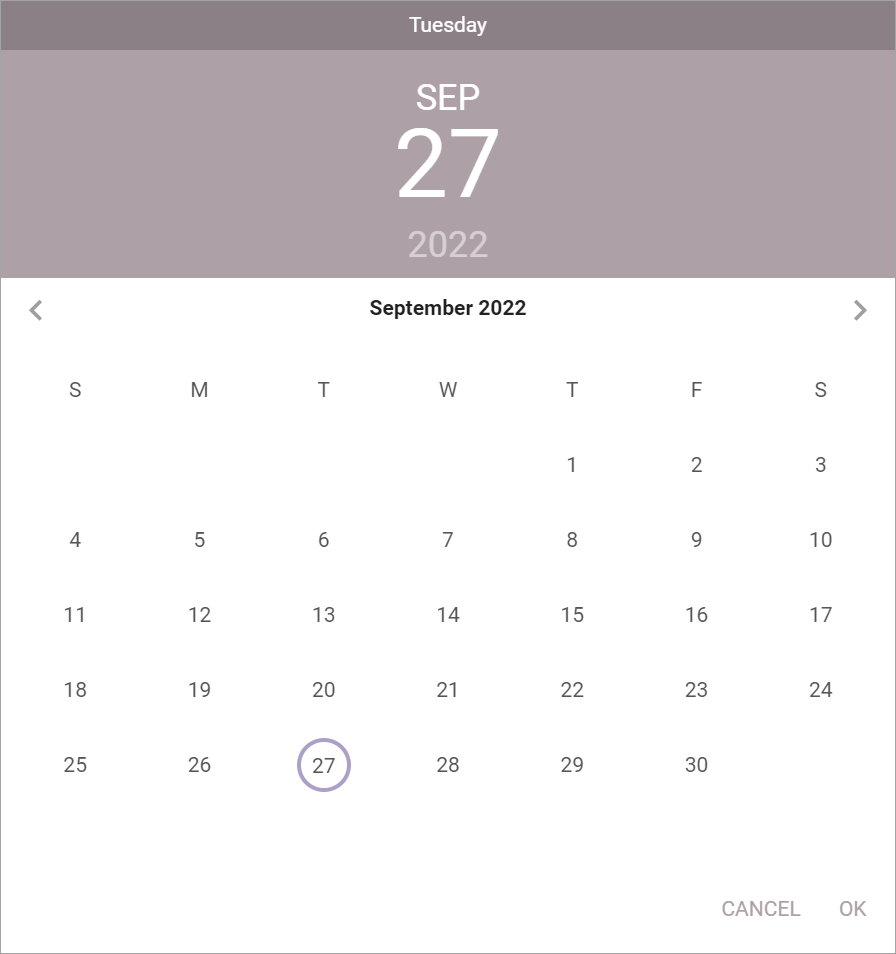
In the Autoship Editor, under SHIPPING AND PAYMENT, click EDIT next to FREQUENCY to select the AutoShip’s shipment date.
-
Select the date in the Period Selector and then click OK.
-
EDIT the SHIPPING METHOD, SHIPPING ADDRESS, and PAYMENT CARD, if necessary.
-
Click SAVE.
Editing AutoShips
-
Click EDIT to open the Autoship Editor page.
-
Click the icon next to each item to delete individual items.
-
Click DELETE to cancel the AutoShip.
-
Click the ADD MORE ITEMS button. This navigates you to the Web Office Autoship store.
-
Click EDIT next to each section to make changes.
-
Click SAVE to save your changes.
Comments
Please sign in to leave a comment.