When an Associate gains access to their Web Office, one of the first things they’ll want to do is customize is their profile image.

There are multiple ways an Associate can upload their profile image:
- Via the Team Dashboard (My Profile) page
- Via the Settings > Account > Personal Info widget (if added)
Learn how to Add an Associate’s Name to the Web Office Header
Uploading a Profile Image from the Team Dashboard
Site: Web Office
Page: Business > Team Dashboard
URL: [CLIENTID].office2.directscale.com/app.html#/TeamDashboard
The Associate can add their profile image from their Team Dashboard.
-
Navigate to the Team Dashboard.

You can also click the profile image in the top right-hand corner and select MY PROFILE to navigate to the Team Dashboard.
-
Hover your mouse over the profile image.

-
Click the icon.
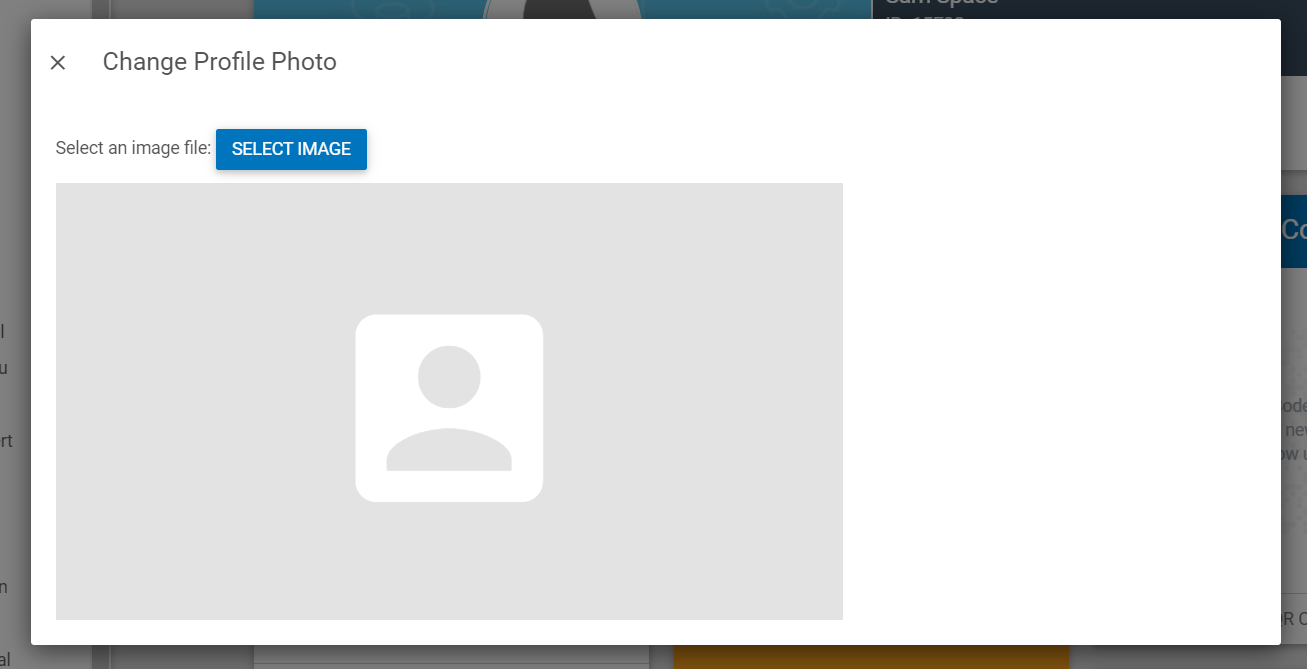
The Change Profile Photo pop-up opens.
-
In the pop-up, click SELECT IMAGE.
-
Select an image from your computer.
-
Adjust the image cropping.
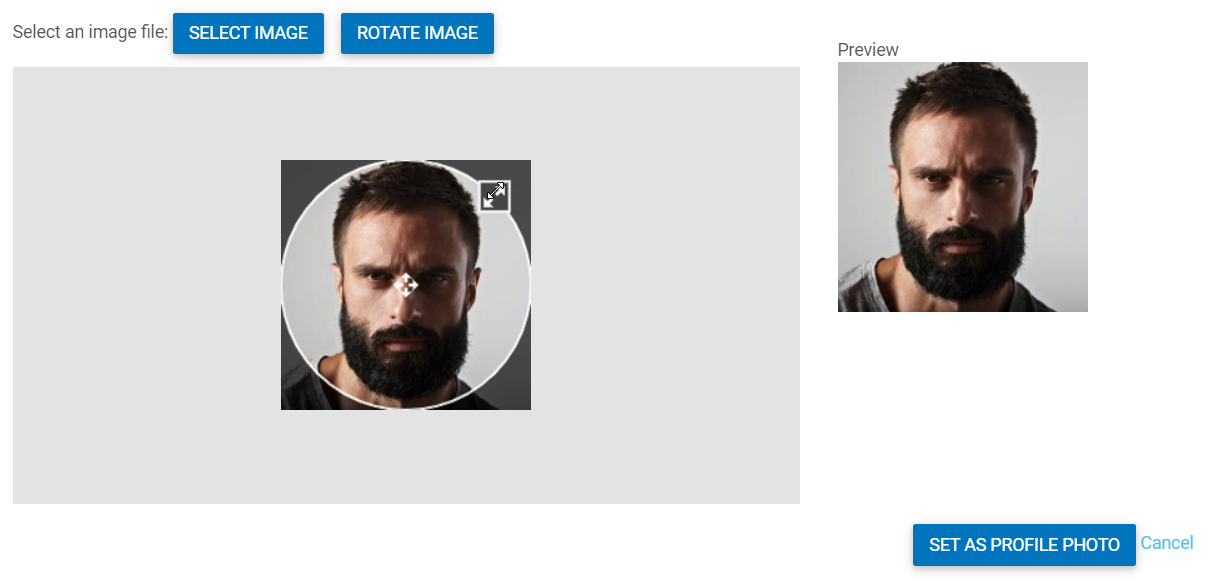
- If necessary, click ROTATE IMAGE to change the image’s orientation by 90°.
-
When satisfied, Click SET AS PROFILE PHOTO.
Uploading a Profile Image from the Personal Info Widget
Site: Web Office
Page: Settings > Account
URL: [CLIENTID].office2.directscale.com/app.html#/ProfileSetting/Account
If you have the Settings > Account > Personal Info widget enabled, an Associate can edit their profile image directly from the widget. By default, the Personal Info widget is on the Settings > Account page.
-
Locate the Personal Info widget.

-
Click the icon.
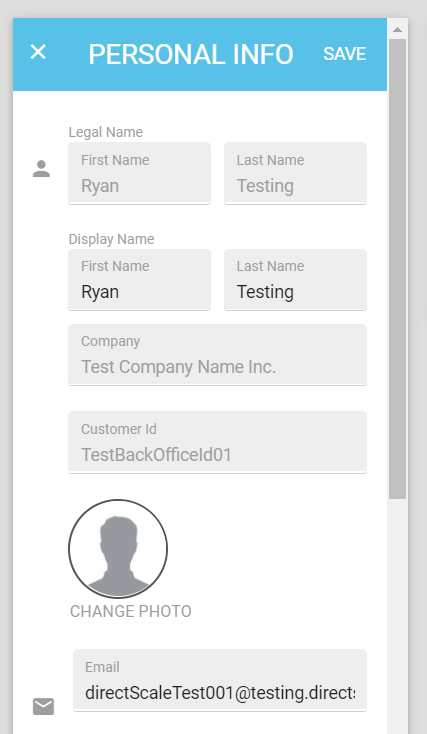
The widget tile flips, revealing configuration options.
-
Click CHANGE PHOTO.
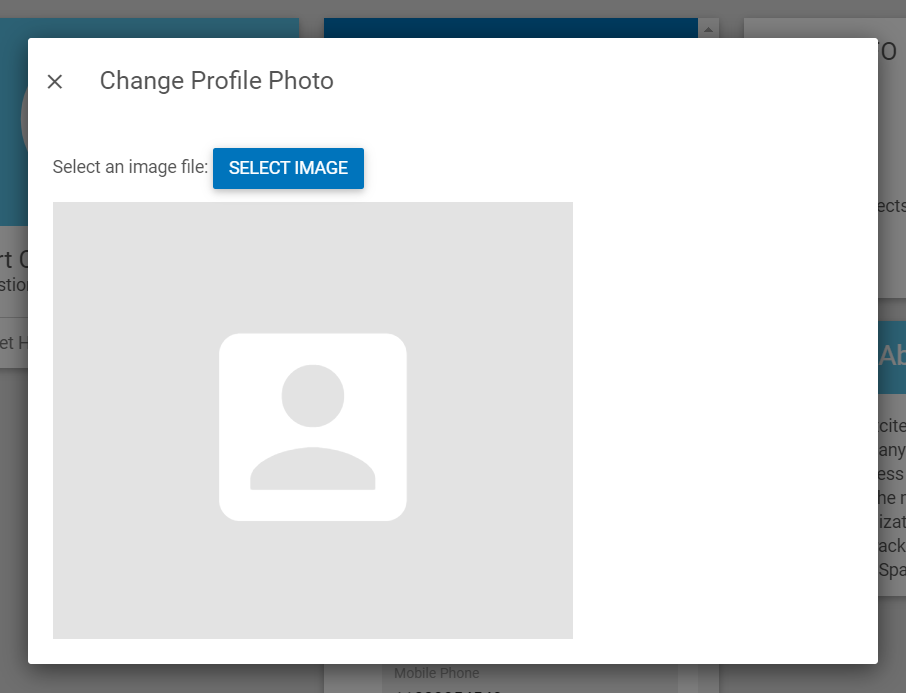
The Change Profile Photo pop-up opens.
-
Select an image from your computer.
-
Adjust the image cropping.
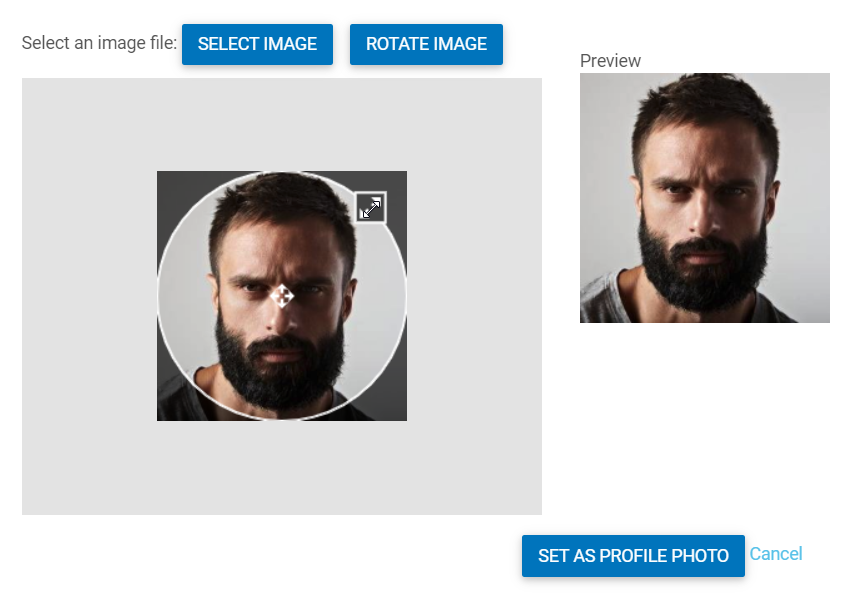
If necessary, click ROTATE IMAGE to change the image’s orientation by 90*.
-
When satisfied, Click SET AS PROFILE PHOTO.
-
On the widget, click SAVE.

Important: It takes ~10 minutes for the new image to show. Or, you can try clearing your browser’s cache.
Comments
Please sign in to leave a comment.