Admin: Corporate Admin
Page: Associates > Search Associates > Associate Detail > AutoShips & Subscriptions
URL: [CLIENTID].corpadmin.directscale.com/Corporate/CRM/Detail?id=[ASSOCIATE_ID]
You can view an Associate’s AutoShip details on the AutoShip & Subscriptions page. You can add a new AutoShip for the Associate, as well.
Viewing an AutoShip
-
Search for the Associate and click their Associate Name link. You navigate to the Associate’s Detail page.
-
Click the AutoShips & Subscriptions tab.
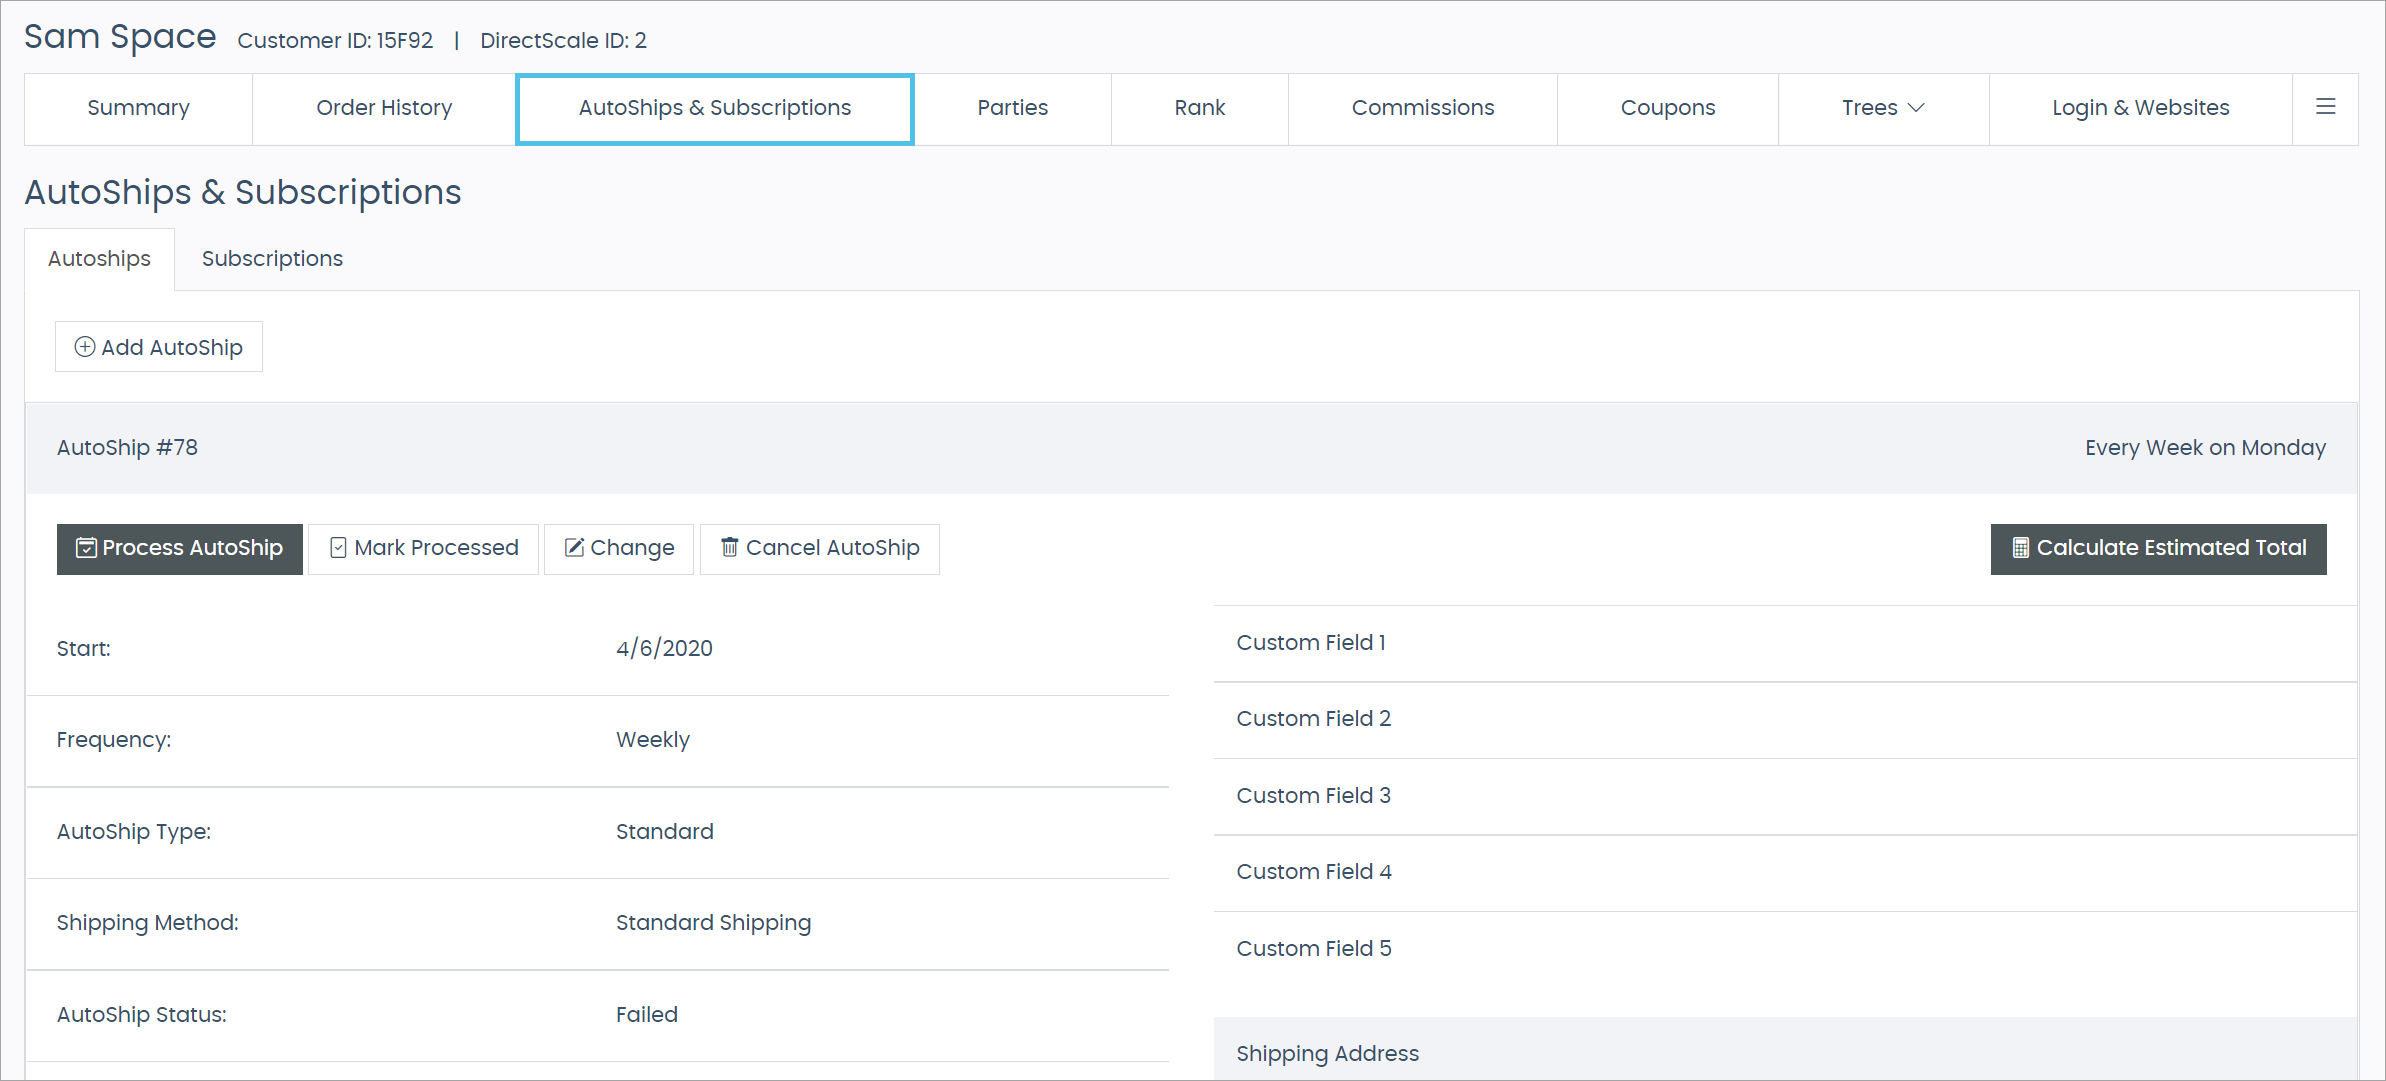
Each AutoShip has its own section with details that include:
-
Start date
-
Frequency
-
AutoShip Type
-
AutoShip Status
-
Last and Next AutoShip Date
-
The products included in the AutoShip
Order History

Expand the Order History section. Here, you can view the history and details of each processed AutoShip.
AutoShip Log
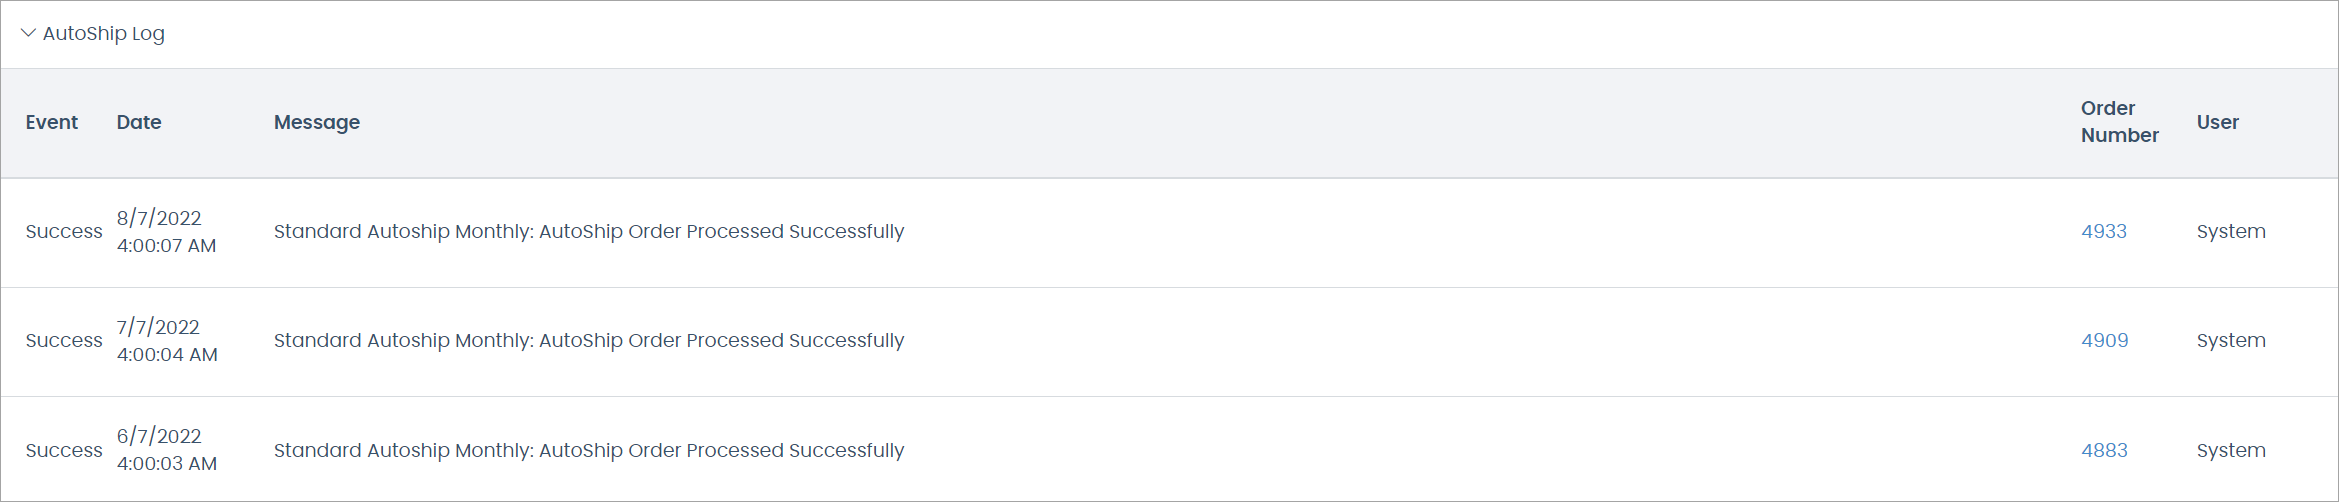
Expand the AutoShip Log section to view any actions done to an AutoShip.
Adding an AutoShip
-
Click the Add AutoShip button.
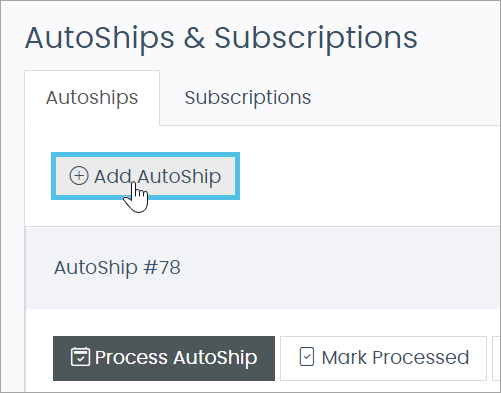
You navigate to the Add AutoShip page.
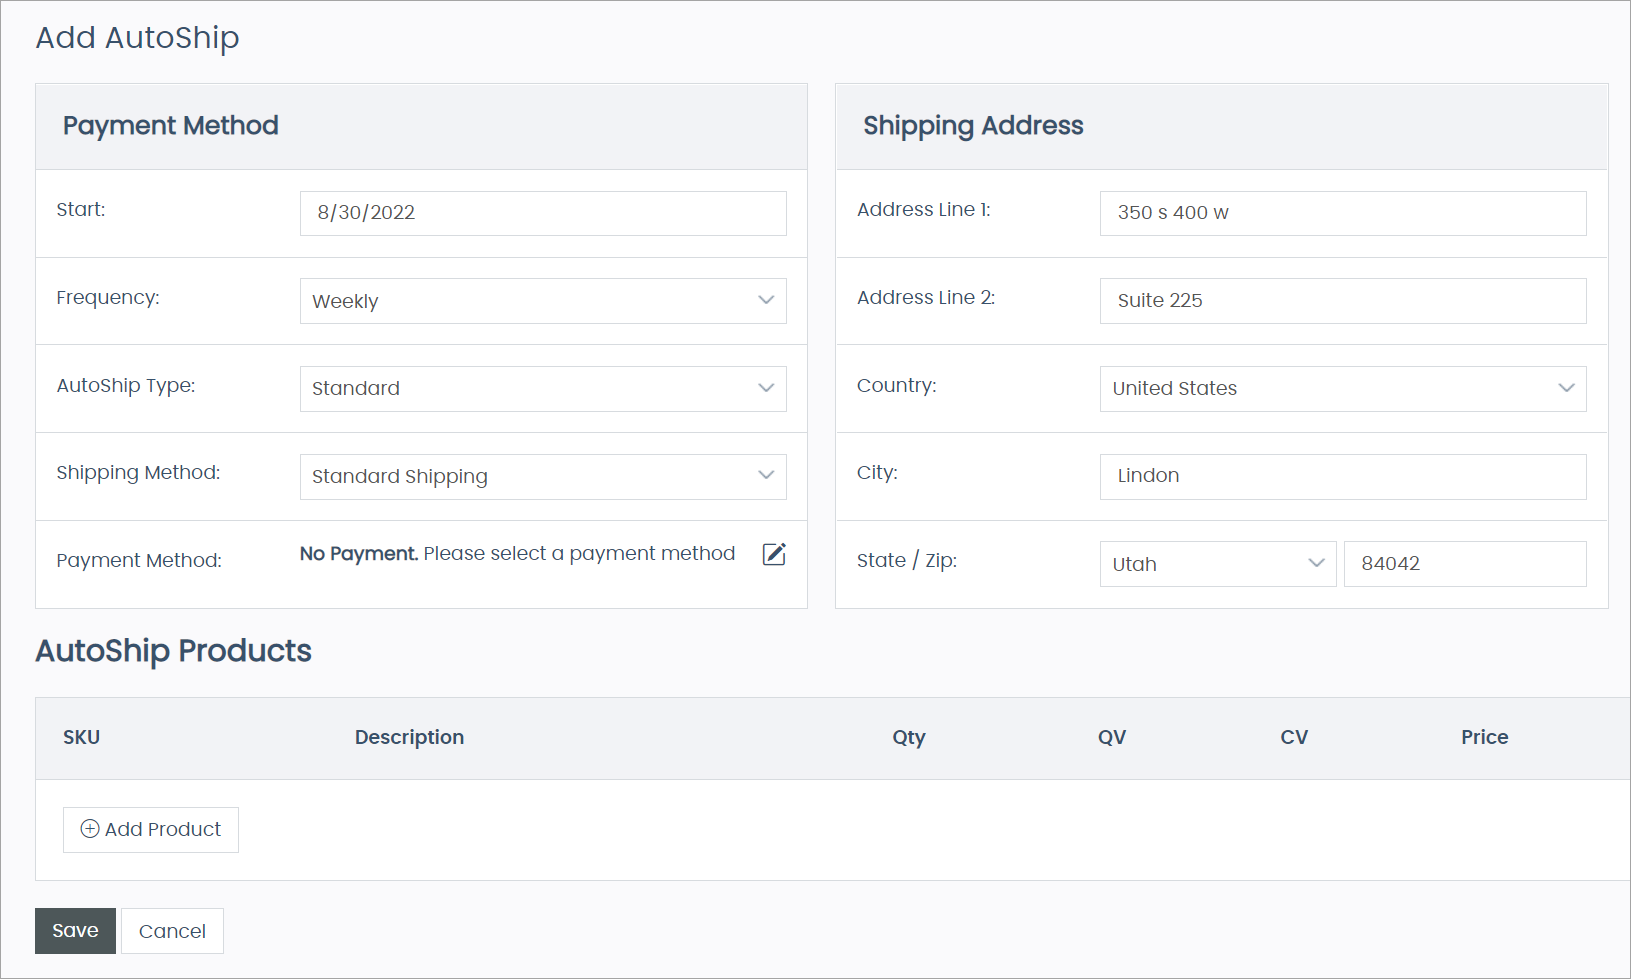
Setting AutoShip Options
-
Enter a Start date.
-
Select a Frequency.
-
Select an AutoShip Type.
-
Select a Shipping Method.
-
Click the icon to select a Payment Method.
-
Enter a new Address.
Adding Items
-
Click the Add Product button.
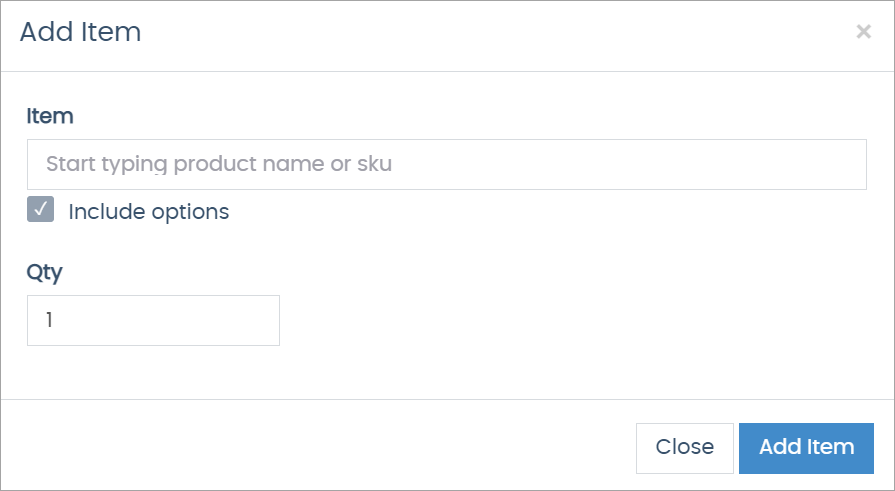
The Add Item pop-up window opens.
-
Enter the product name or SKU into the Item field.
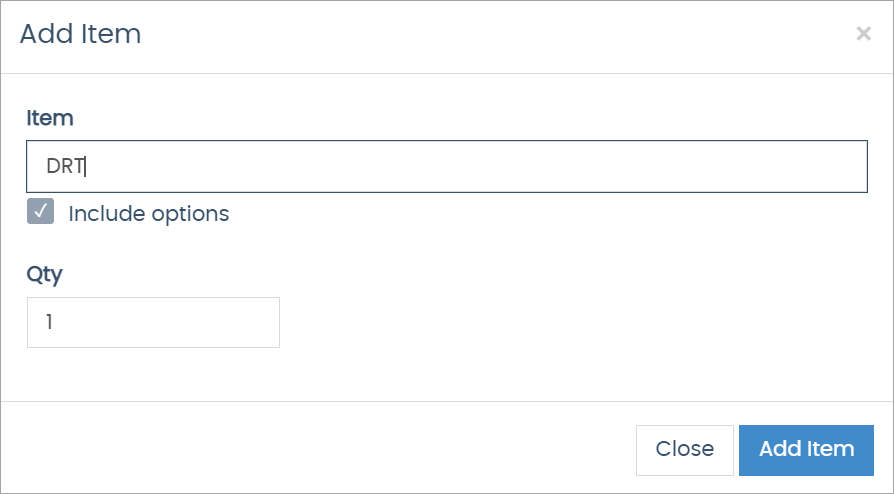
Results will populate based on your entry. To select the item, it must already exist in the inventory.
Item options and their corresponding SKUs are included in your search results by default. Uncheck the Include options checkbox to exclude all item options. 
-
Select the Item.
-
Enter the Quantity (Qty).
-
Click Add Item.
-
Repeat for every item you need to add.
-
Click Save Changes when finished.
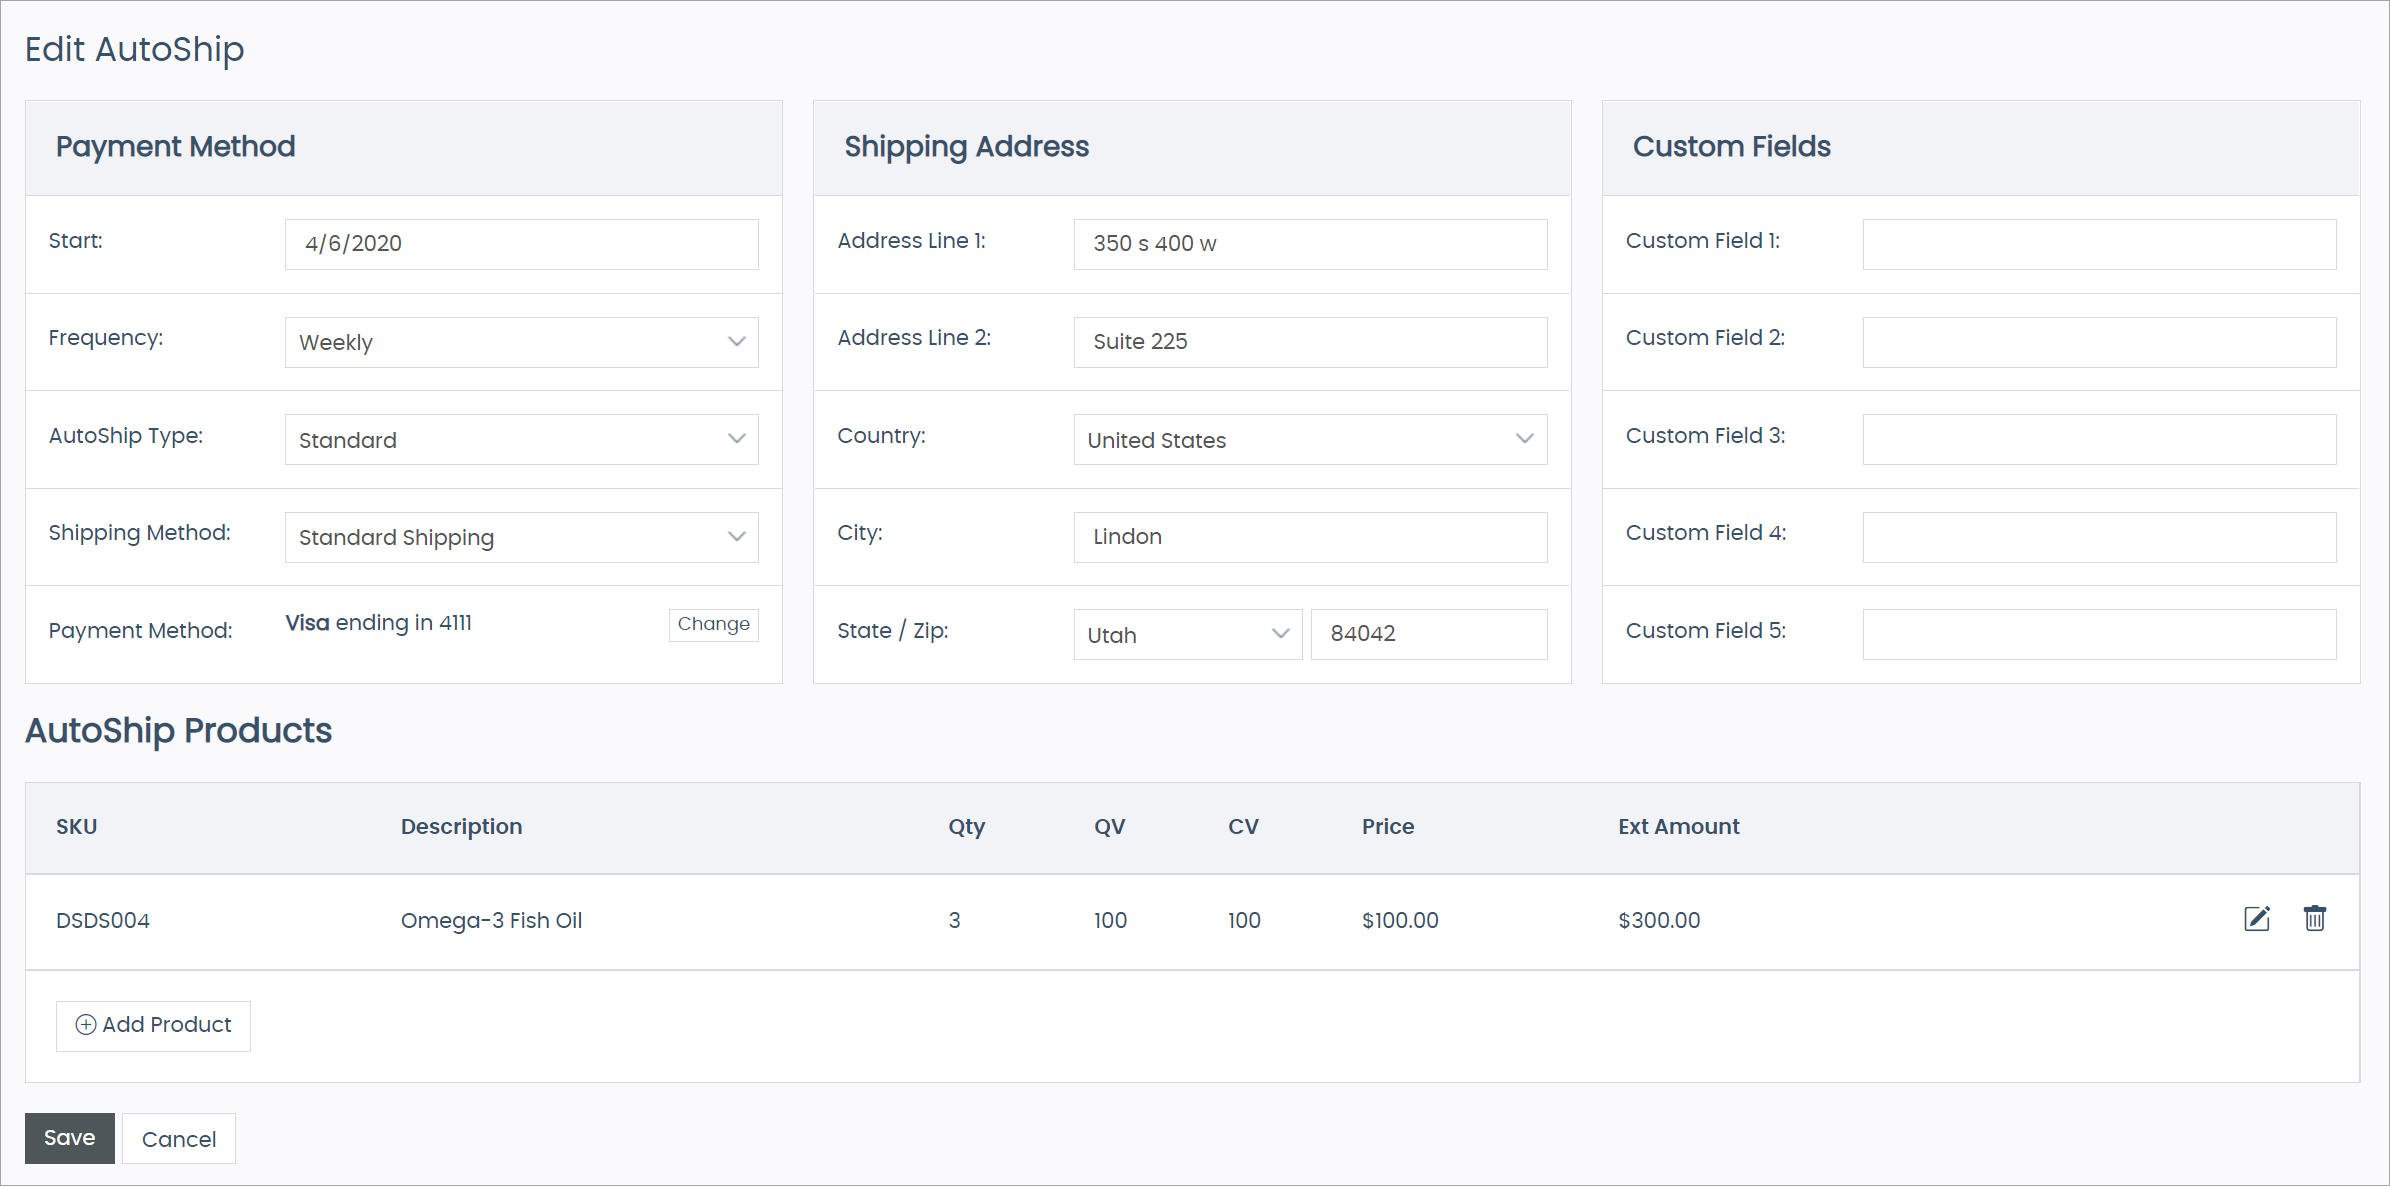
Editing an AutoShip
-
Click the Change button.

You navigate to the Edit AutoShip page.
-
Make any necessary edits.
-
Click Save Changes when finished.
Calculating Estimated Total
-
Click the Calculate Estimated Total button.
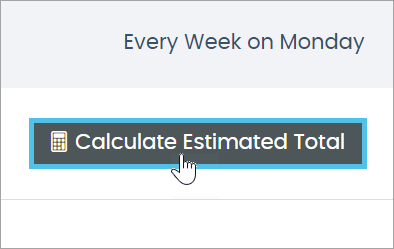
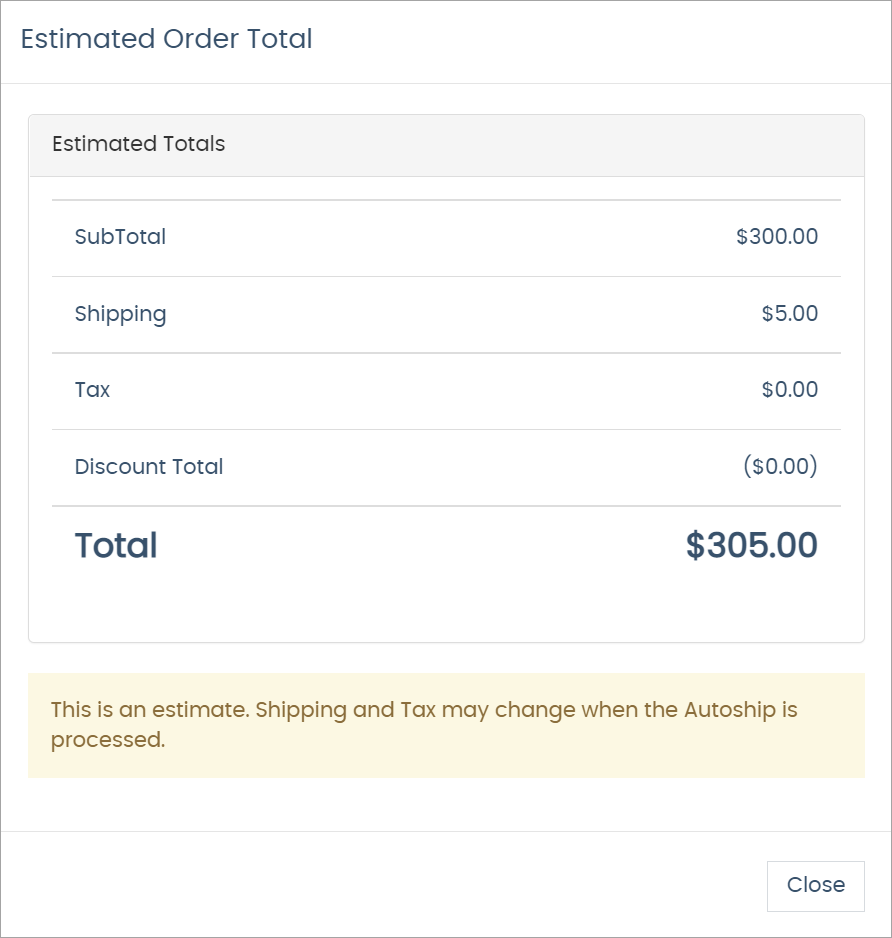
The Estimated Order Total pop-up opens.
-
The system calculates and displays the SubTotal, Shipping, Tax, Discount Total, and Total.
-
Click the Close button to return to the AutoShips & Subscriptions page.
| This is only an estimate. Shipping and Tax amounts may vary based on when the AutoShip processes. |
Canceling an AutoShip
-
Click the Cancel AutoShip button.

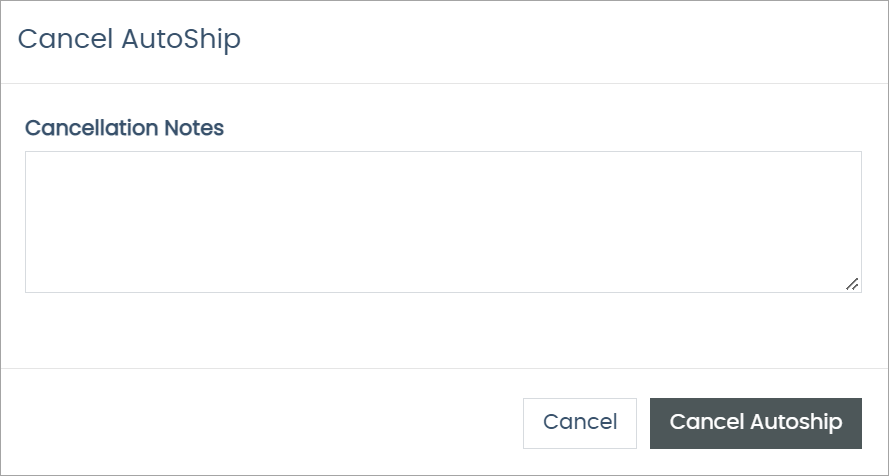
The Cancel AutoShip pop-up opens.
-
Enter any applicable Cancellation Notes. You can view this note in the Associate Detail Service Log.
-
Click Cancel Autoship to confirm.
Processing an AutoShip
You can choose to run the AutoShip order immediately, rather than having the Associate wait until the next AutoShip date. The system will mark the order as processed for the period and not charge the Associate until the next run date.
-
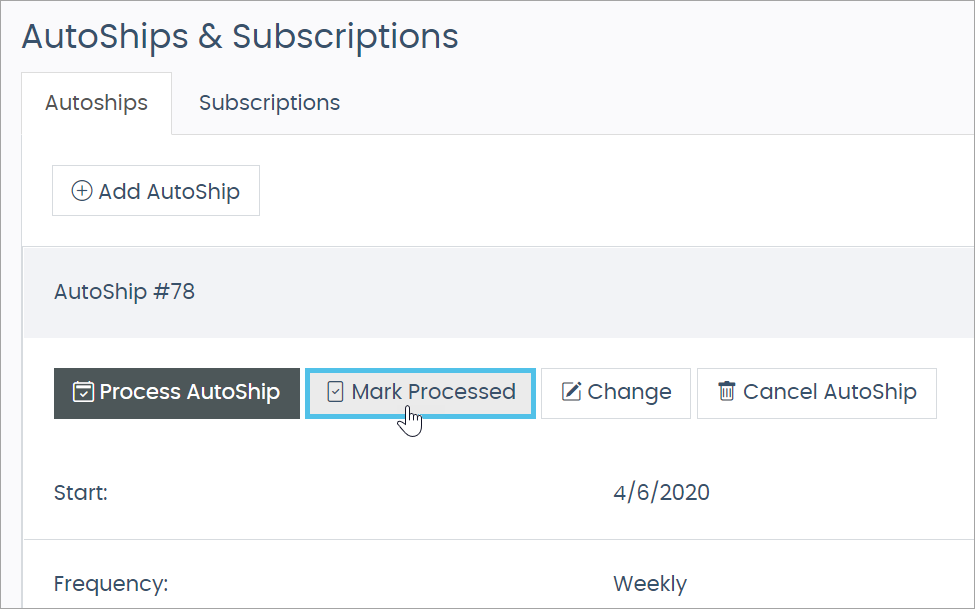
Click the Process AutoShip button.

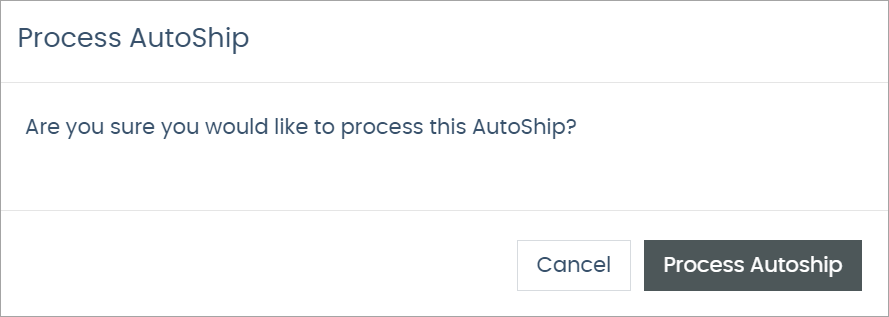
A Process AutoShip pop-up opens requesting confirmation.
-
Click the Process Autoship button to confirm.
The Last AutoShip Date changes to the current date.
For example, an Associate’s AutoShip is set to process on January 15th. The Associate contacts support to request the AutoShip process on December 31st instead. The Support Rep clicks the Process AutoShip button and runs the AutoShip for the period.
Processing the AutoShip early will still cause it to ship on the original date, January 15th. However, if the Support Rep manually processed the AutoShip on January 15th, the next process date would push out to next month.
If you process the AutoShip outside of the system, you can click Mark Processed to update the status.
Comments
Please sign in to leave a comment.