Admin: Web Office Admin
Page: Content Management > Documents and Media
URL: [CLIENTID].admin.directscale.com/#/Resources
Permission: Documents and Media
The Documents and Media page is where you upload Resources into a library available to Associates in their Web Office.
Content Types
You will need to address three sections when adding content:
- Categories - Acts like a folder for your resources to allow you to organize them under different topics or purposes.
- Subcategories - Serves as a second-tier hierarchy to allow for deeper organization.
- Resources - The documents and media you want to make available to your Associates. They can then share the documents with their downline or prospects.
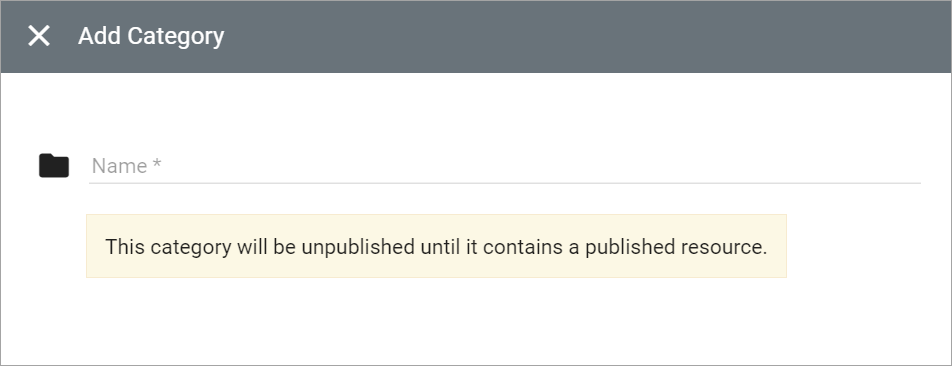
Adding a Category
-
Click the ADD NEW button and select Add Category.
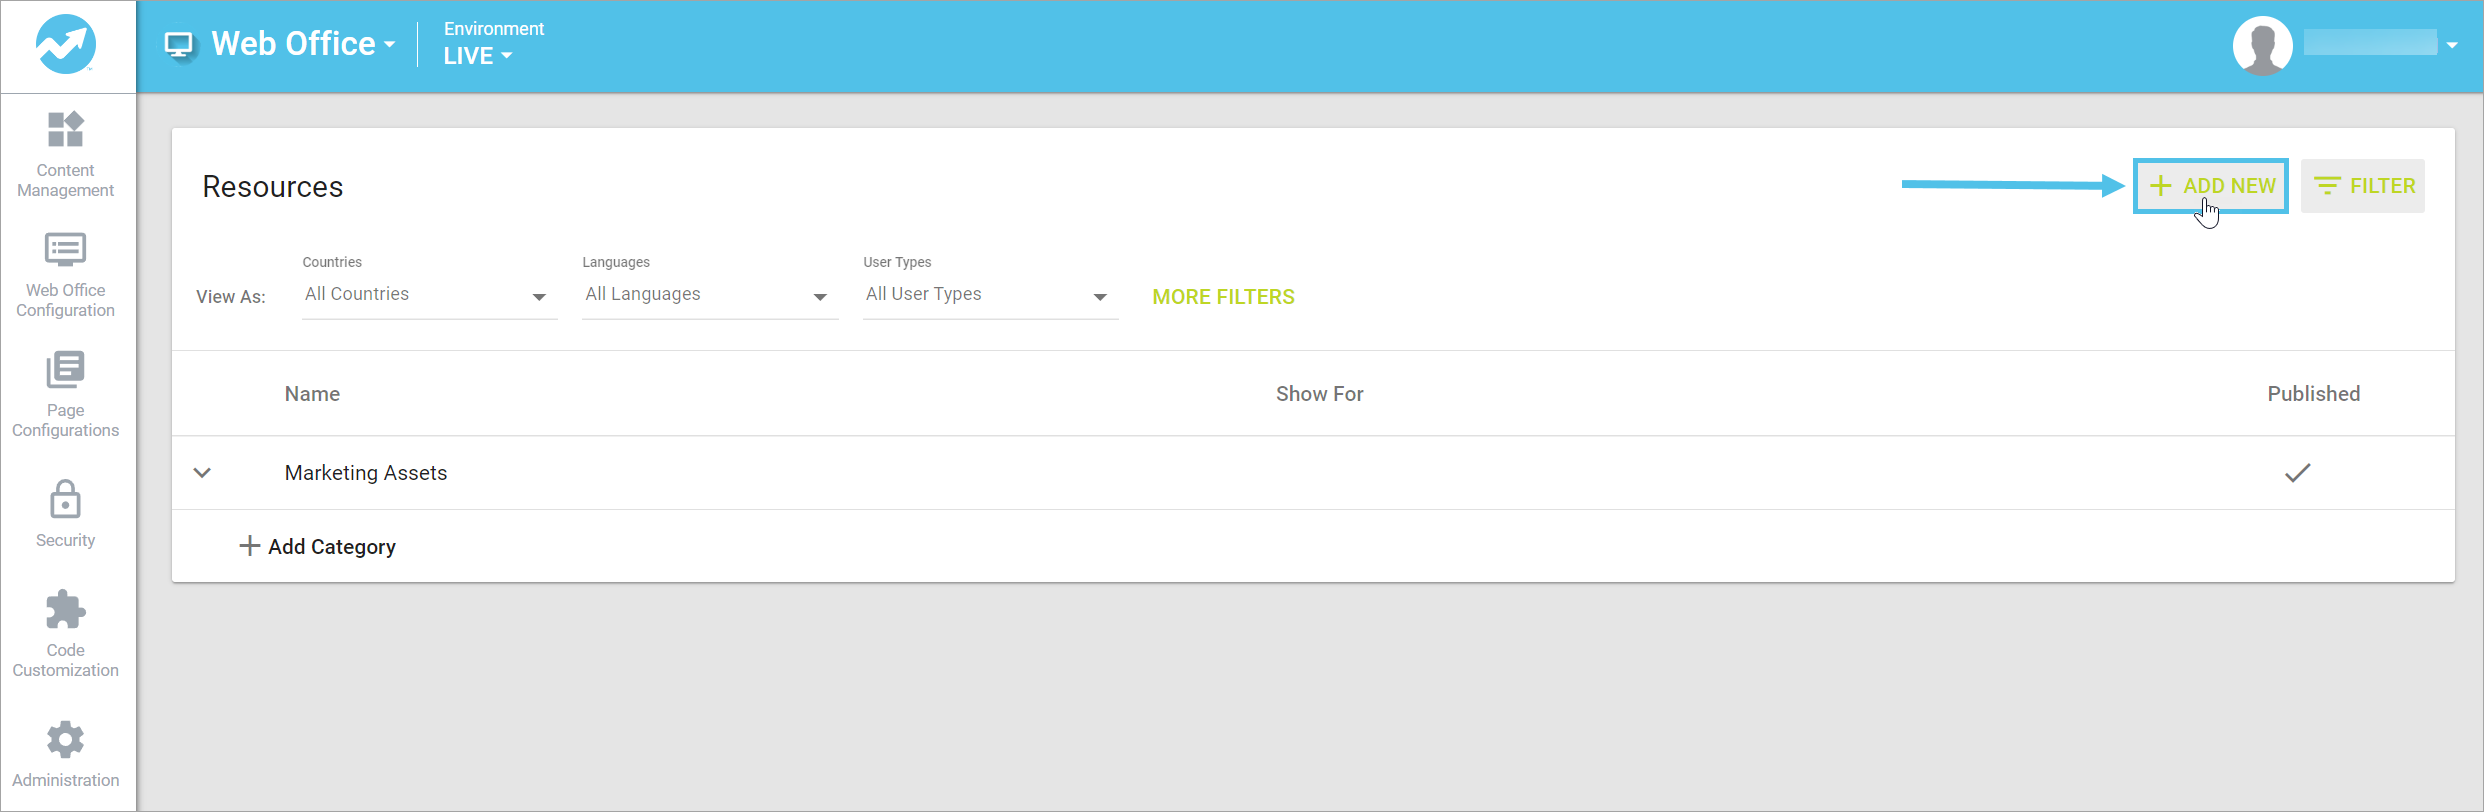
The Add Category pop-up window opens.
-
In the pop-up, enter your category Name.
-
Click SAVE to add your new category.
Your category appears in the Resources List.
Adding a Subcategory
-
Click the ADD NEW button and select Add Subcategory.
The Add Subcategory pop-up window opens.

-
In the pop-up, complete the required fields.
- Name (Required) - Name the subcategory
- Category (Required) - Select an added category under which to organize the resource.
-
Click SAVE to add your new category.
Your subcategory appears under the main category in the Resources List.

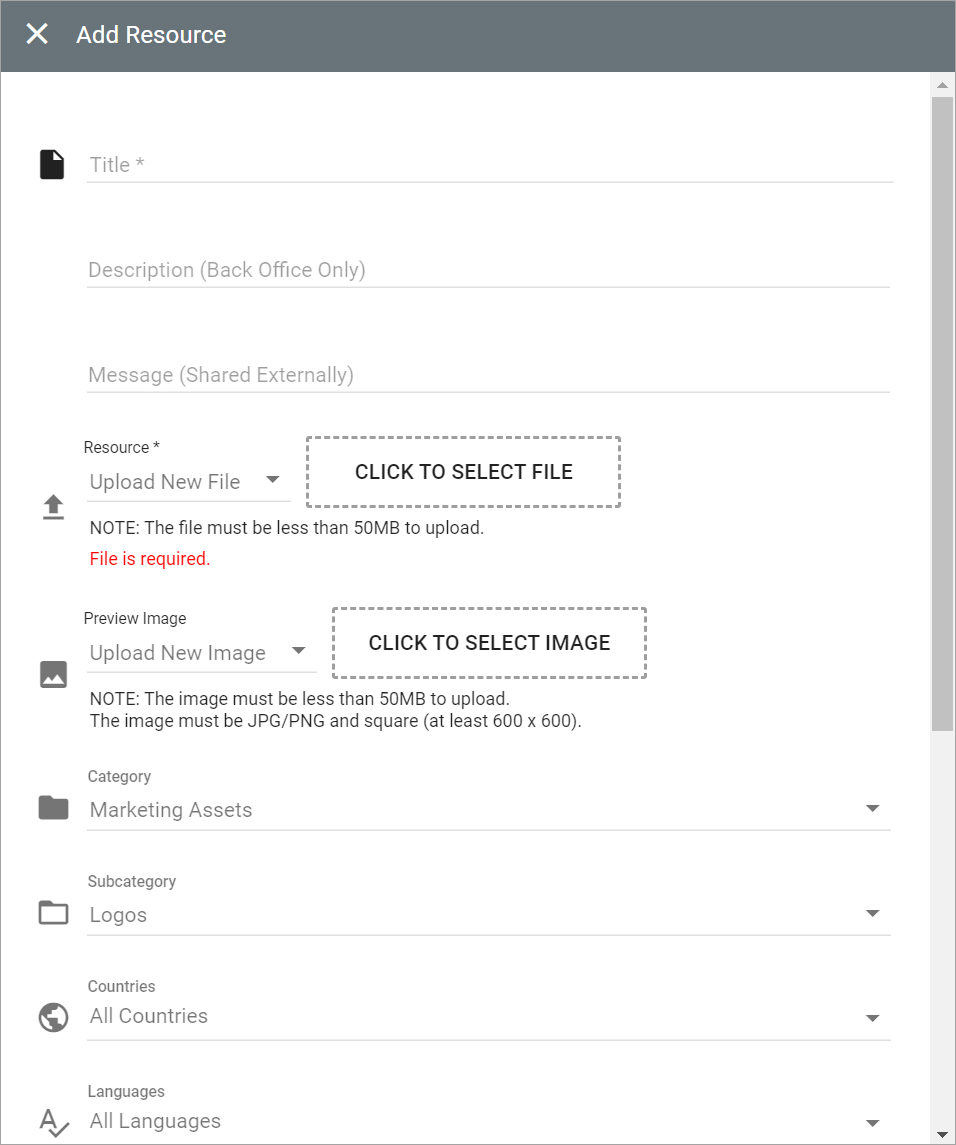
Adding a Resource
-
Click the ADD NEW button and select Add Resource.
The Add Resource pop-up window opens.
-
In the pop-up, complete the required fields.
-
Title (Required) - Name the resource.
-
Description - Information for the Associate about the document that appears in Web Office.
-
Message - External message attached to the document when it is shared with the public.
-
Resource (Required) - Upload your resource using the following methods:
-
Upload New File - To upload a file, click the CLICK TO SELECT FILE area. Your computer’s file finder window will open, navigate to and select your file, and click Open.
-
Enter File URL - Add the entire URL, including
https://(for example,https://www.google.com/). Use this when the file is hosted in a cloud-based app. -
Enter Embed Code - Enter the embed code (such as a YouTube video embed code).
Is It Possible to Add an MP3 Audio File as a Resource for Web Office?
-
-
Preview Image - Optional image. Add using one of the following methods:
- Upload New Image - To upload a file, click the CLICK TO SELECT FILE area. Your computer’s file finder window will open, navigate to and select your file, and click Open.
- Enter Image URL - Add the entire URL, including
https://(for example,https://www.google.com/). Use this when the file is hosted in a cloud-based app.
-
Category - Select an added category under which to organize the resource.
-
Subcategory - Select an added subcategory under which to organize the resource.
-
The rest of the settings are Multi-Faceted Configuration (MFC). Select your specific configurations on who can view the resource.
-
-
Click the Published toggle to publish the resource after saving.

-
Click the SAVE button.
The resource appears in the Resources List.
Viewing in the Web Office
Site: Web Office
Page: Tools > Documents & Media
URL: [CLIENTID].office2.directscale.com/app.html#/DocumentsAndMedia

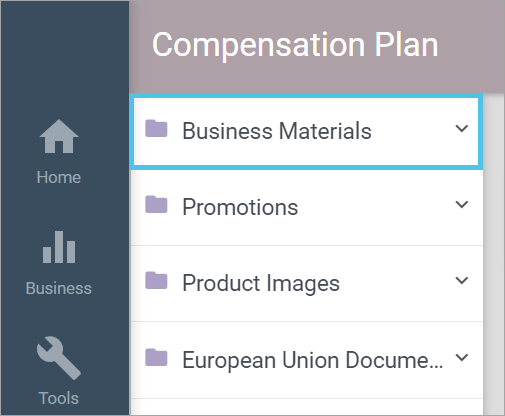
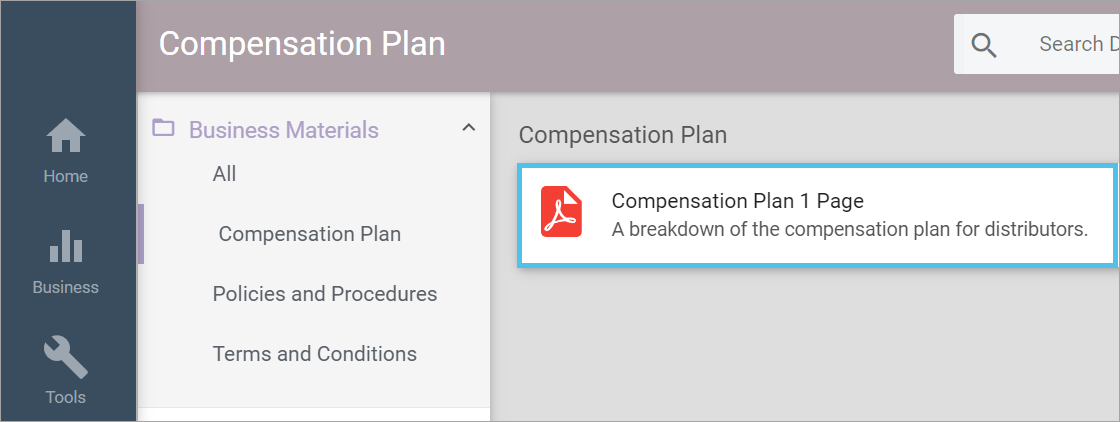
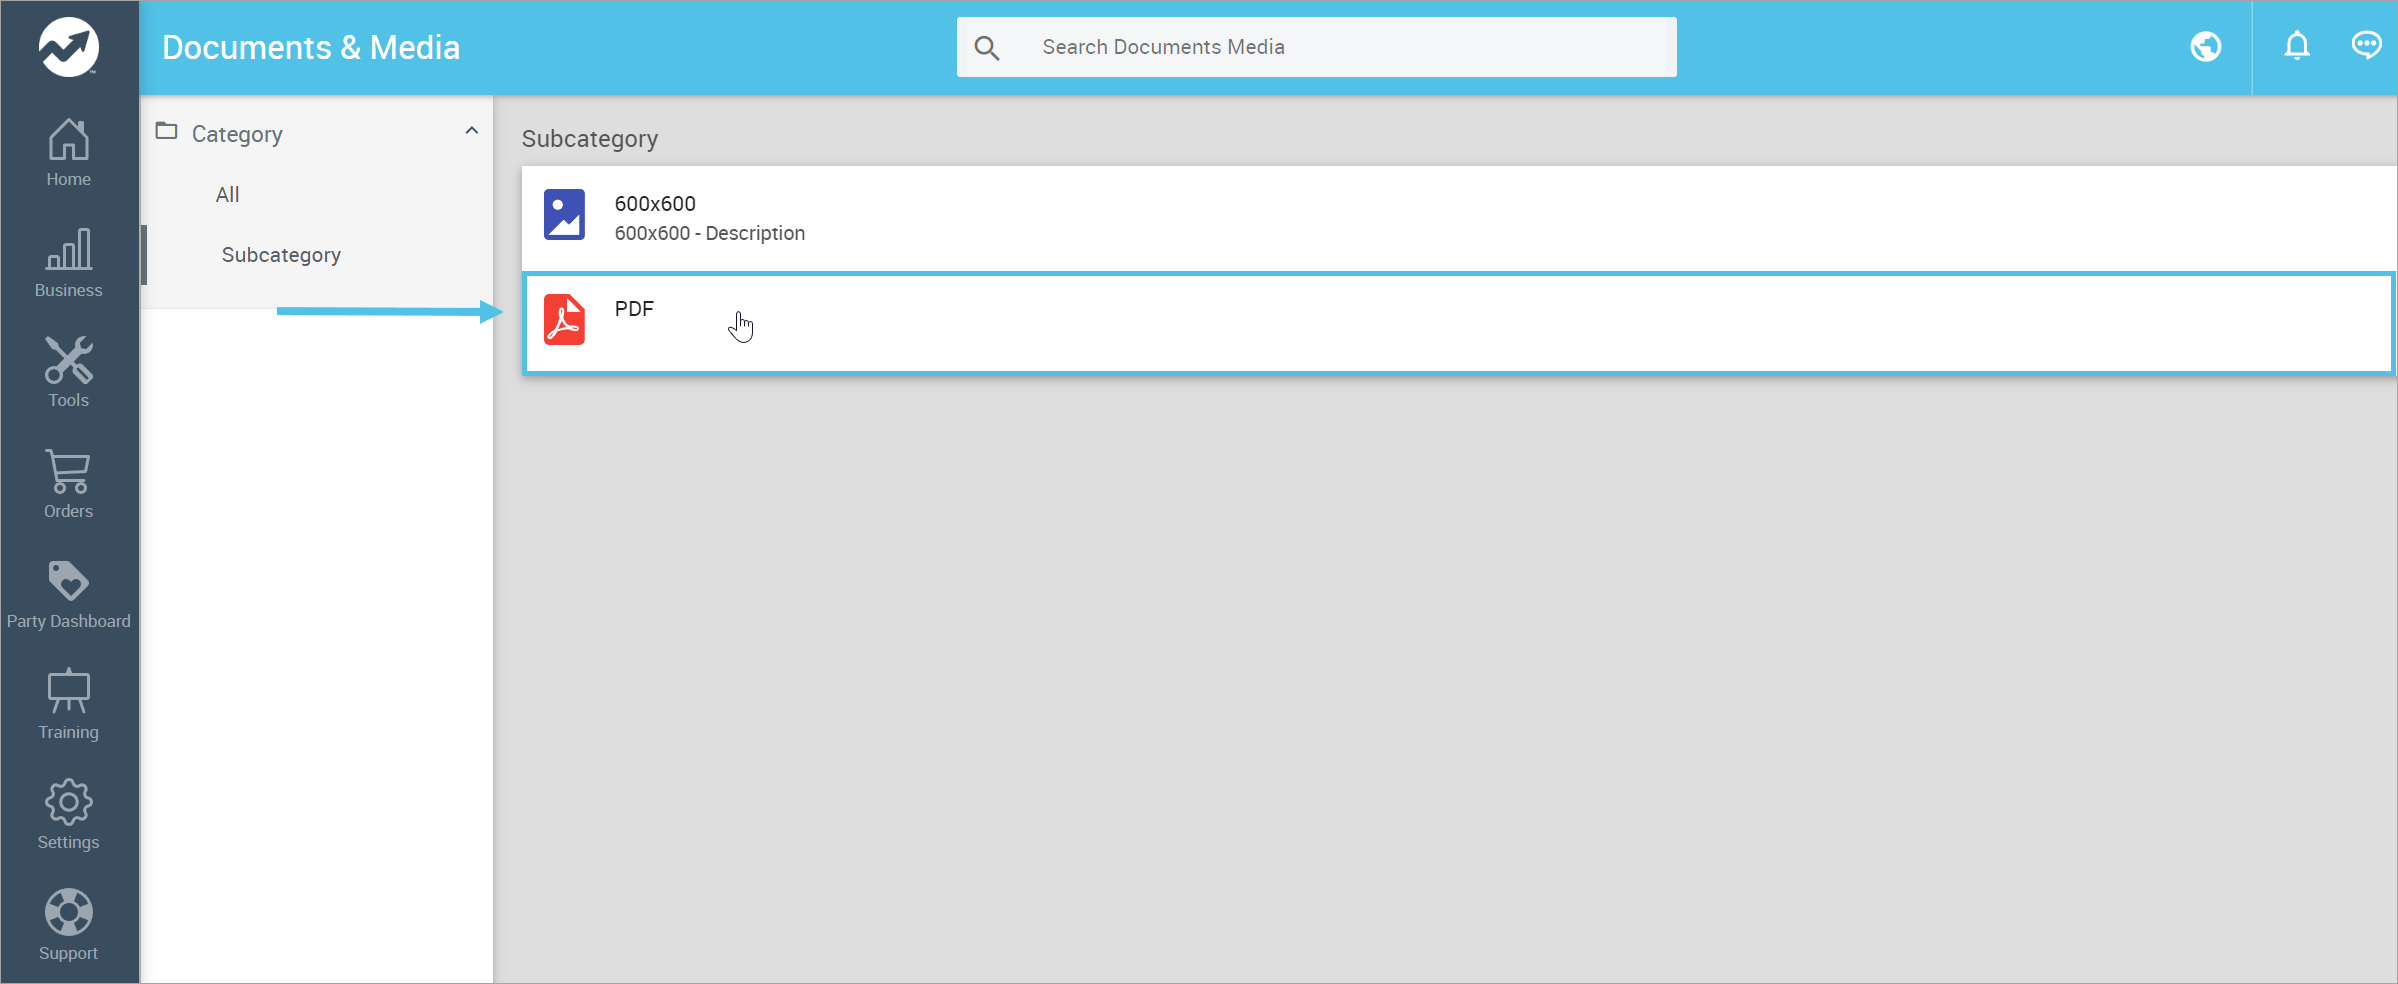
- Category
- Subcategory
- Resource - Displays the Resource Title and Description. Click the Resource to open a sidebar.
- Resource Sidebar - Displays the Resource Type and Description
- Resource Type - Displays the file type of the uploaded Resource.
- Resource Description - Displays the Description.
- View - View the Resource in a new window.
- Share - Share the Resource via the options with the Message and Preview Image.
Direct Link to Documents & Media Files
To link directly to a file, category, or subcategory:
- Navigate to the file, category, or subcategory you'd like to link to from the Documents & Media page in Web Office.

-
Select the file or category.
The URL will update to include the selected category, subcategory, and/or resource.

- Highlight and copy the URL located at the top of your browser.
- Paste the link accordingly.
| Direct links to files, categories, or subcategories can be utilized in widgets or other configurations. |
Comments
Please sign in to leave a comment.