Admin: Web Office Admin
Page: Content Management > Localization
URL: [CLIENTID].admin.directscale.com/#/Localization
Permission: Strings
The Localization page is where you control Web Office text changes and language translations.
Static vs. Dynamic Content
The Web Office features static and dynamic content. You can customize most elements using the appropriate Web Office Admin page. However, some elements are “hard-coded” into the HTML and are thus static.
For example, in the Web Office, the widget header “Business Snapshot” text is static.
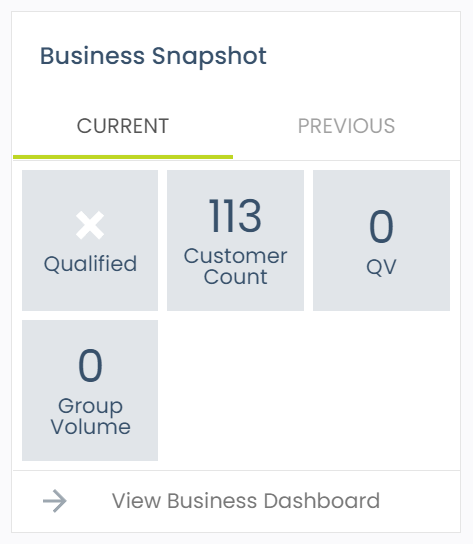
Use the search bar and search “Business Snapshot” on the Localization page to find and edit the string.

Editing Text Values
-
Search for either the String Key or the Text Value you want to change.

The search results appear below the search bar. You can filter them based on type.

-
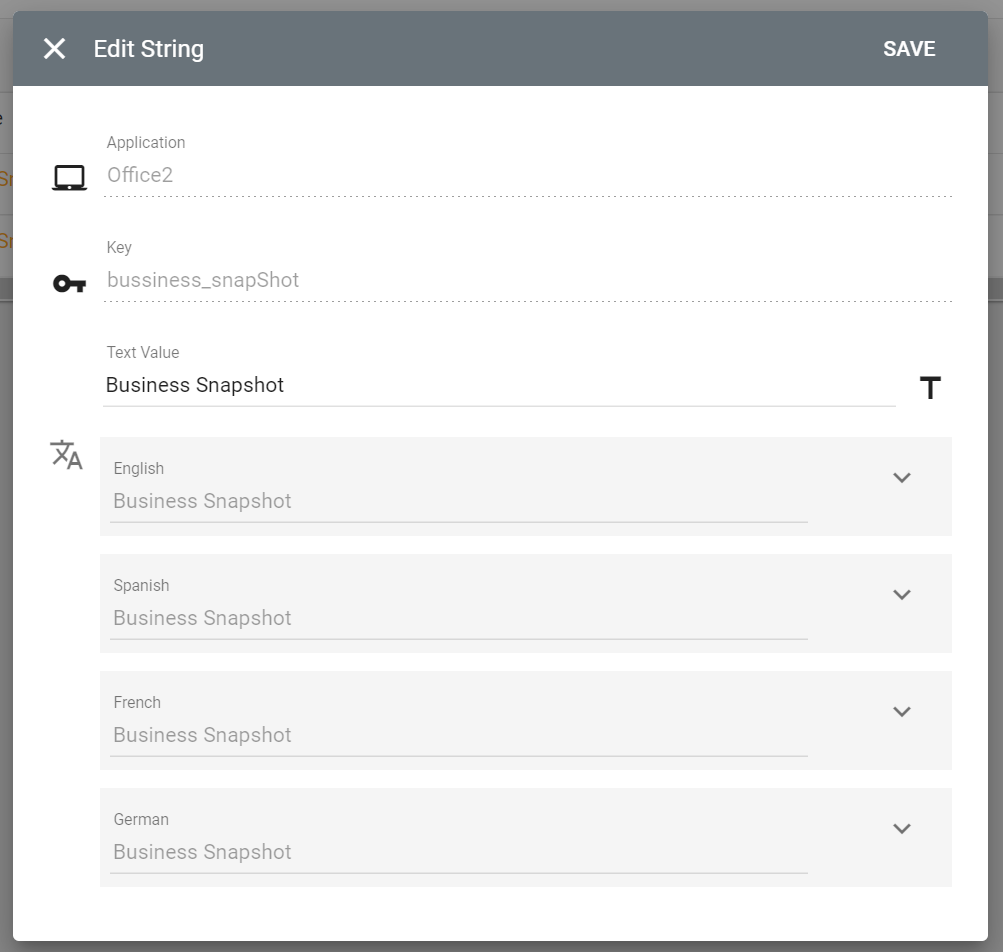
Click the Edit icon for the string you want to change. The Edit String pop-up window opens.
-
Edit the Text Value as necessary.
-
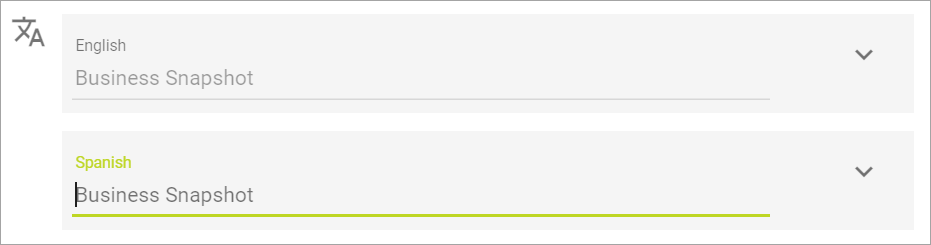
Click each language box and enter the translations.
-
Click SAVE. A success message will appear to confirm the changes were saved successfully.

Localizing Custom Content
When you create custom content, enter the translations using the following tools:
| You can request Customer Care add String Keys if needed. |
Exporting Translations
You can export a CSV file and change the translations en masse.
Translations display in the Web Office based on the values you enter in the CSV. If there is no value for the market/language, it defaults to the next available value.
-
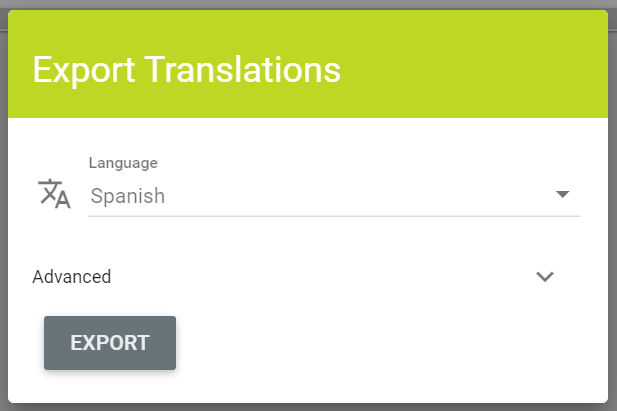
Click the IMPORT/EXPORT button and select Export Translations. The Export Translations pop-up window opens.
-
Select the Language.
Do not mix languages. If you export English, only enter English values. If you select Spanish, enter Spanish values. -
Expand the Advanced options section.
Two checkboxes reveal:
- Include market-specific translations – If you have many markets that need unique translations (Mexico – Spanish, Spain – Spanish, Puerto Rico – Spanish).
- Only include missing translations – Instead of exporting the entire Web Office, only export the text that is missing translations for the selected language.
Check the necessary box(es).
-
Click the EXPORT button. The workable CSV file downloads.
-
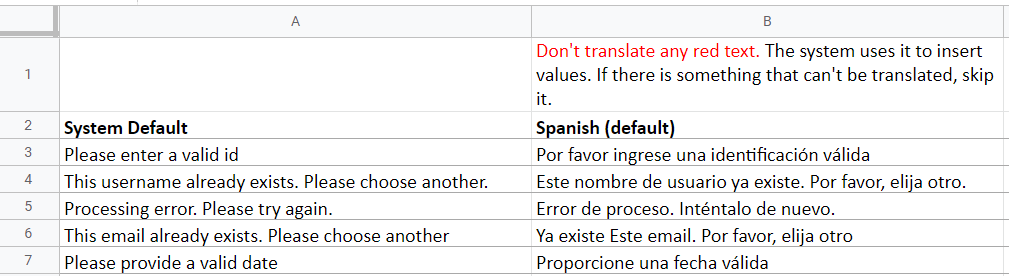
Enter the translations in the CSV file.
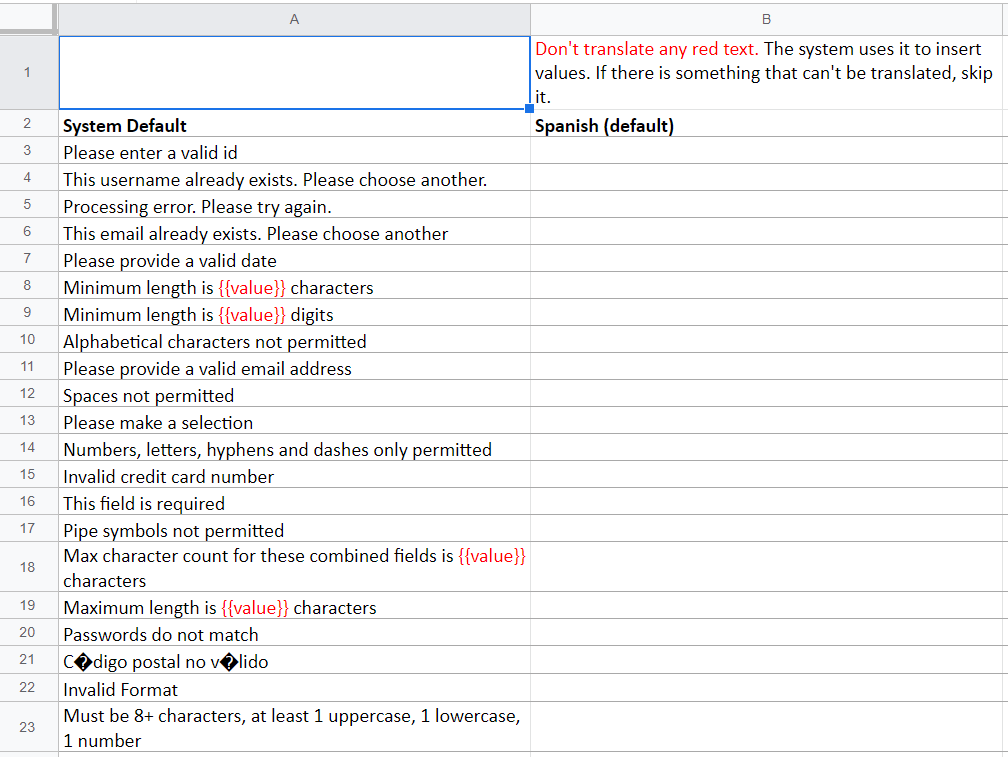
Important: Do not edit the English default column in the translation process. The system will not recognize either the English value or the translation if changed. Associates will see an error in the Web Office where ever the text appears.
-
Save the file. The file is now ready to be imported back into the system.
Importing Translations
Importing translations allows you to upload all of the translations you entered into the export document.
-
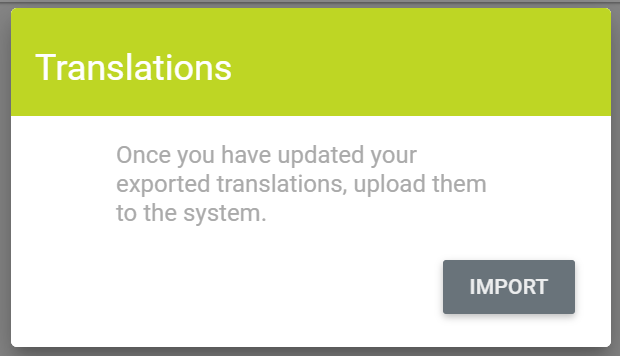
Click the IMPORT/EXPORT button and select Import Translations. The Translations pop-up window opens.
-
Click the IMPORT button. Your file finder window opens.
-
Select the completed translations spreadsheet from your computer.
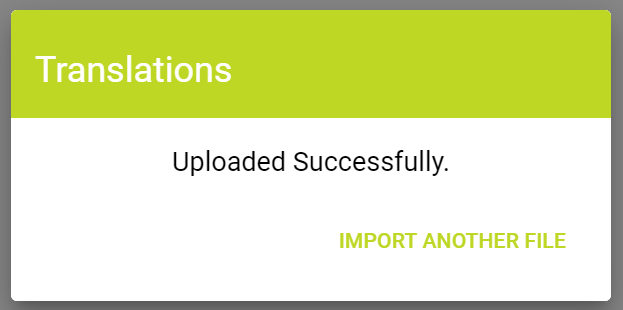
The translations will show in the Web Office once the cache is recycled. This can take up to 30 minutes. -
Click IMPORT ANOTHER FILE to repeat the process if necessary.
Comments
Please sign in to leave a comment.