Admin: Corporate Admin
Page: Settings > Company Settings > Email Settings
URL: [CLIENTID].corpadmin.directscale.com/Corporate/Admin/EmailSettings
Permission: ViewAdministration()
You can update and personalize all transaction Email Templates sent by Corporate Admin. This includes both the built-in templates (Welcome Email, Order Confirmation, etc.) and any custom Email Templates.
For templates to be available to edit, you must enable them in Advanced Settings. Any new custom templates need to be added in your Client Extension before showing in the editor.
Selecting a Template
Under the Edit Email Templates tab:
-
Click the Template dropdown to select your enabled templates for different email events (Customer Welcome or Order Receipt).
_mceclip1.png?atomcache=1635262962932)
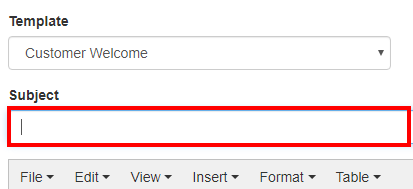
When you select a template, the template editor appears.
Editing Templates
_mceclip2.png?atomcache=1635262962932)
-
Type a relevant email subject line in the Subject field.
-
In the TinyMCE Text Editor, use the formatting tools to make your edits.

Inserting an Image
If you want to insert an image:
-
Place your mouse cursor where you want to insert the image.
-
Click Insert > Image.

The Select Image pop-up window opens.
-
Select from uploaded images, or click the Upload button to select an image from your computer.
Image file names must not have spaces or special characters. For example, mybackground.pngormy_background.pngwill work as expected. -
Click the Select Image button to insert your image into the Email Template.
Using Email Variables
Email variables are expressions that allow you to insert user data dynamically. Many of these variables are client-specific for all email types—contact Customer Care for a list of your client-specific email variables.
For example:
Hello {{Distributor.Name}},
It looks like there was an issue…
Any client can use the default email variables.
For more information, see List of Default String Variables in the Default Email Templates.
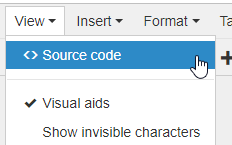
Editing the Source Code
-
Click View, then Source Code to edit the HTML of the template, if applicable.
Saving the Template
-
Click the Save Changes button when finished.
Comments
We've found through trial and error that Email Images must NOT have a "space" in the name. For example, my background.png will not work correctly and the image should instead be saved as mybackground.png or my_background.png before inserting the photo into the template.
Please sign in to leave a comment.