Admin: Web Office Admin
Page: Advanced Settings > Miscellaneous
URL: [CLIENTID].admin.directscale.com/#/MiscellaneousSetup
Permission: Setup Miscellaneous
If you need somewhere to host internal files and assets, you’ll find the Amazon Web Services section useful. Uploading the files in this section generates a URL that you can use to develop and customize your Web Office.
This tool is also available for the eCommerce Shop: Uploading Files and Assets in eCommerce Admin.
Uploading Files
-
Under the Upload Files section, click SELECT FILE.
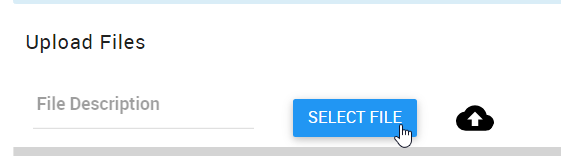
SELECT FILE button Your computer’s file finder window opens. Navigate to and select your file.
Note: You can select multiple files at once to upload files in bulk. Refresh the page to see the individual files uploaded.
-
In the File Description field, enter a name or description for the file.
-
Click the icon to upload your file.

Upload file
Uploaded files are sorted in a table.
- You can copy the file’s URL by clicking the icon.
- Delete the file by clicking the icon.
Entering Your Own Amazon Web Services Credentials
If you would like to add your own AWS credentials:
-
Expand the Amazon Web Services section.
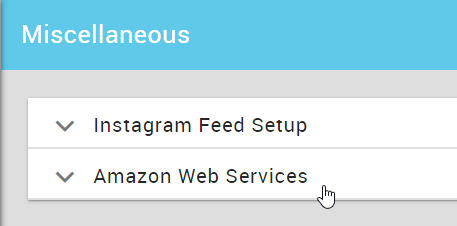
Expand Amazon Web Services section -
You’ll notice the InternalImages box that contains a DirectScale owned Amazon Web Services (AWS) bucket configuration.
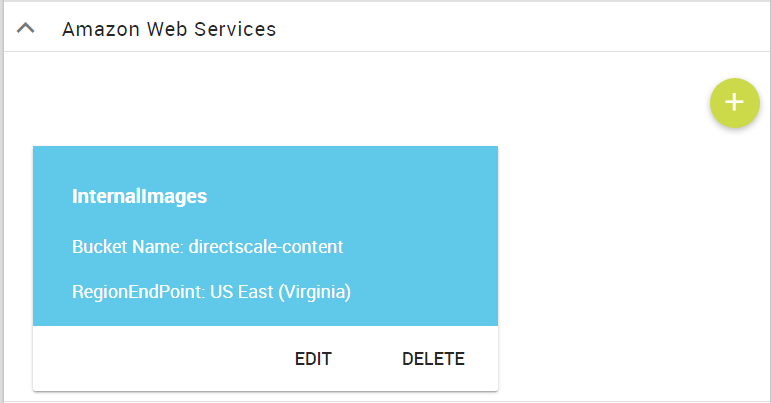
InternalImages bucket -
Click the button to open the Add AWS pop-up window, where you can enter your account information.
Comments
Please sign in to leave a comment.