Admin: Corporate Admin
Page: Reports > Custom
URL: [CLIENTID].corpadmin.directscale.com/Corporate/Reports/Custom
Permission: ManageCustomReports() or ViewCustomReports()
The SQL Report Builder in Corporate Admin allows you to build customized reports by querying a copy of the Database using SQL statements.
-
These custom reports are visible to other Corporate Admin users who’ve been granted access with the proper permissions.
-
The reports will not be accessible to your Associates in Web Office. You’ll need to use Quick Reports for that.
| You can also create reports with the Visual Report Builder |
Creating a Report
To create a new report with the SQL Report Builder:
-
Click Add Report and select SQL Report Builder.

The SQL Report Builder page opens. This page features the same functionality as the SQL Manager.

-
Enter the SQL query in the Query Box.
Find useful queries in the SQL Query Library. -
Click Preview. The Preview Report panel allows you to test your query and ensure that it’s pulling in the intended data. Click the to close the panel.
-
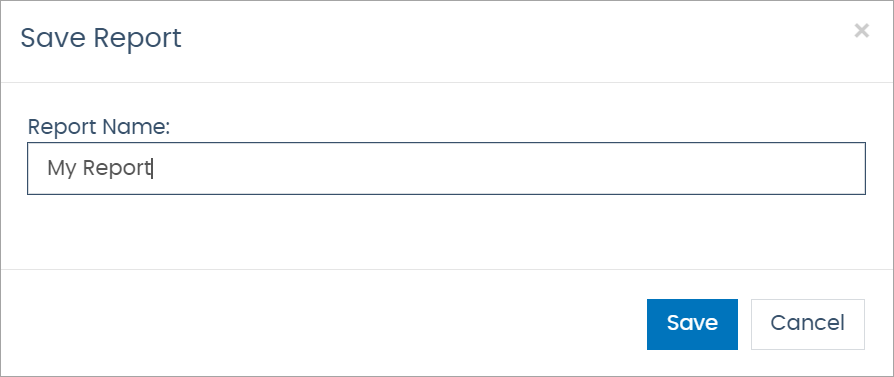
Click Save. The Save Report pop-up opens.
-
In the pop-up, enter a Report Name.
-
Click Save to confirm.

The report will now be added to the list of available reports accessible to you and other users. However, only you and users with the ManageCustomReports permissions can edit or delete the report.
Editing Your Custom Reports
To edit a report made by yourself or another user:
-
Locate the report from the Report Name list.
-
Click the button to begin editing.

-
The SQL Report Builder opens with the query loaded in the Query Box.

-
Make the applicable adjustments.
-
Select Preview to preview the changes before saving.
-
Click Save. A pop-up window will appear. The Report Name field will automatically populate with the report’s current title.
-
Leave the name unchanged to save changes to the report.
If you update the existing report name and confirm the changes, the report will save under the new name; it does not create an additional report. -
Click the Save button.

Deleting Reports
To delete a report:
-
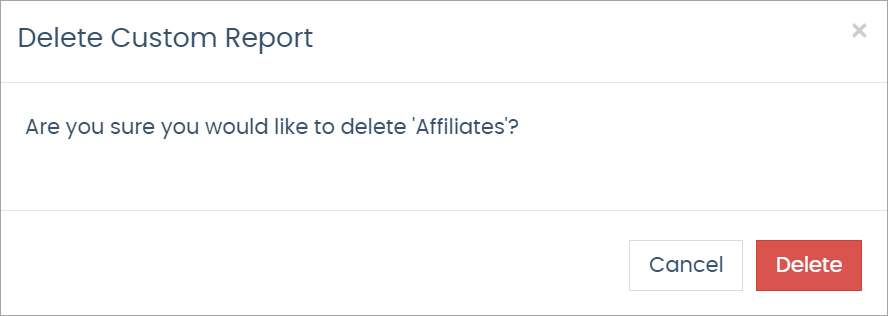
Click the button to remove the report. The Delete Custom Report pop-up window opens.

-
In the pop-up, click Delete to confirm.

| You cannot recover a deleted report. |
Comments
Please sign in to leave a comment.