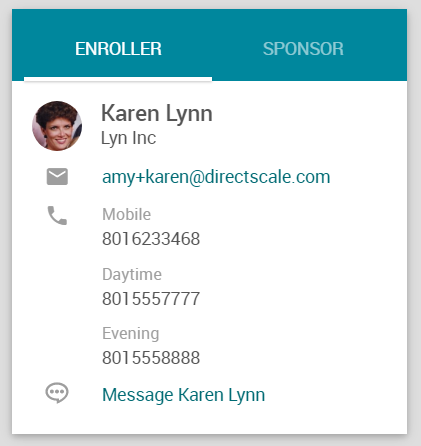
The Team Dashboard > Sponsor/Enroller widget displays the contact information for the associate’s sponsor/enroller. An enroller is the person an Associate signed up under and a sponsor is who the Associate is under in the Unilevel tree.
Using the Widget
The widget has two tabs by default:
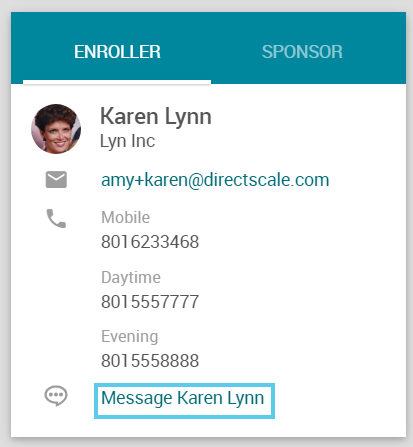
ENROLLER Tab
Contact information on the selected associate’s enroller.
Click the MESSAGE {enroller name} link to open the Web Office Messenger side panel.
SPONSOR Tab
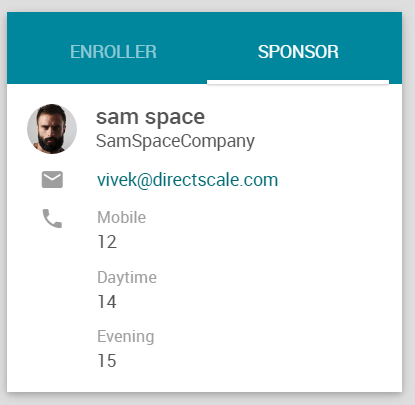
Contact information of the selected associate’s sponsor.
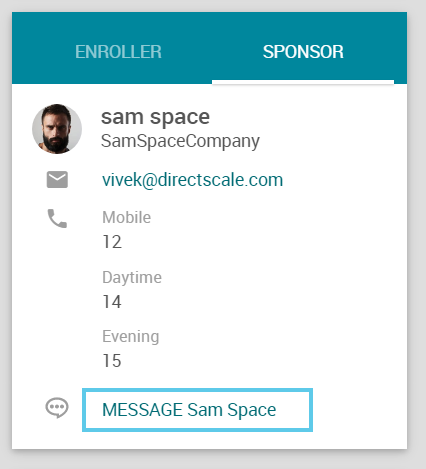
Click the MESSAGE {sponsor associate name} link to open the Web Office Messenger side panel.
Configuring the Widget
Admin: Web Office Admin
Page: Advanced Settings > Widgets
URL: [CLIENTID].admin.directscale.com/#/WidgetsSetup
Permission: Setup Widgets
The data types that appear in the widget can be customized in Web Office Admin.
Accessing the Settings

- Expand the Sponsor/Enroller section.
- Click the button to open the Sponsor/Enroller pop-up window.
Note: The SETTINGS tab contains no options in this configuration.
Widget Elements
-
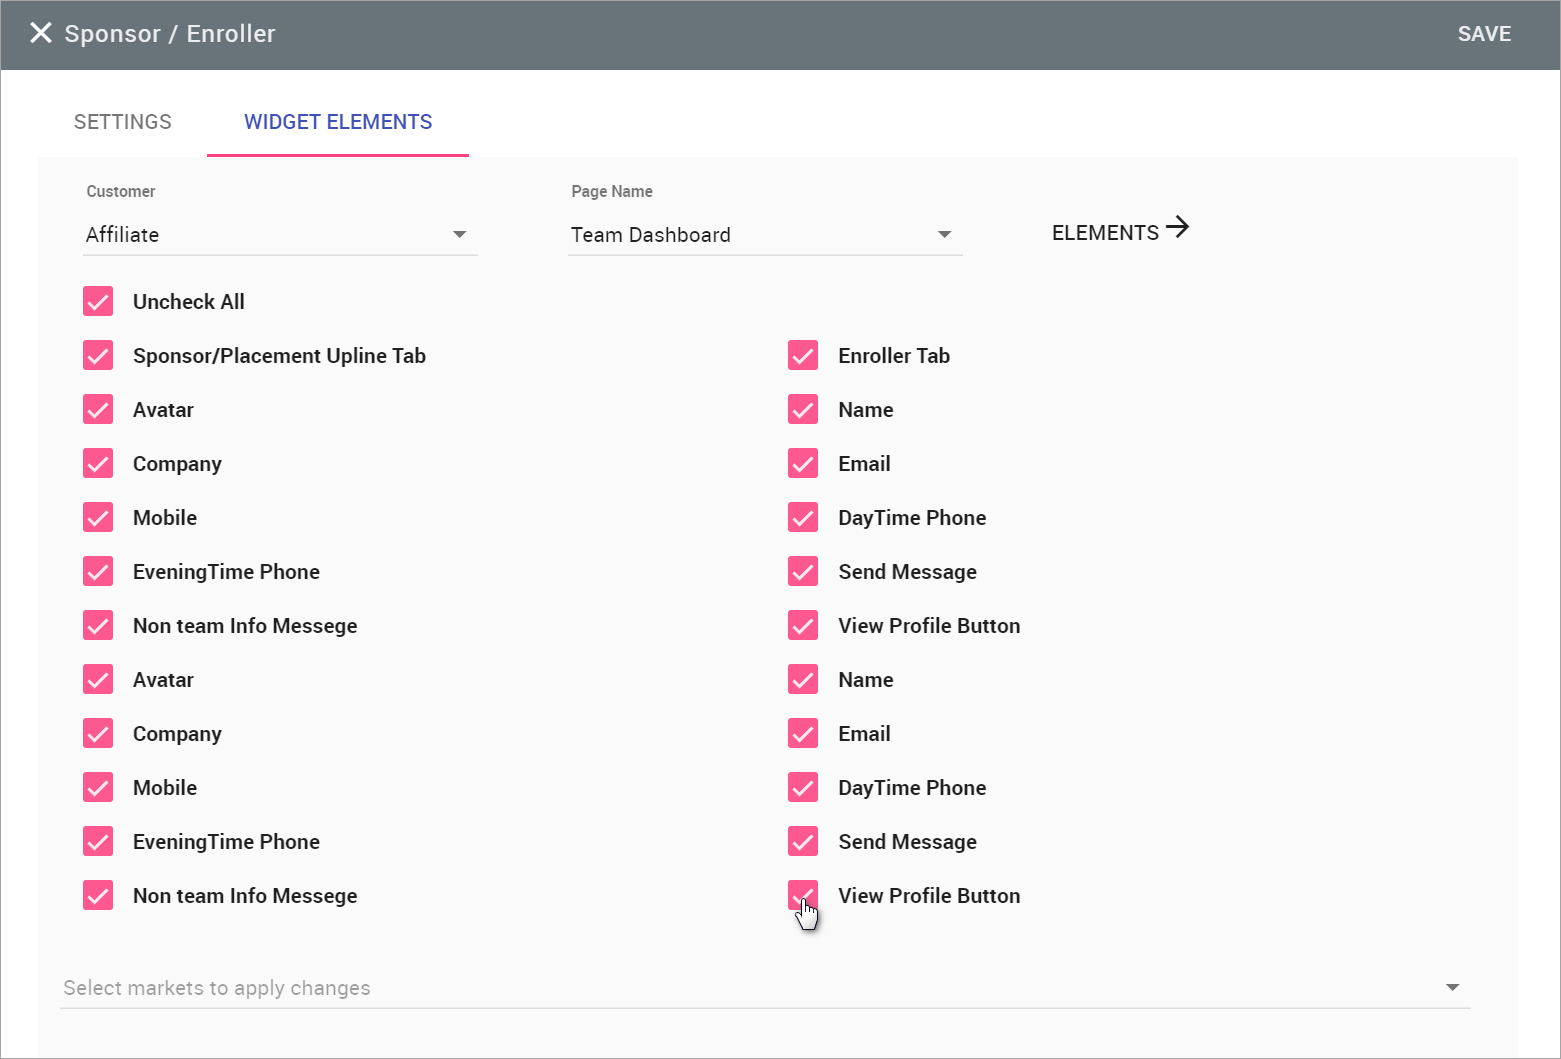
Under the WIDGET ELEMENTS tab, select the Customer Type.
Customer Type is another name for Associate Type, read more: Base Associate Types, Associate Types, and Price Groups Explained
-
Select the Page Name where the widget is located. The only option is Team Dashboard).
-
Select the markets (i.e., countries) where the changes will apply.
-
Click the ELEMENTS button.
-
A series of checkboxes appear where you can select different elements to include in the Web Office Team Dashboard > Sponsor/Enroller widget.
-
Click SAVE. Repeat the steps for each market, if necessary.
Comments
Please sign in to leave a comment.