Important: Only use the Test Merchant on your Stage environment (if available).
Use the Test Merchant to test order submission without sending payment to the provider.
Using the Test Merchant
Note: The Test Merchant only works with USD or EUR currencies, depending on the Test Merchant type selected.
To use the Test Merchant, create an order in either the Corporate Shop, Web Office Shop, or eCommerce Shop with a test Associate:
- Add an item to the cart.
- In the Shopping Cart, click Checkout.
On the Checkout page, you won’t see the Test Merchant payment method under the Payment Method section. You have to add a payment method:
-
Click the Add Payment Method button
-
Enter any test Card Number.
You can test payment responses by entering specific numbers. See the list in Order Payment Responses.
-
Click Save Card.
After saving, Place the Order with the test card.
Order Payment Responses
You can test different payment responses based on the last four digits of the card:
- 1111 = Accepted
- 2222 = Payment Pending
- 3333 = Rejected
- 4444 = Fraud Rejected
- 5555 - Pending Fraud Review
- 6666 = Pending Precheck
- 7777 = Redirect
- 8888 = Not Provided
- Any other numbers = Success
Re-Adding the Test Merchant
The Test Merchant is already enabled by default. If you need to, you can re-add it:
-
In Corporate Admin, navigate to Settings > Company Settings > Payment Methods.
-
Click the + Add Payment Map button.
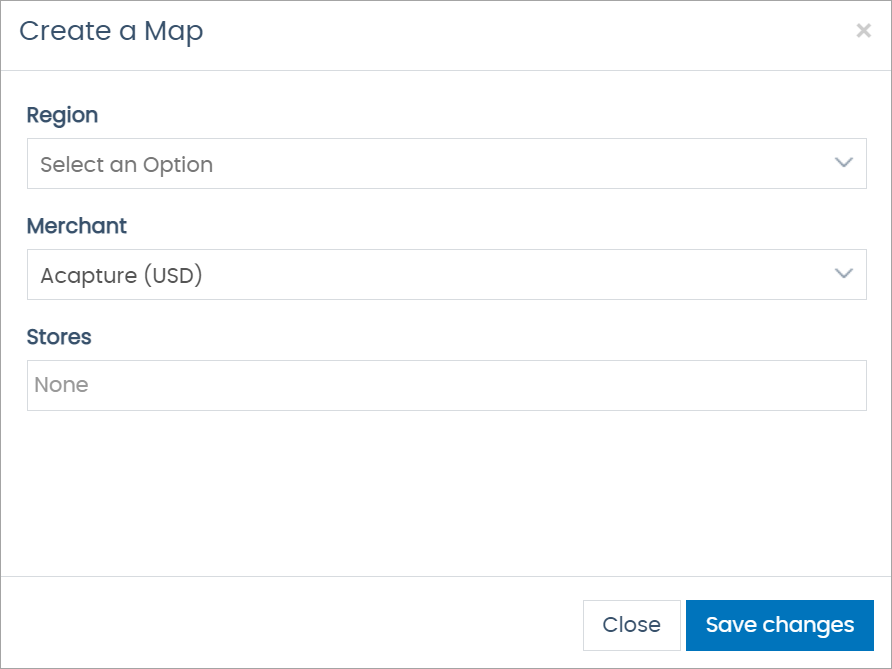
The Create a Map pop-up window opens.

-
Select the necessary Regions.
-
From the Merchant drop-down, select either:
- Test Merchant (USD)
- Test Merchant (EUR)
-
Select the Stores for the payment method.
-
Click the Save changes button.
Read more: Mapping Payment Providers
Comments
Please sign in to leave a comment.