Back to Testing Checklist
After going through the checklists in the Get Started section and integrating with a merchant provider, you’ll want to ensure that you can receive money when creating a Corporate Shop, Web Office, and eCommerce Shop order.
-
Do this in your Live environment.
-
Do this for each of your Stores (mainly Corporate, Wholesale, and Retail).
-
Do this for every market you have set up.
| Report any errors you find to Customer Care or your DirectScale contact. |
Before You Start
-
Set up your merchant integration in your Live environment.
Now that you’ve mapped your merchant, you can test the integration with a test order.
Domain Whitelisting
Before you begin your testing, you may need to whitelist your Stage and Live sites IP address with your merchant.
The following merchants may require domain whitelisting:
-
I-Payout
-
Payquicker
-
Global Payroll Gateway (GPG)
-
ProPay
-
Hyperwallet
| Contact Customer Care if you need assistance getting your site IP address. |
Creating a Test Inventory Item

To test your integration, create a test item that costs $1.00 that’s available in the same stores as your merchant.
If you need help, check out the Inventory Items and Pricing Guide.
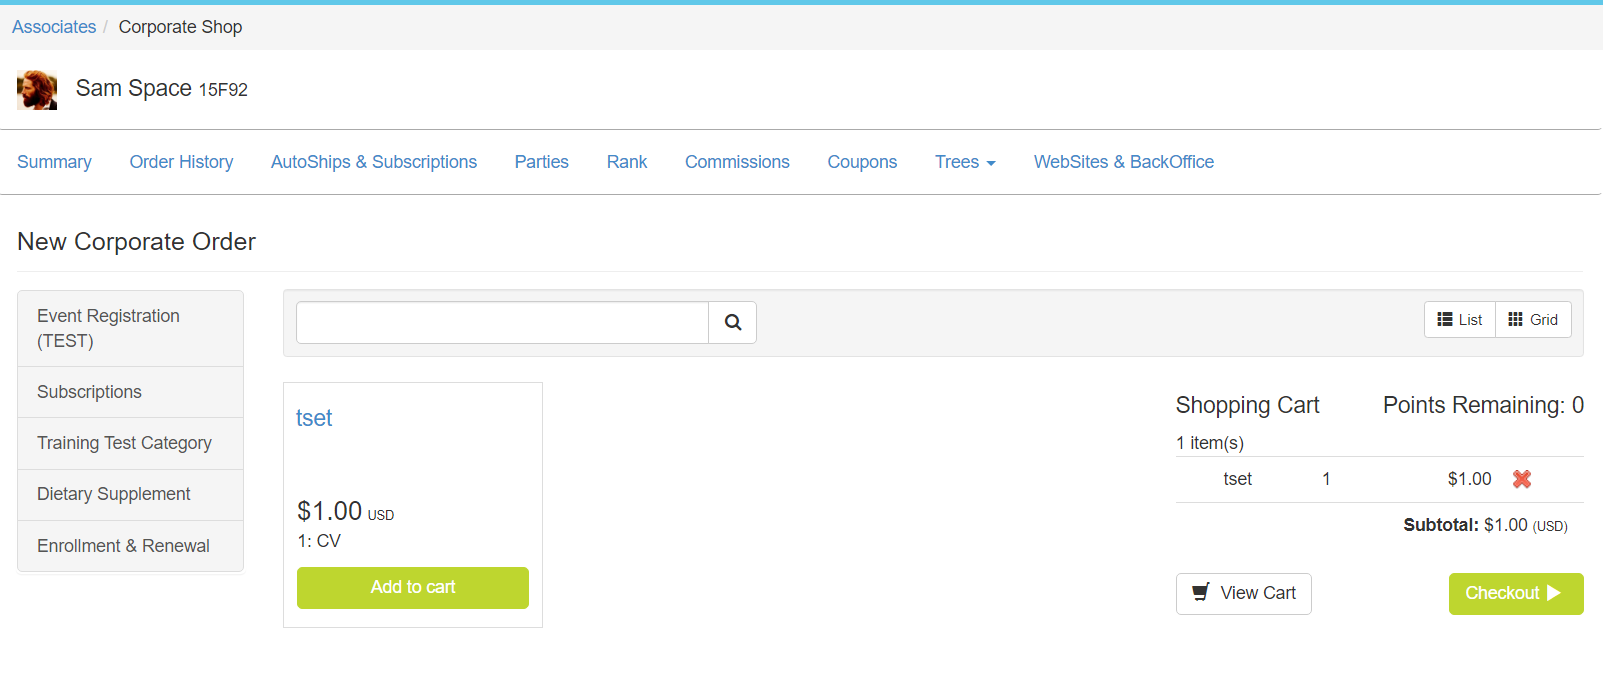
Creating a Test Order
After creating your test inventory item, you can create a test order.
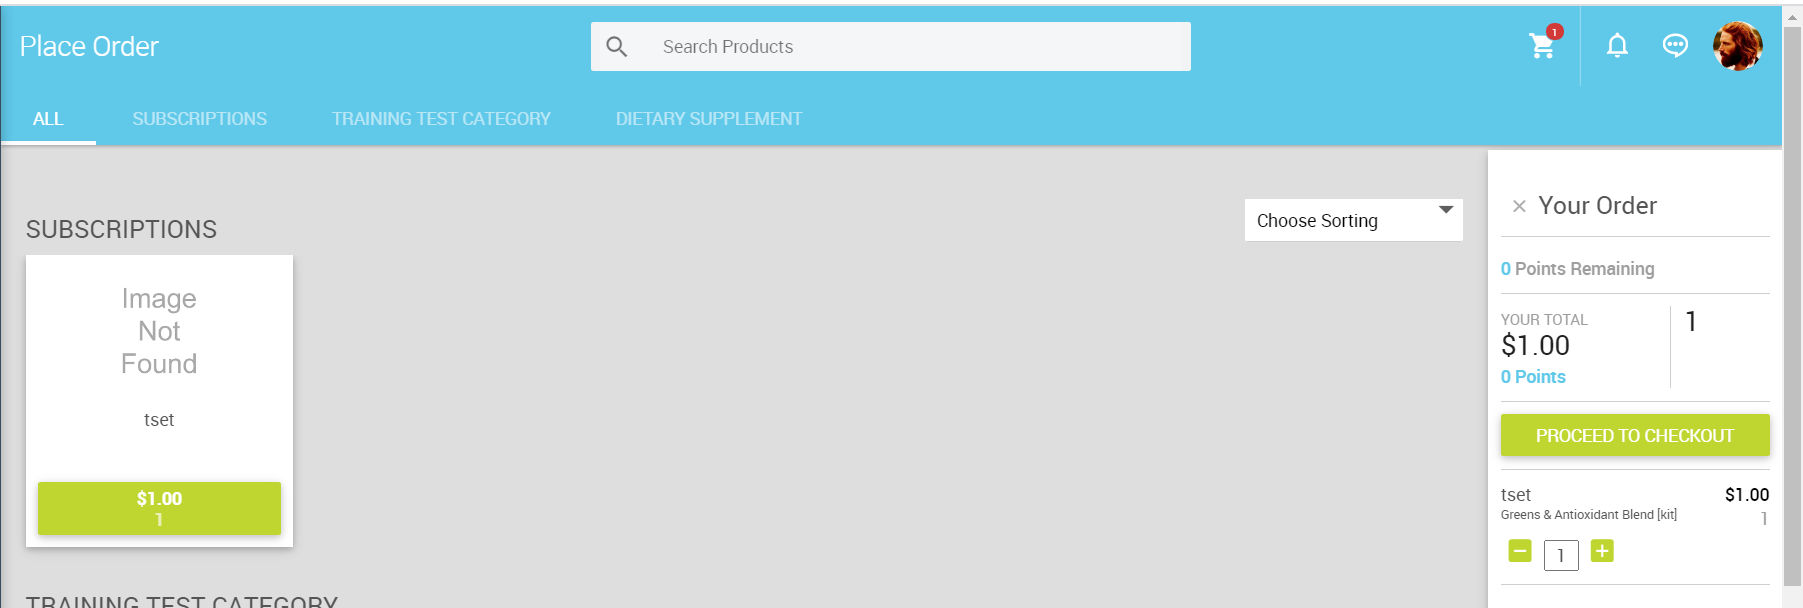
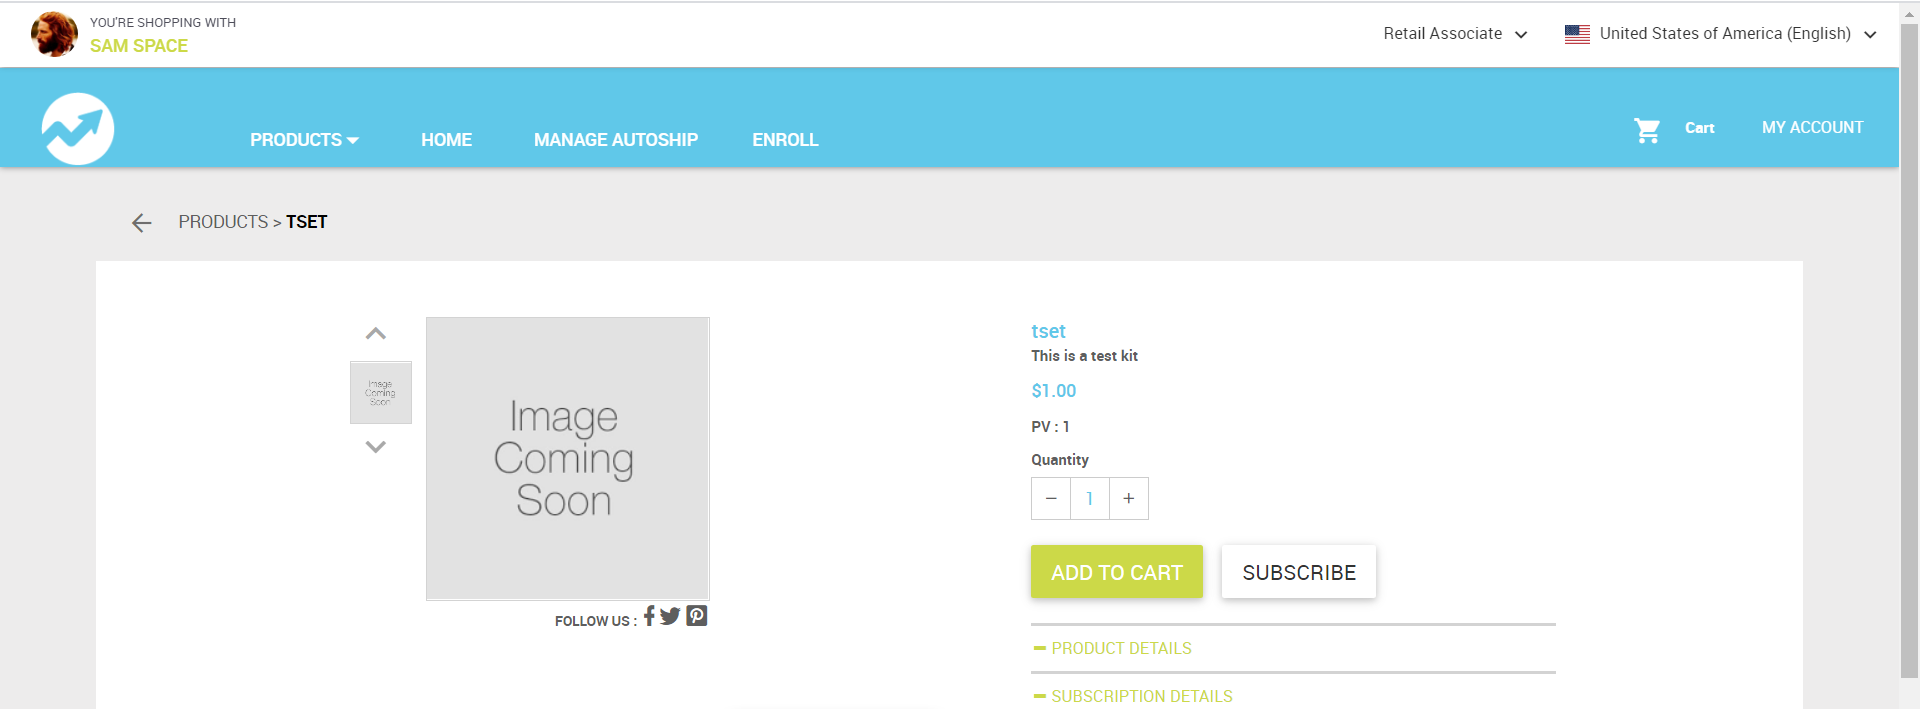
-
In each shop, add your test item to the cart.
-
In the Checkout page, click the Add Payment Method button to add a payment card.
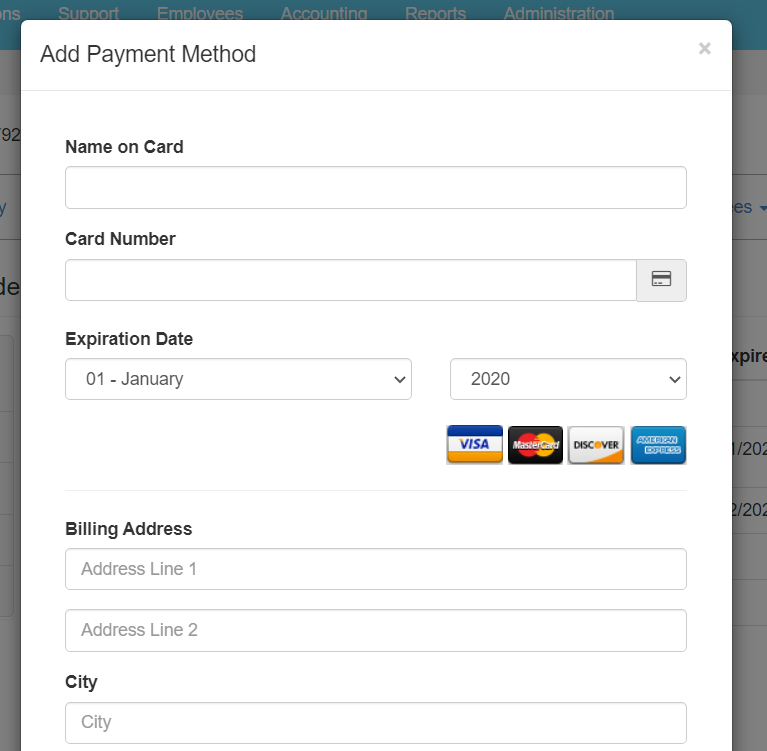
-
If the payment card is added successfully, then click Place Order.
If you receive an error, double-check your credentials and payment map configuration.
Checking Order Status
-
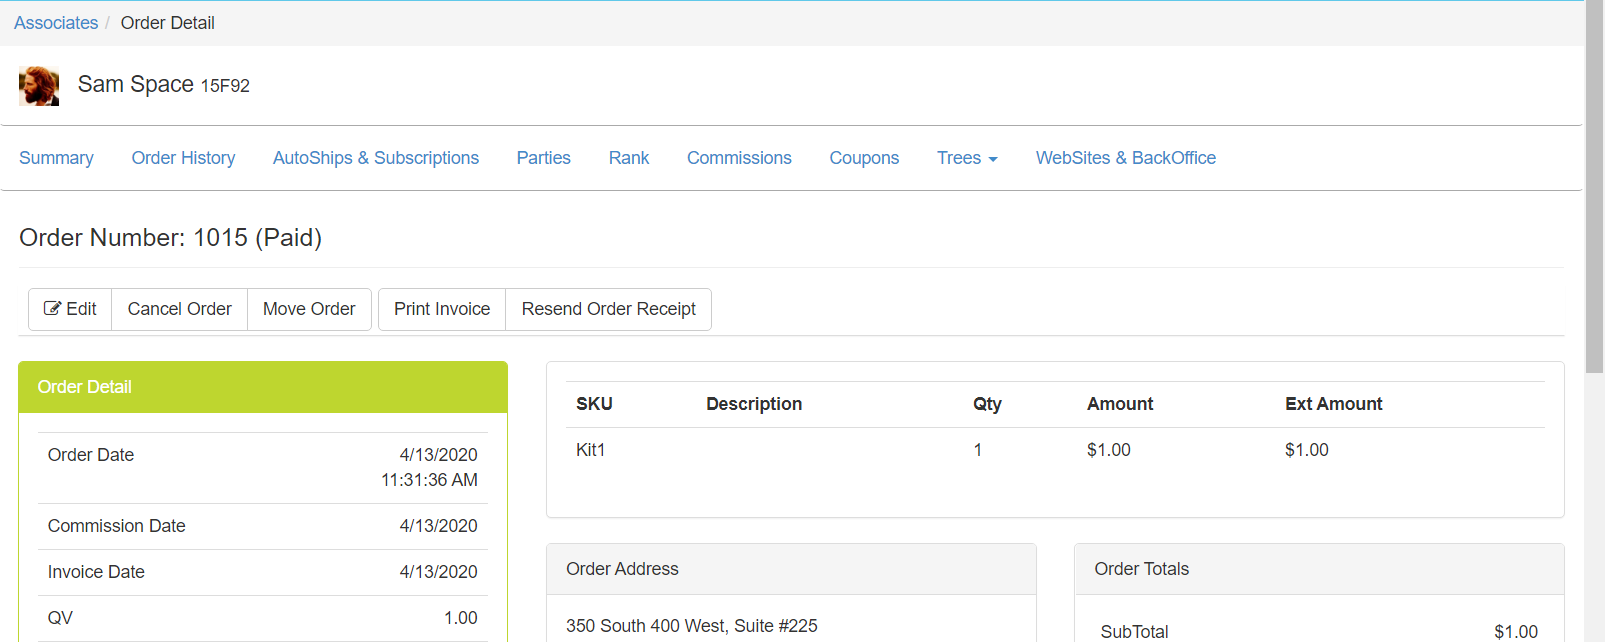
After placing the order, in Corporate Admin, click the Order Number link to navigate to the Order Detail page.
-
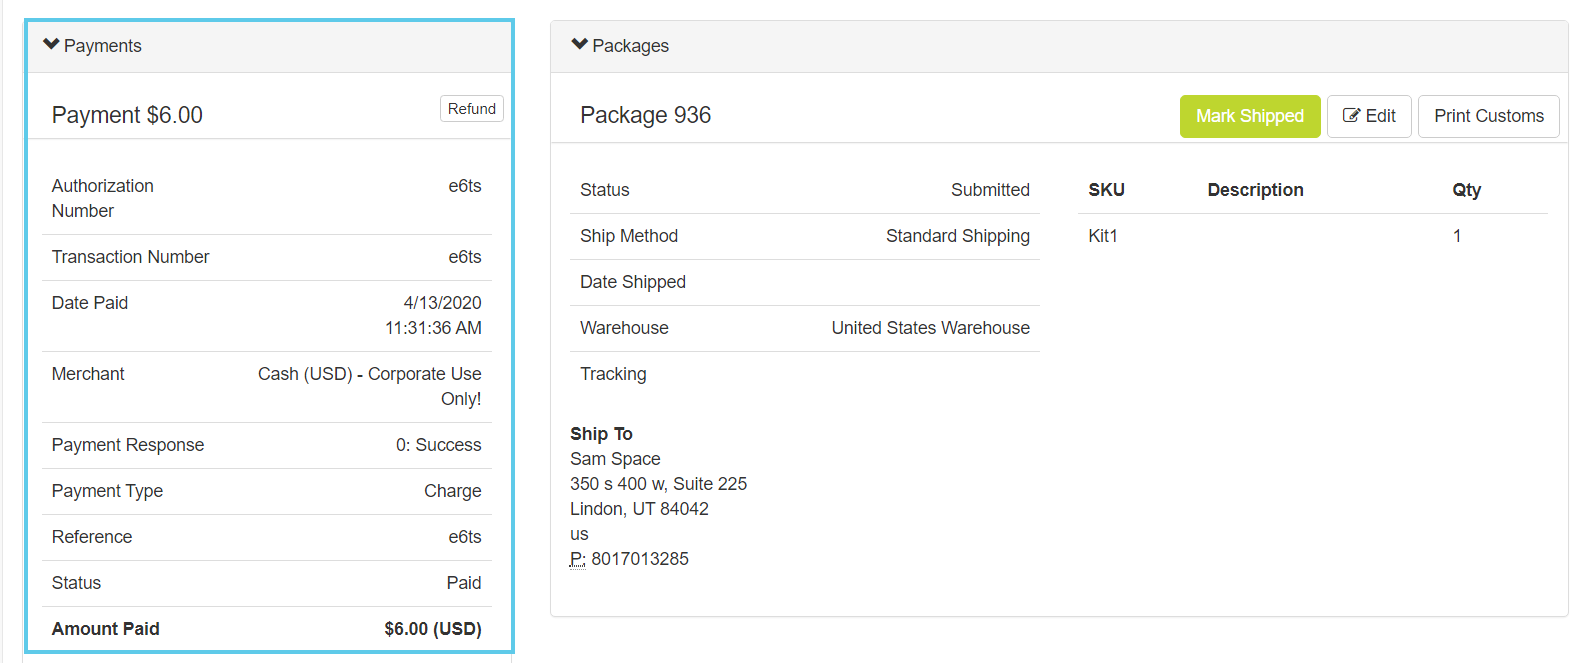
Under the Payments section, you can see:
-
The details of the transaction
-
The merchant response
-
Status
-
Testing Refunds
Next, you will want to test the refund process.
| Some merchants need 24 hours before you can start a refund. |
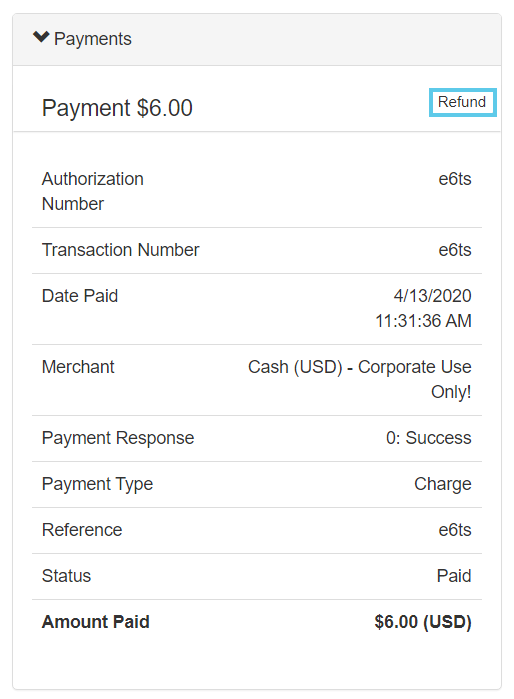
-
Under the Payments section, click Refund.
The Refund Payments pop-up window opens.
-
Check the Payment Amount.
-
Click the Process Refund button.
The order status changes to "Refunded" and the charge returns to the card.
Testing Cancellation

Once you’ve tested refunds, you can cancel the order.
-
Click the Cancel Order button.
-
The Cancel Order pop-up window opens.
-
Click the Delete button to confirm.
Testing with Your Provider
You should now check your merchant provider’s software to ensure the transactions appear correctly in their system.
-
Create orders in DirectScale.
-
Log in to your merchant’s portal.
-
Check the transaction amounts.
If there are any errors, you may need to contact both Customer Care and your provider’s support to locate which side the problem is occurring.
Comments
Please sign in to leave a comment.