Site: Web Office
Page: Business > Report Center
URL: [CLIENTID].office2.directscale.com/app.html#/ReportCenter
Quick Reports is a two-step process:
-
The report is initially created through the Web Office Report Center by an Associate. If you would like to make a report yourself, you’ll have to Impersonate an Associate’s Web Office Login.
-
Once the report is created and approved, you can add it as a Quick Report through the Web Office Admin. Adding a Quick Report makes the report available to all Associates in the Web Office.
| A specific corporate Associate account should be designated for report creation to keep all reports together and unaltered. |
Creating the Report
-
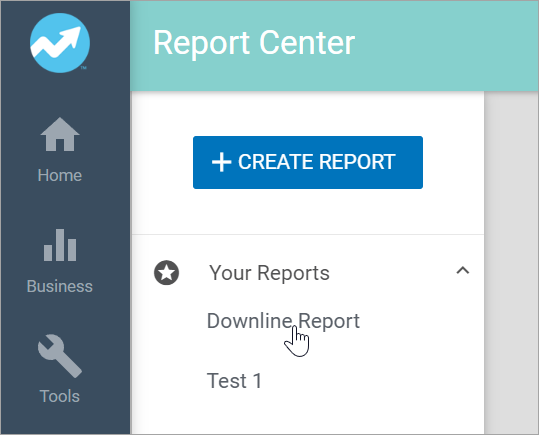
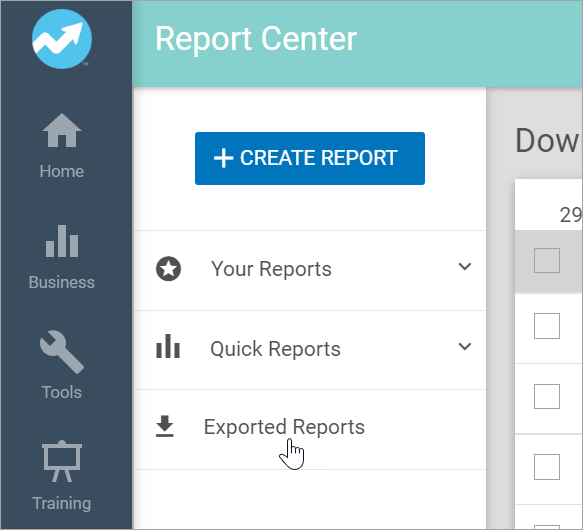
Click CREATE REPORT.
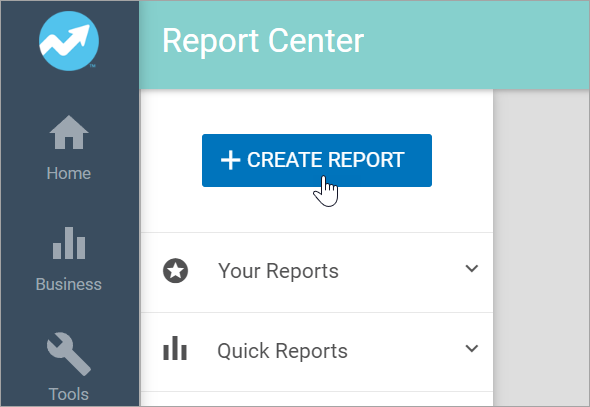
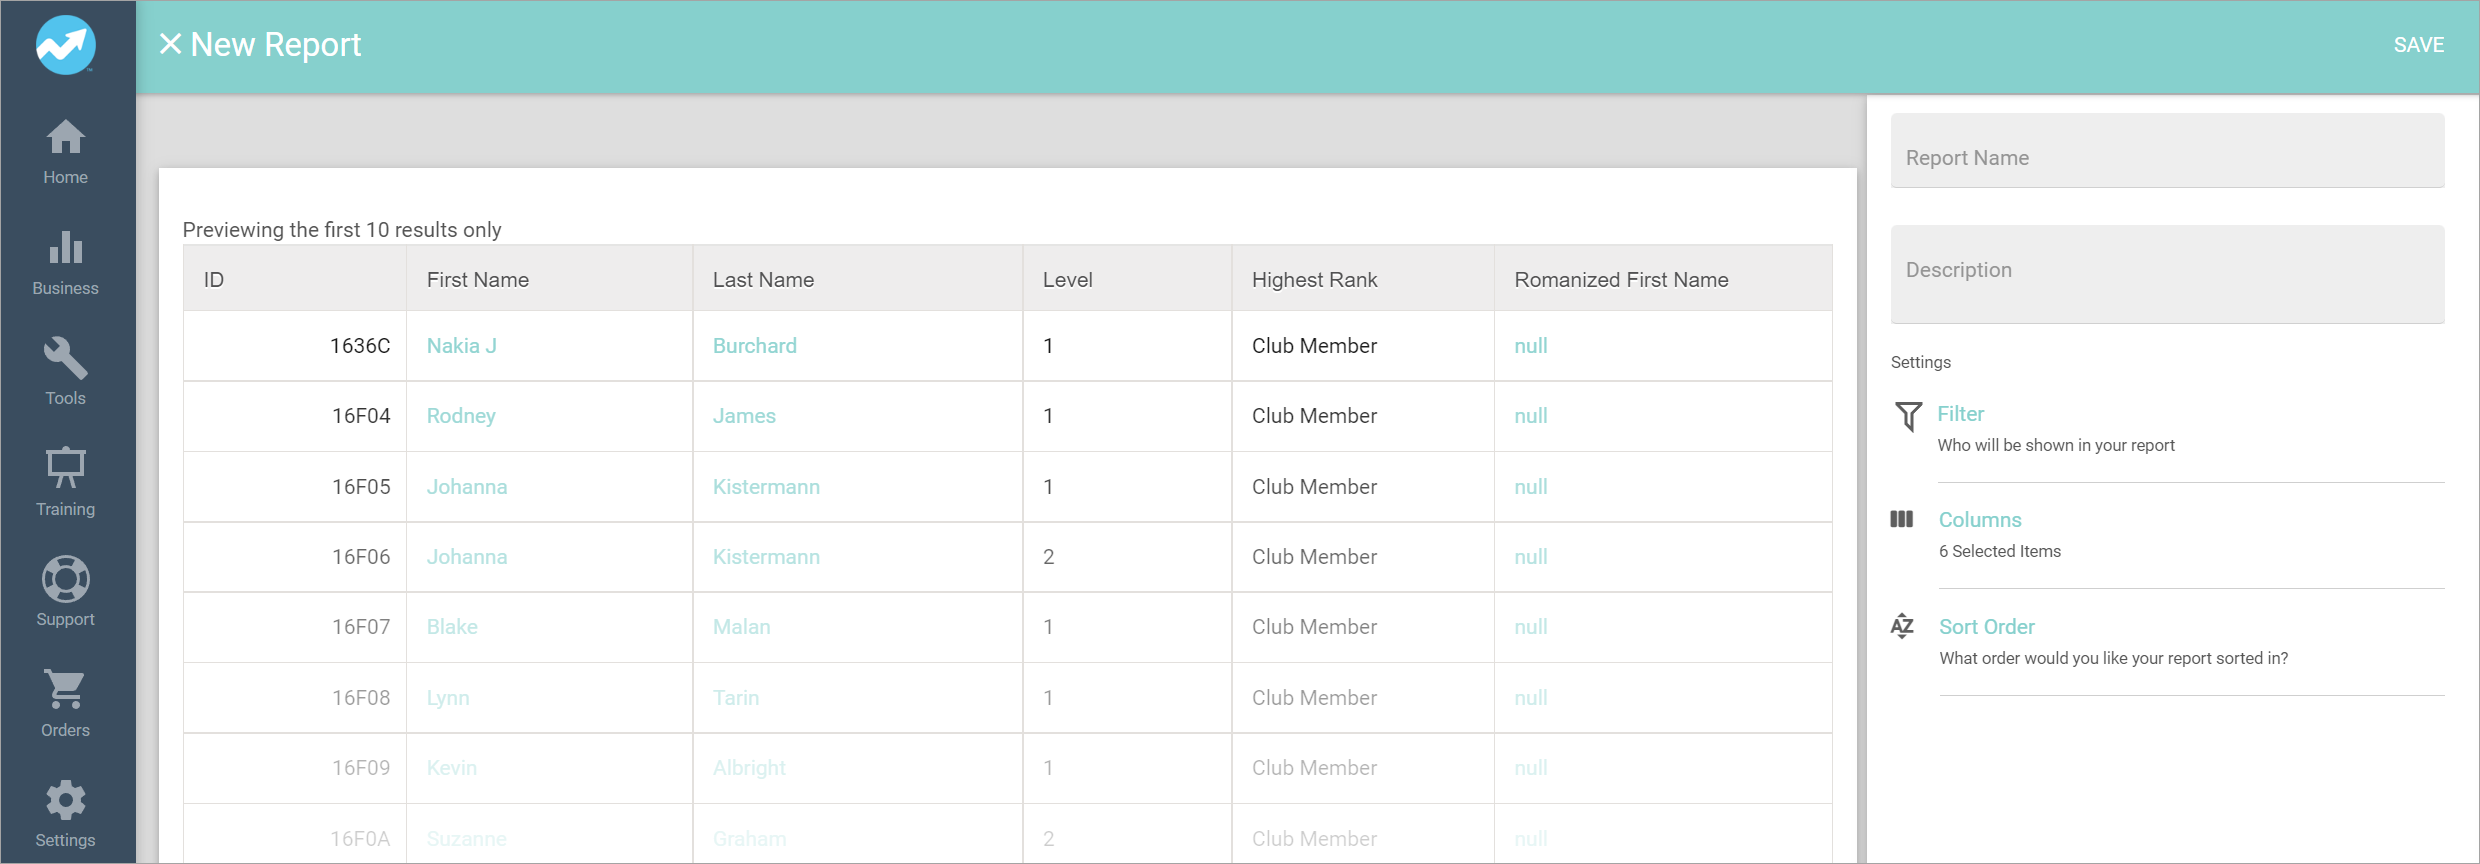
The New Report page opens and pulls in a default report.
-
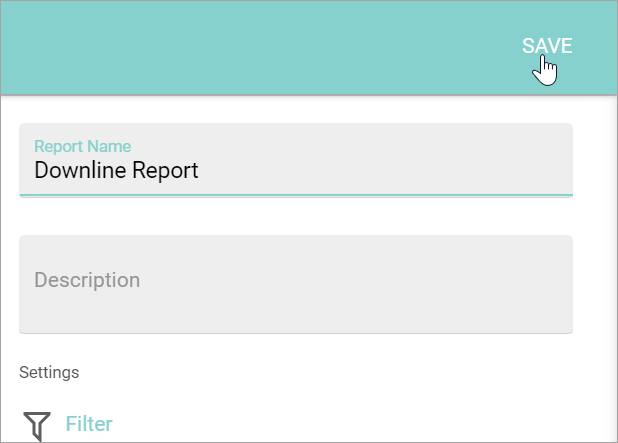
In the right sidebar, enter a Report Name.
-
Enter a Description.
Filtering the Report
-
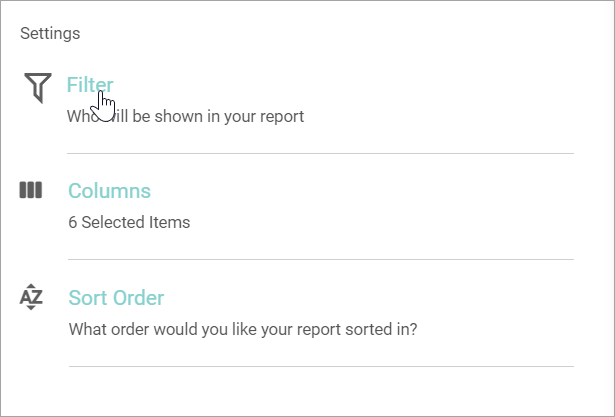
Under Settings, click Filter to customize the data included in the report.
The Filters pop-up window opens where you can make your selection.

-
When you select a filter, a drop-down menu appears with the following options:
-
Is - Enter a word or sequence of numbers or letters. This filter will only show data that matches that word or letters/numbers.
For example, if you select the First Name filter with the Is option and enter the name "John", then the report will only include Associates with the first name of John. - Is Not - Enter a word or sequence of numbers or letters. This filter will only show data that does not match that word or letters/numbers.
For example, if you select the First Name filter, with the Is Not option and enter the name "John", then the report will not include any Associate with the first name of John. Filters with a free-form text field have the following additional options:
-
Contains - Enter a word or sequence of numbers or letters. This filter will only show data that contains that word or letters/numbers. This field does not allow a list of words.
For example, if you select the Zip filter with the Contains option and enter "84", the report will show all the zip codes that have "84" (84105, 84651, 84403, etc.). -
In - Enter a word sequence with each word separated by a comma. This filter will only show data that is an exact match with one of the submitted entries.
For example, if you select the First Name filter with the In option and enter "John, Jane, Jack", the report will show all Associates with John, Jane, or Jack as their first name. Each comma, in this case, represents an "OR", as in John OR Jane OR Jack.
Partial Filter Definitions:
-
ID - Enter the Back Office ID.
-
Status - Enter the Associate Status.
-
Customer Type - Enter the numerical Associate Type.
-
Sponsor Id - Enter the Sponsor’s Full Name.
-
-
Click DONE to save.
Selecting Column Headings
-
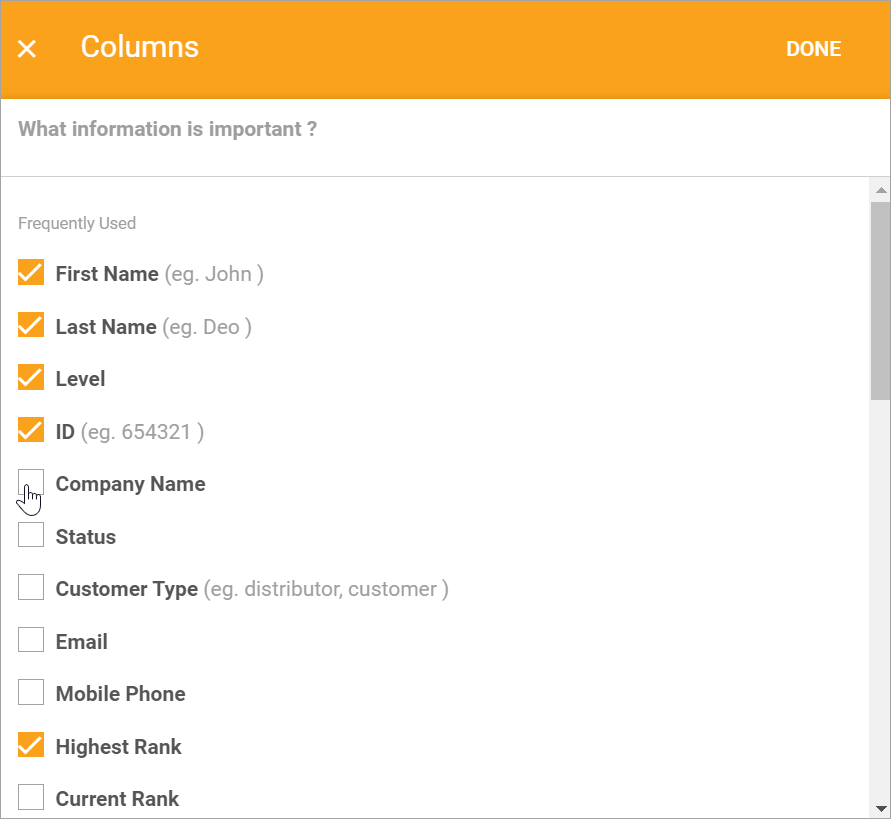
Click Columns to select the column headings.
The Columns pop-up window opens where you can make your selection.
-
Click DONE to save.
Sorting Report Data
-
Click Sort Order to change the order of the report data.
The Sort Order pop-up window opens where you can make your selection.
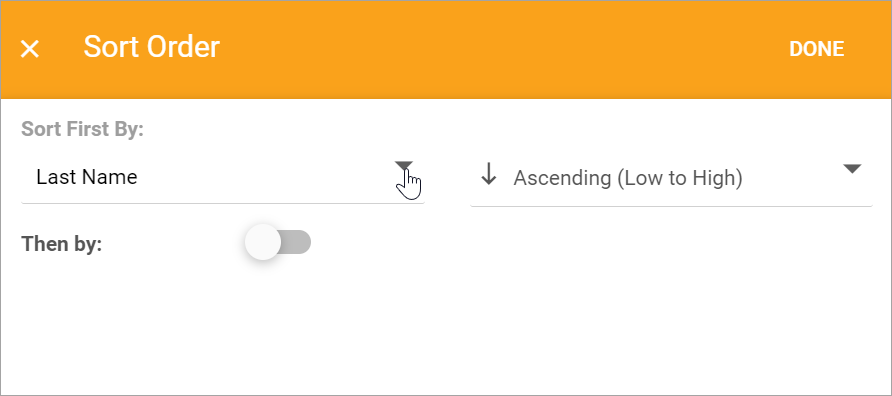
You can sort by data point and whether it will be ascending or descending.
-
Click DONE to save.
Saving the Report
-
When finished, click SAVE.
The Associate’s report sorts under Your Reports on the left sidebar.
Editing a Report
-
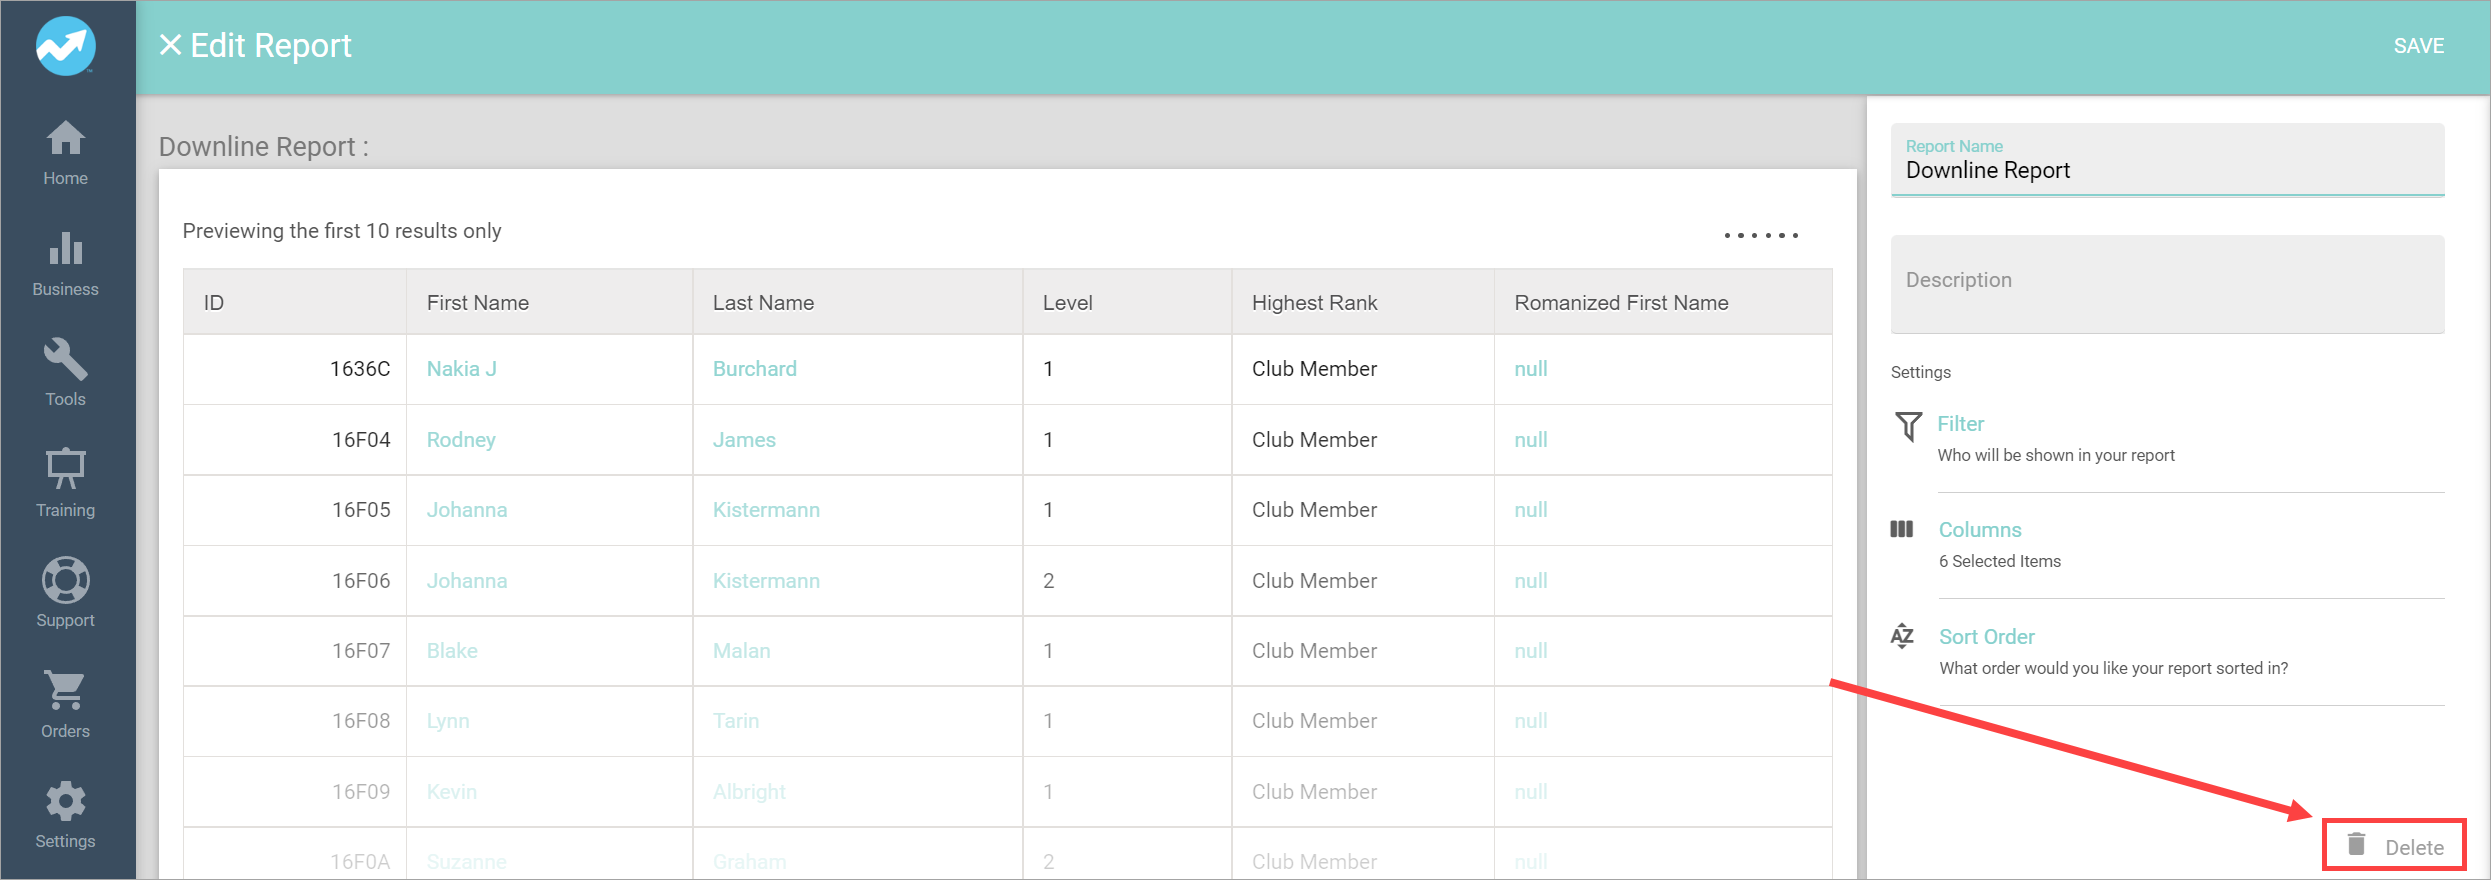
On the Web Office header, click the Edit icon.
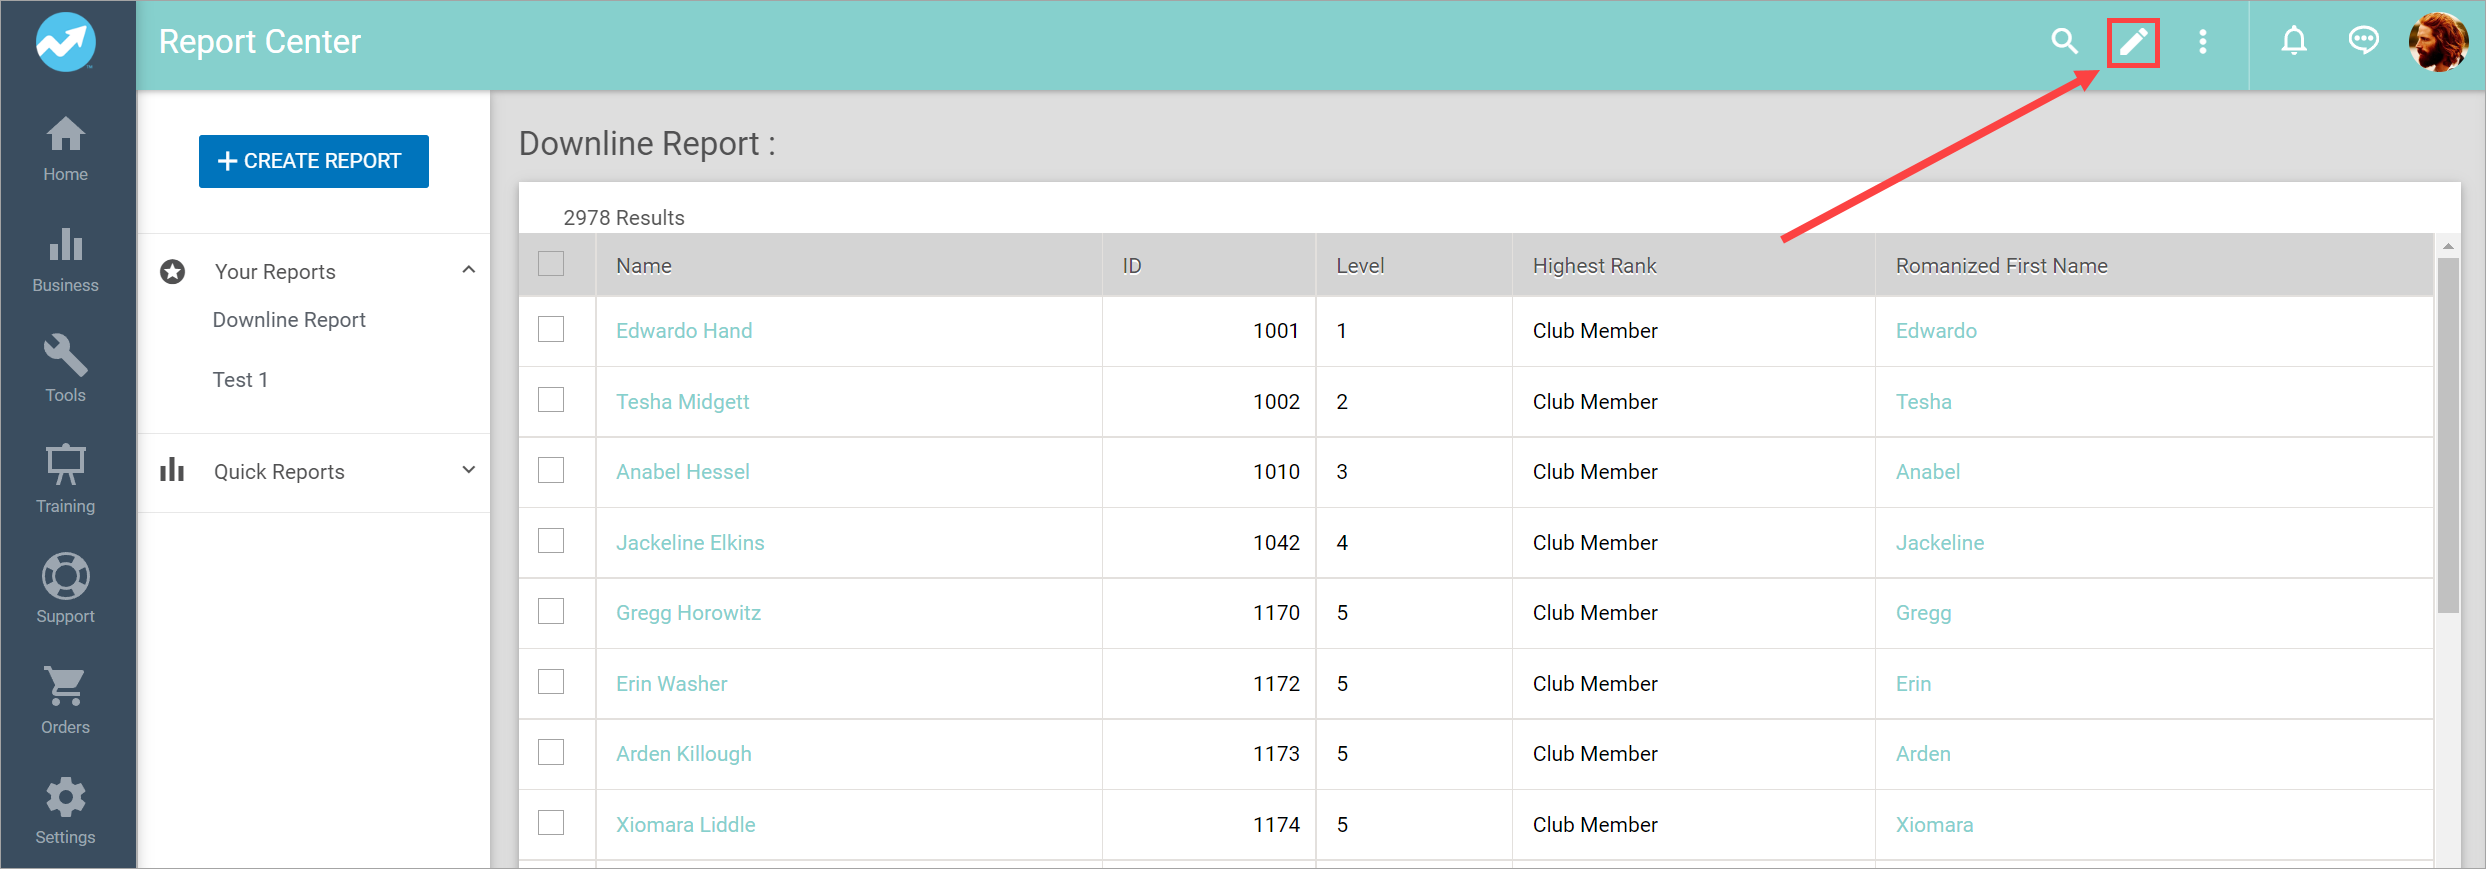
The Edit Report page opens with the same functionality as adding a new report.

-
Make any necessary changes and click SAVE.
Deleting a Report
-
Select the report from the left sidebar.
-
Click the icon on the Web Office header.

-
From the drop-down menu, select Delete.
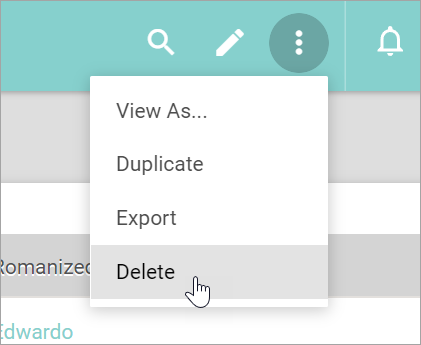
The report deletes without confirmation. This process can not be undone. -
Alternatively, you can click Delete while editing the report.
Exporting a Report
-
Select the report from the left sidebar.
-
Click the icon on the Web Office header.
-
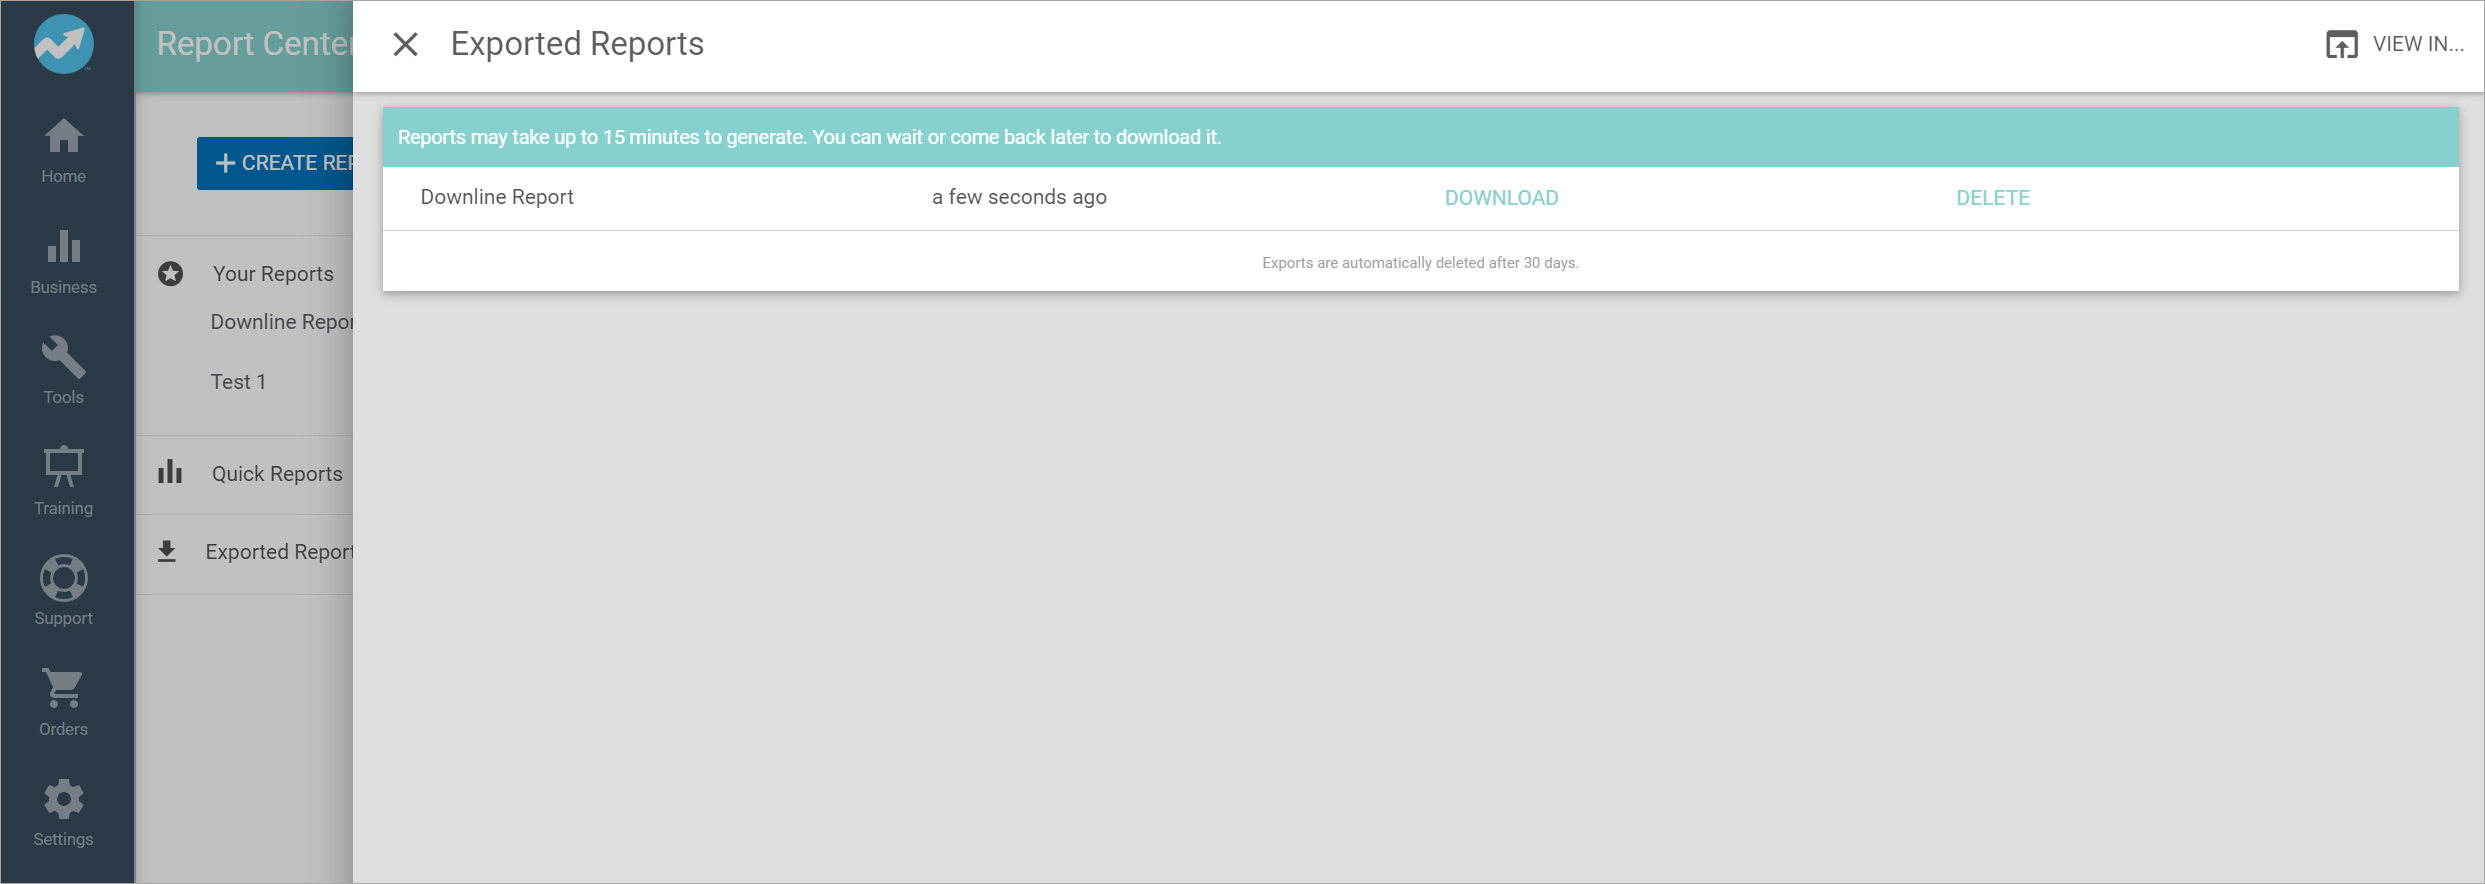
From the drop-down menu, select Export.

The Exported Reports pane slides out and generates a DOWNLOAD link. The report may take a few minutes depending on the size.
-
Click DOWNLOAD to download the report.

-
If you close the Exported Reports pane or want to view previously exported reports, on the left sidebar, click Exported Reports.
Comments
Please sign in to leave a comment.