Admin: Corporate Admin
Page: Associates > Search Associates > Associate Detail > AutoShips & Subscriptions
URL: [CLIENTID].corpadmin.directscale.com/Corporate/CRM/Detail?id=[ASSOCIATE_ID]
Once an Associate places a Service order, you can view the Service on the Associate’s AutoShips & Subscriptions page.
-
In Corporate Admin, find and select an associate to navigate to their Detail page.
-
Click the AutoShips & Subscriptions tab.
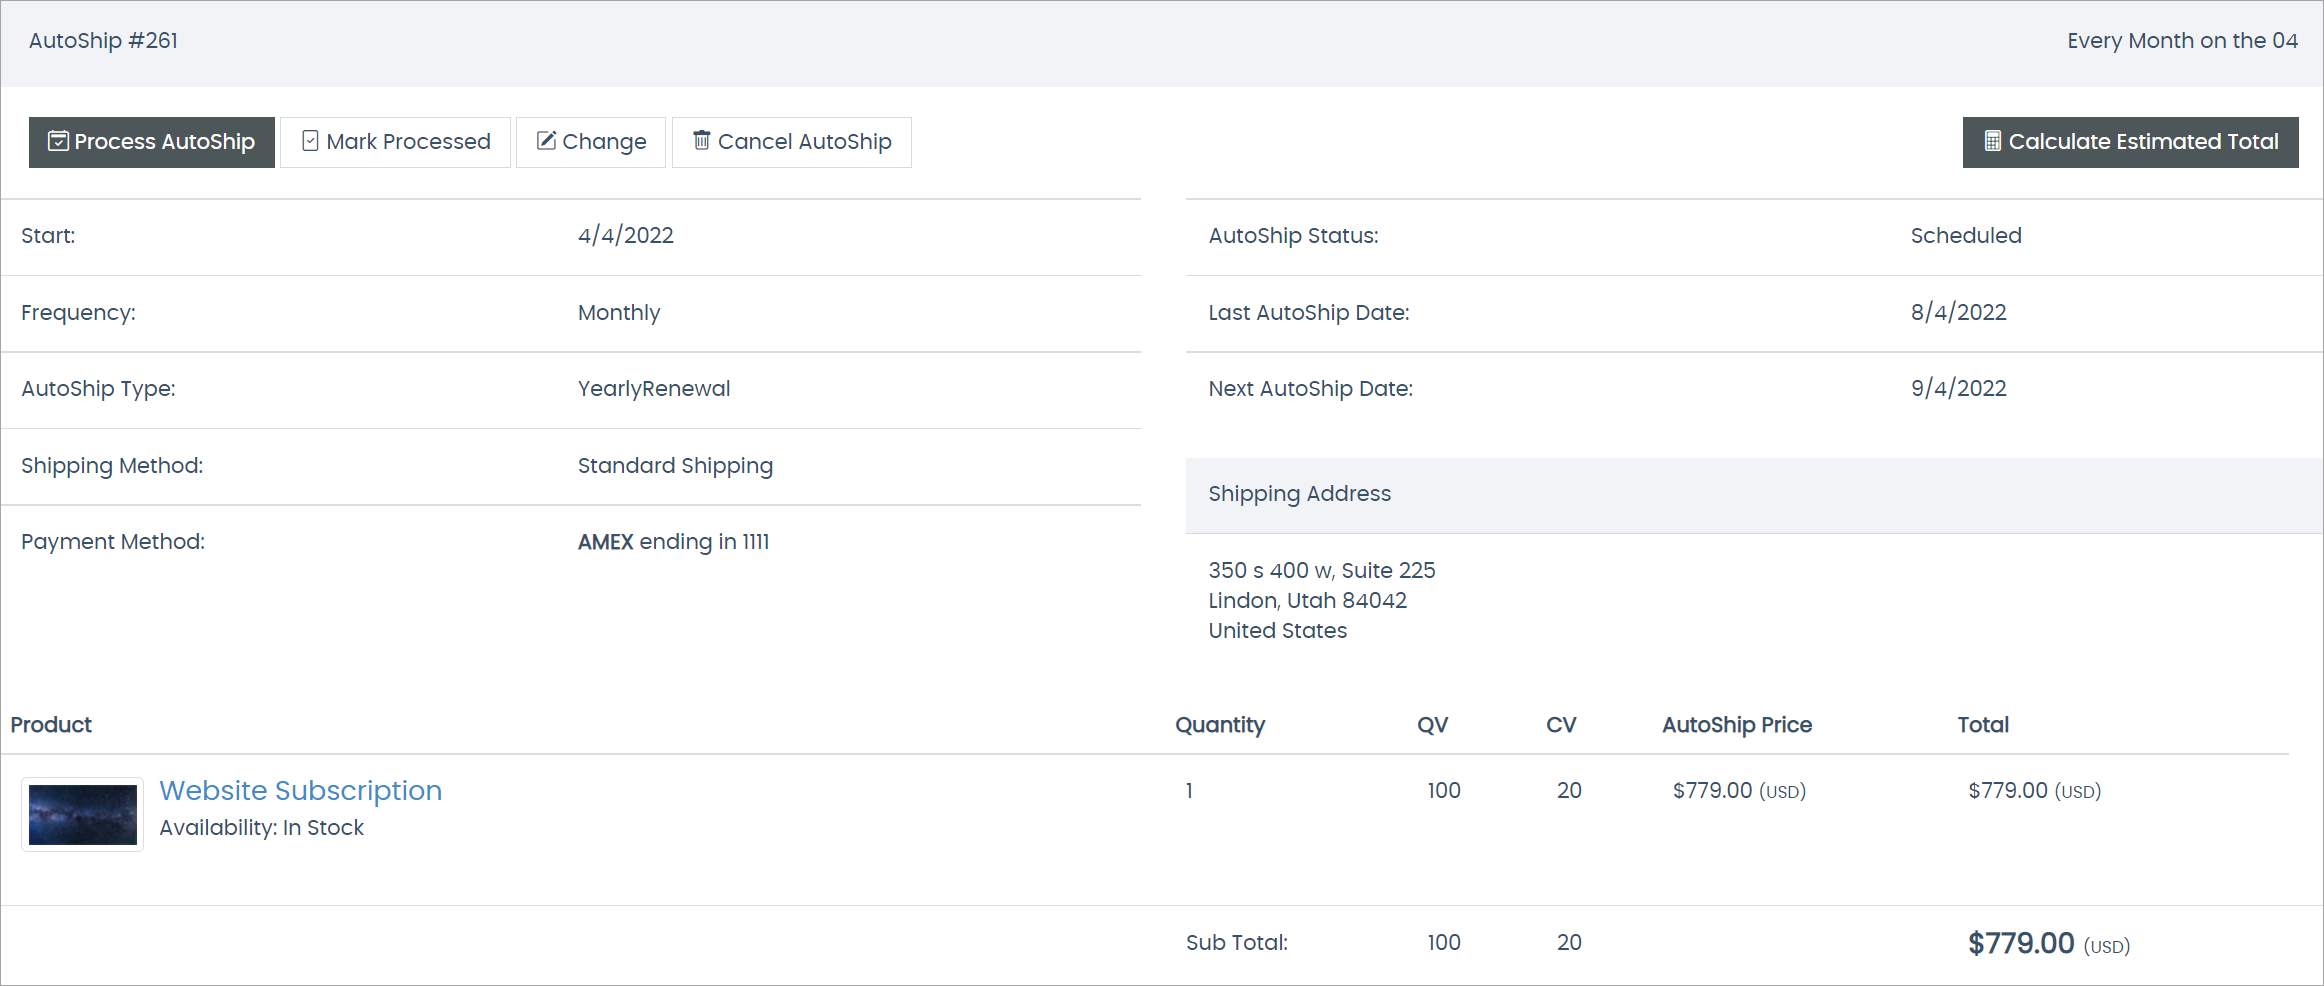
For every Service, an associated AutoShip record is created. The Service will display under:
-
The Autoships tab.
-
The Subscriptions tab.
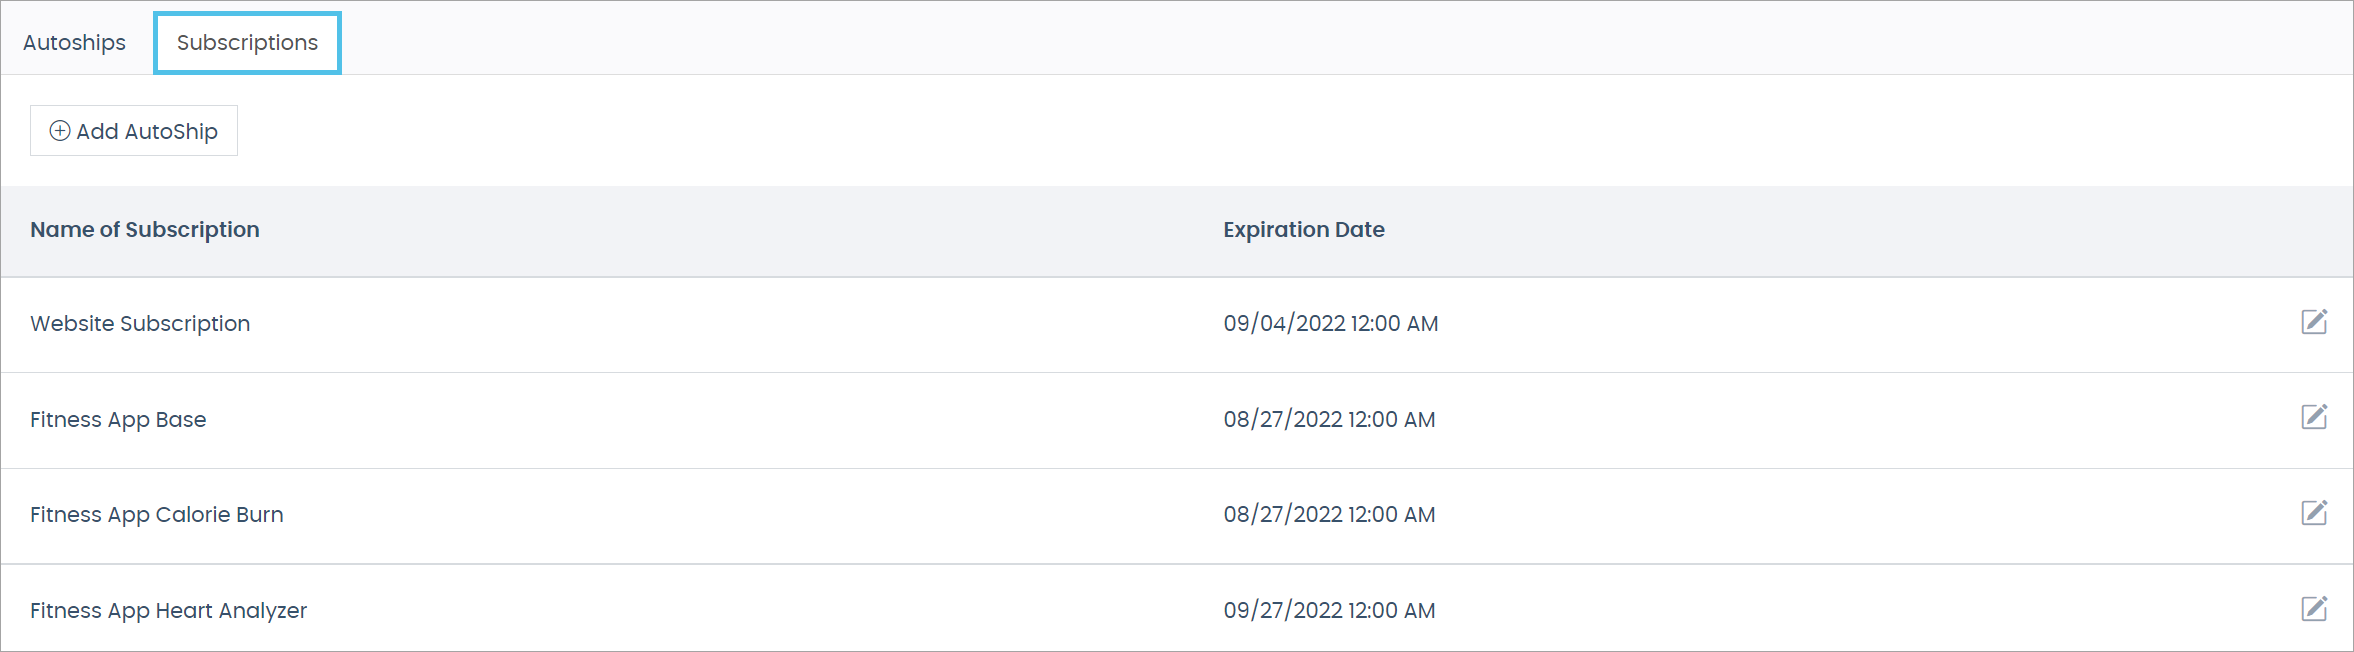
You can edit the expiration date if necessary.
Comments
Please sign in to leave a comment.