Site: Web Office
Page: Business > Visual Tree
URL: [CLIENTID].office2.directscale.com/app.html#/VisualTree

The Visual Tree in the Web Office offers Associates a better view of their downline structure. It gives Associates an “at-a-glance” view of their team Tree to identify strengths, weaknesses, and trends so that they can address issues quickly.
What’s great about the Visual Tree is that it allows Associates to build a more balanced and healthy business by giving a “global” view of their organization. The Visual Tree helps Associates know who in their downline is performing well by focusing on their key metrics.
Read more: Setting Up the Web Office Visual Tree
For the Visual Tree in Corporate Admin, see Viewing Associate Trees
Selecting Trees
See Tree Settings to enable.
The Associate has the option to view whatever Trees they are placed in as well as the Trees you’ve enabled to show in Web Office Admin.
Typically, you’ll have the main Tree that shows the Associate’s downline and additional Trees such as Enrollment or Placement, which help them determine how to build their organization.
To select a Tree:
-
Click the Tree dropdown.

-
Select the necessary Tree.
The Visual Tree will shuffle the view to the selected Tree.
Zooming In/Out
The Associate may need to zoom out for large organizations to see the whole picture or zoom in to focus on a specific Leg.
To adjust the zoom:

- Move the slider left to zoom out.
- Move the slider right to zoom in.
- Use your mouse cursor to click and drag the Visual Tree screen to view the specific location you want to view.
Finding Associates
If an Associate is interested in a particular downline member, they can use the search bar. The search accepts the Associate’s name or Back Office ID.
To search:
-
Click the search bar and enter either the Associate’s name or Back Office ID.

-
Press Enter on your keyboard. The results will appear as a dropdown below the search bar.
-
Click the resulting name to focus on the Associate.

Collapsing the Tree
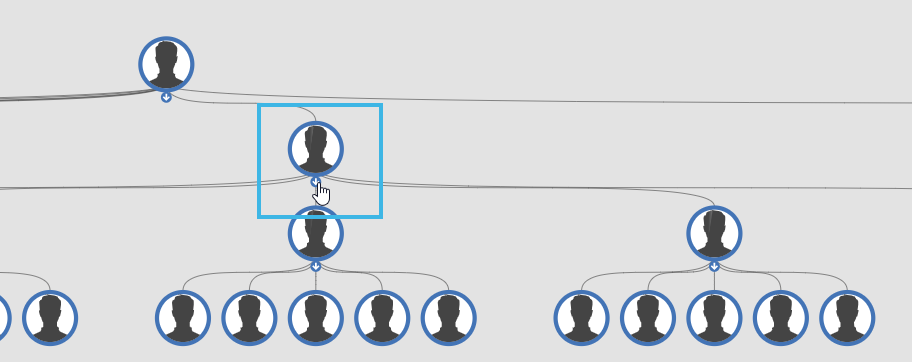
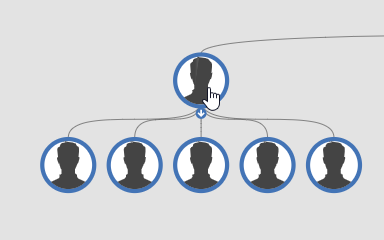
Trees often have many levels, and a full view of the entire Tree can be overwhelming and not particularly useful. The Associate can collapse on specific members to hide their downline.
To collapse:
-
Locate the Associate on whom to collapse.
-
Click the icon. The Tree will hide the Associate’s downline.

-
Repeat as necessary to achieve the wanted view.
Focusing on Specific Associates
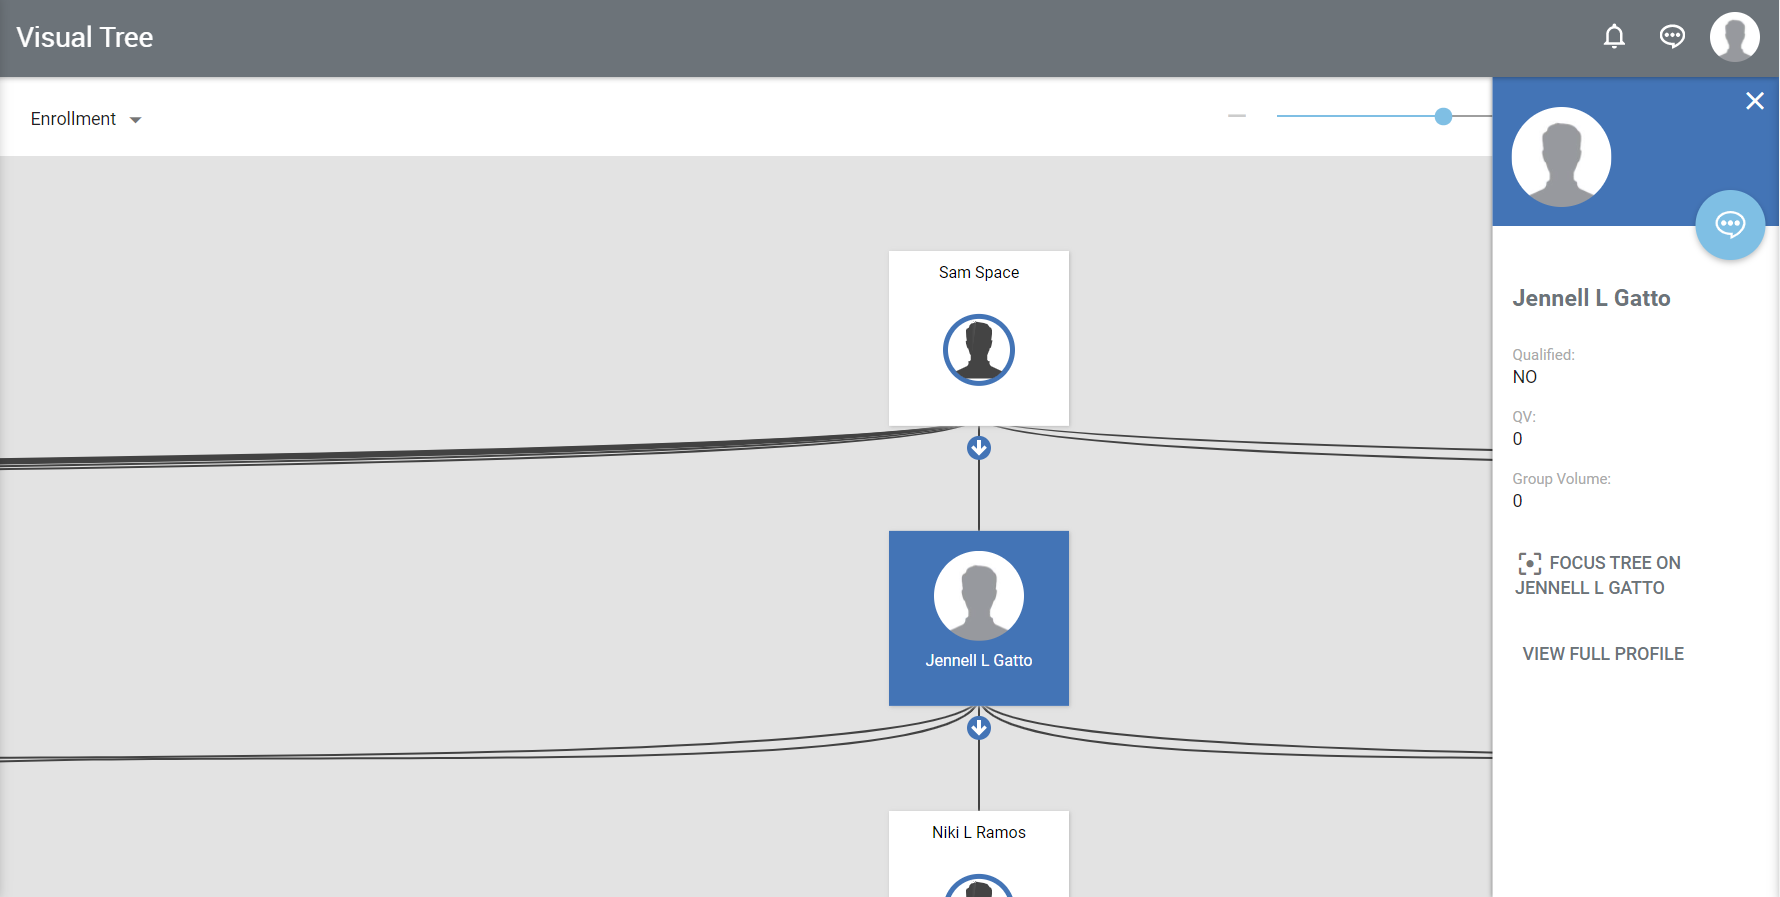
One of the significant aspects of the Visual Tree is the ability to “focus” the view on a specific member. By selecting an Associate’s icon, the Associate can see additional details and key metrics (KPI) and the option to view their Web Office Profile.
To focus:
-
Click an Associate’s icon.

A sidebar opens that features the following:

- A Team Chat link
- Key metrics. See Adding Data Points.
- An option to focus the Tree on them
- A link to their Web Office Profile
-
Click the FOCUS TREE ON {NAME} button. Or, you can double-click their icon.
The Tree view changes to show only the selected Associate, their Sponsor, and downline.

To return to the standard view, double-click the Sponsor’s icon.
Hiding Customers
See Enabling/Disabling in Web Office to enable.
Customers are Associates who’ve placed orders but have not signed up to become an Independent Distributor or Affiliate. If an Associate wants their Visual Tree only to show Distributor type Associates:
-
Click the icon.

-
Deselect the Show Customers checkbox.

The Tree view will shuffle, hiding Customers.
Comments
Please sign in to leave a comment.