Admin: Web Office Admin
Page: Administration > Manage Custom Pages
URL: [CLIENTID].admin.directscale.com/#/CustomAdminPages
Permission: External Pages
You must be logged in to the Unified Admin to access your created Admin pages. For example, if you’re logged directly into Corporate Admin ([CLIENTID].corpadmin.directscale.com), your custom Admin pages won’t be there. |
You can create your custom Admin pages that integrate into the chosen Admin module’s navigation.
The simplest way to build this content is with the Rich Text Editor, a TinyMCE Text Editor that has many of the text editing tools that you would find in Microsoft Word or Google Docs.
You can create more advanced custom content with HTML, CSS, and JavaScript as well. Check out some of these resources before you start:
| If your page fails to load, you may need to adjust the Cross-Origin Resource Sharing (CORS) settings for your site to allow it to be loaded. |
Adding a Custom Admin Page
| For testing, add your custom page to your Stage environment first (if available). |
-
Click ADD CUSTOM ADMIN PAGE.
-
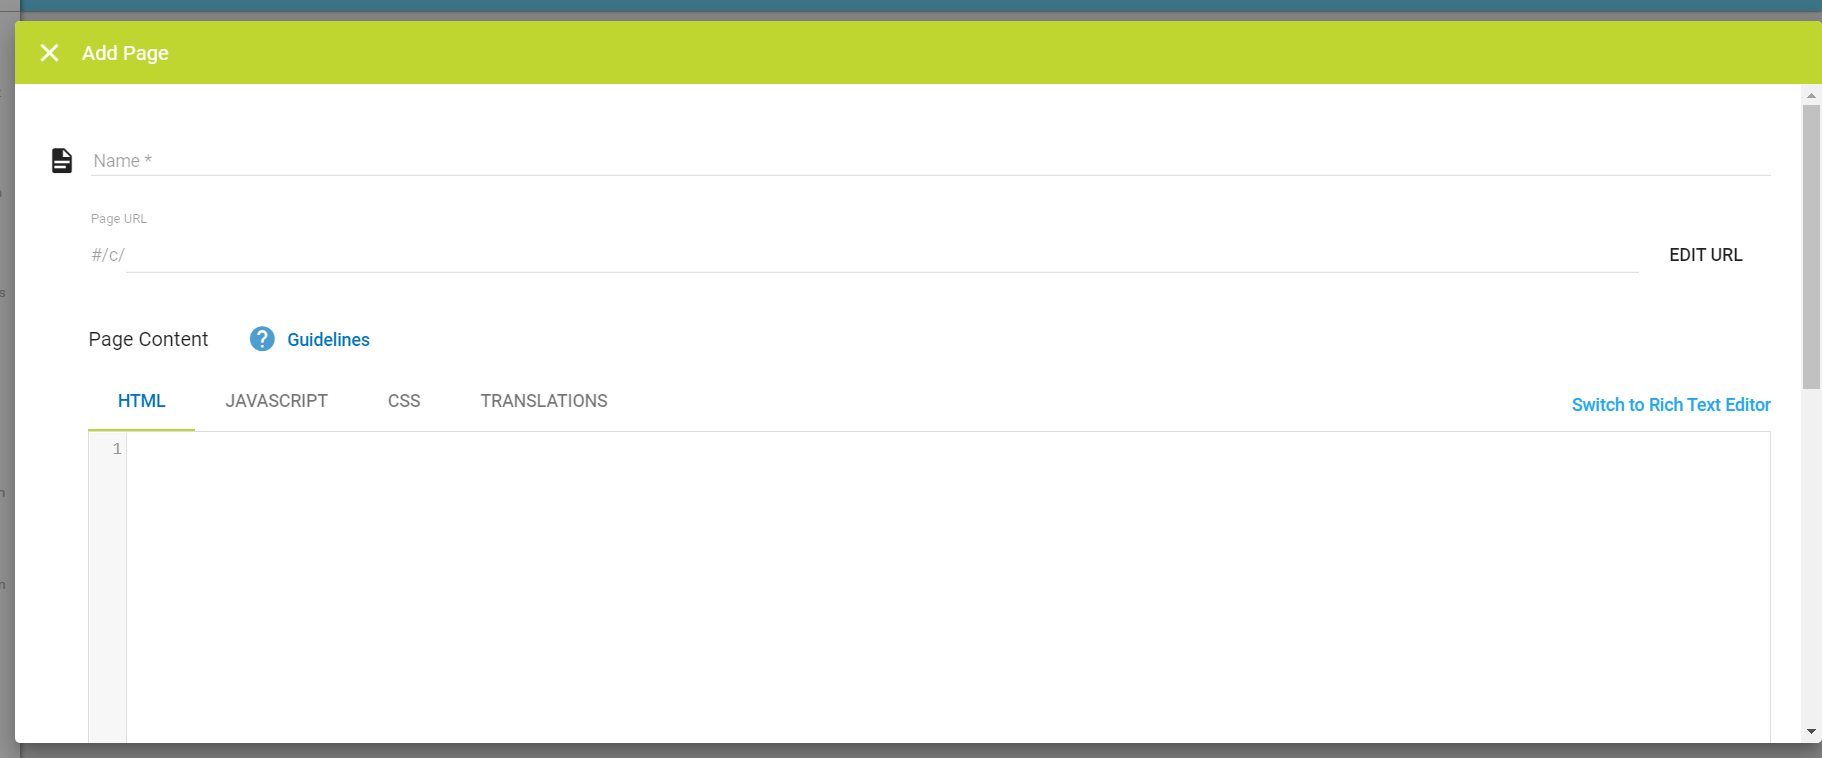
In the pop-up, enter the Name for the custom page.
-
Select the admin you want this page to appear by clicking Containing Module and making a selection.
Options include:
-
Web Office - Add Web Office Admin page.
-
CorpAdmin - Add Corporate Admin page.
-
Retail Admin - Add eCommerce Admin page.
-
-
Select the navigation bar Parent Folder under which to nest the page.
-
If you want to have a different URL pathname (for example, a shorter version of a custom page’s name), edit the Page URL field.
-
Enter the content in the Custom Content Editor or Rich Text Editor.
-
Click SAVE.
| If you need answers, ideas, or consulting from an expert, see the DirectScale Marketplace. |
Using the Custom Content Editor
The Custom Content Editor provides a blank space to add your HTML, JAVASCRIPT, and CSS in three separate code-aware editors (provided by the open-source project CodeMirror). The site delivers the HTML/CSS/JavaScript together when the widget/page loads. You can also use CSharp (C#) to call CUSTOM API logic in the eCommerce Admin.
Using the Rich Text Editor
The Rich Text Editor is useful for simple pages with basic styling. The interface consists of a rich text editor (provided by the open-source project TinyMCE).
Read more about TinyMCE features in the Help Center: TinyMCE Text Editor.
If you’d like to use the Rich Text Editor, you need to switch to it before entering any content. The Rich Text Editor will remove certain HTML elements, such as <script>, which can cause a loss of markup. |
Comments
Please sign in to leave a comment.