Admin: Corporate Admin
Page: Commissions > Payables
URL: [CLIENTID].corpadmin.directscale.com/Corporate/CRM/Commissions/ManagePayables
Permission: ViewCommissions(), ViewPayables()
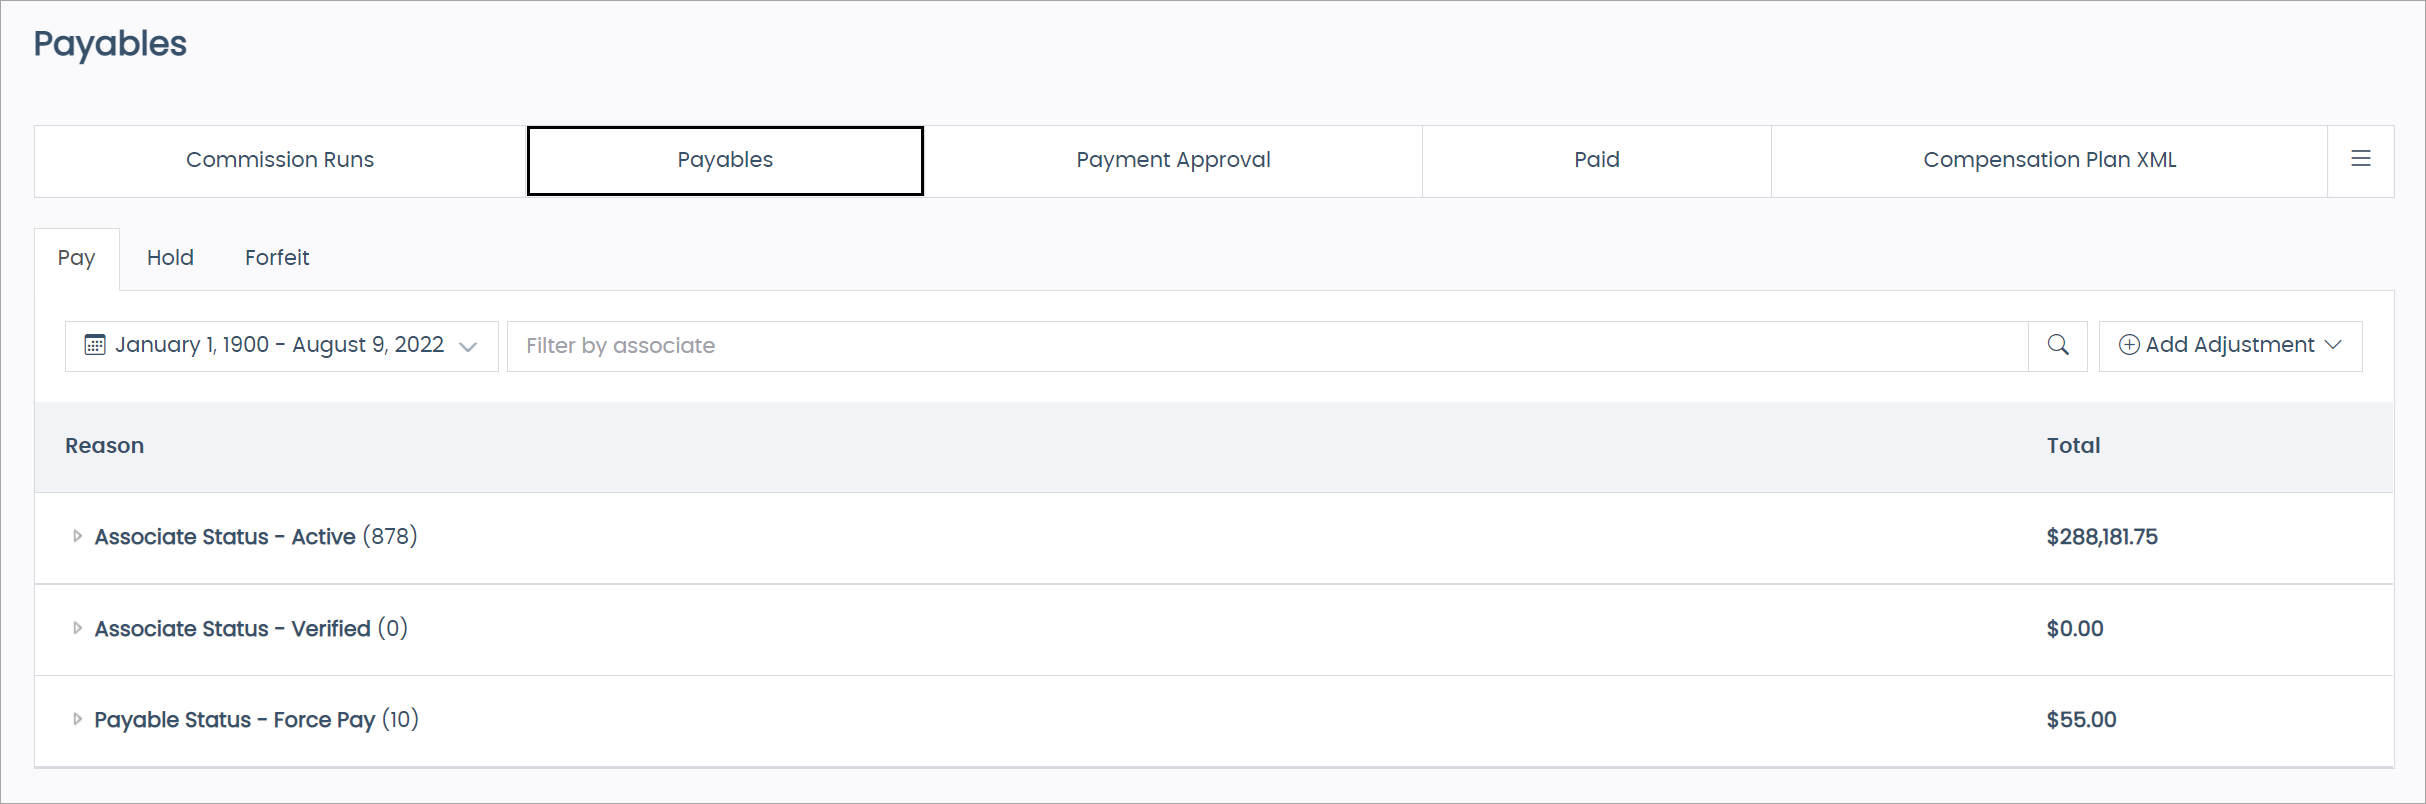
After auditing your commission profiles, commission payments become "payables". Sorted under three tabs (Pay, Hold, and Forfeit), the payables are grouped by Associate and Payable statuses that indicate if the Associates can receive the payments.
Reviewing Payable Statuses
-
Pay - Shows all the payables that are eligible for payment.
-
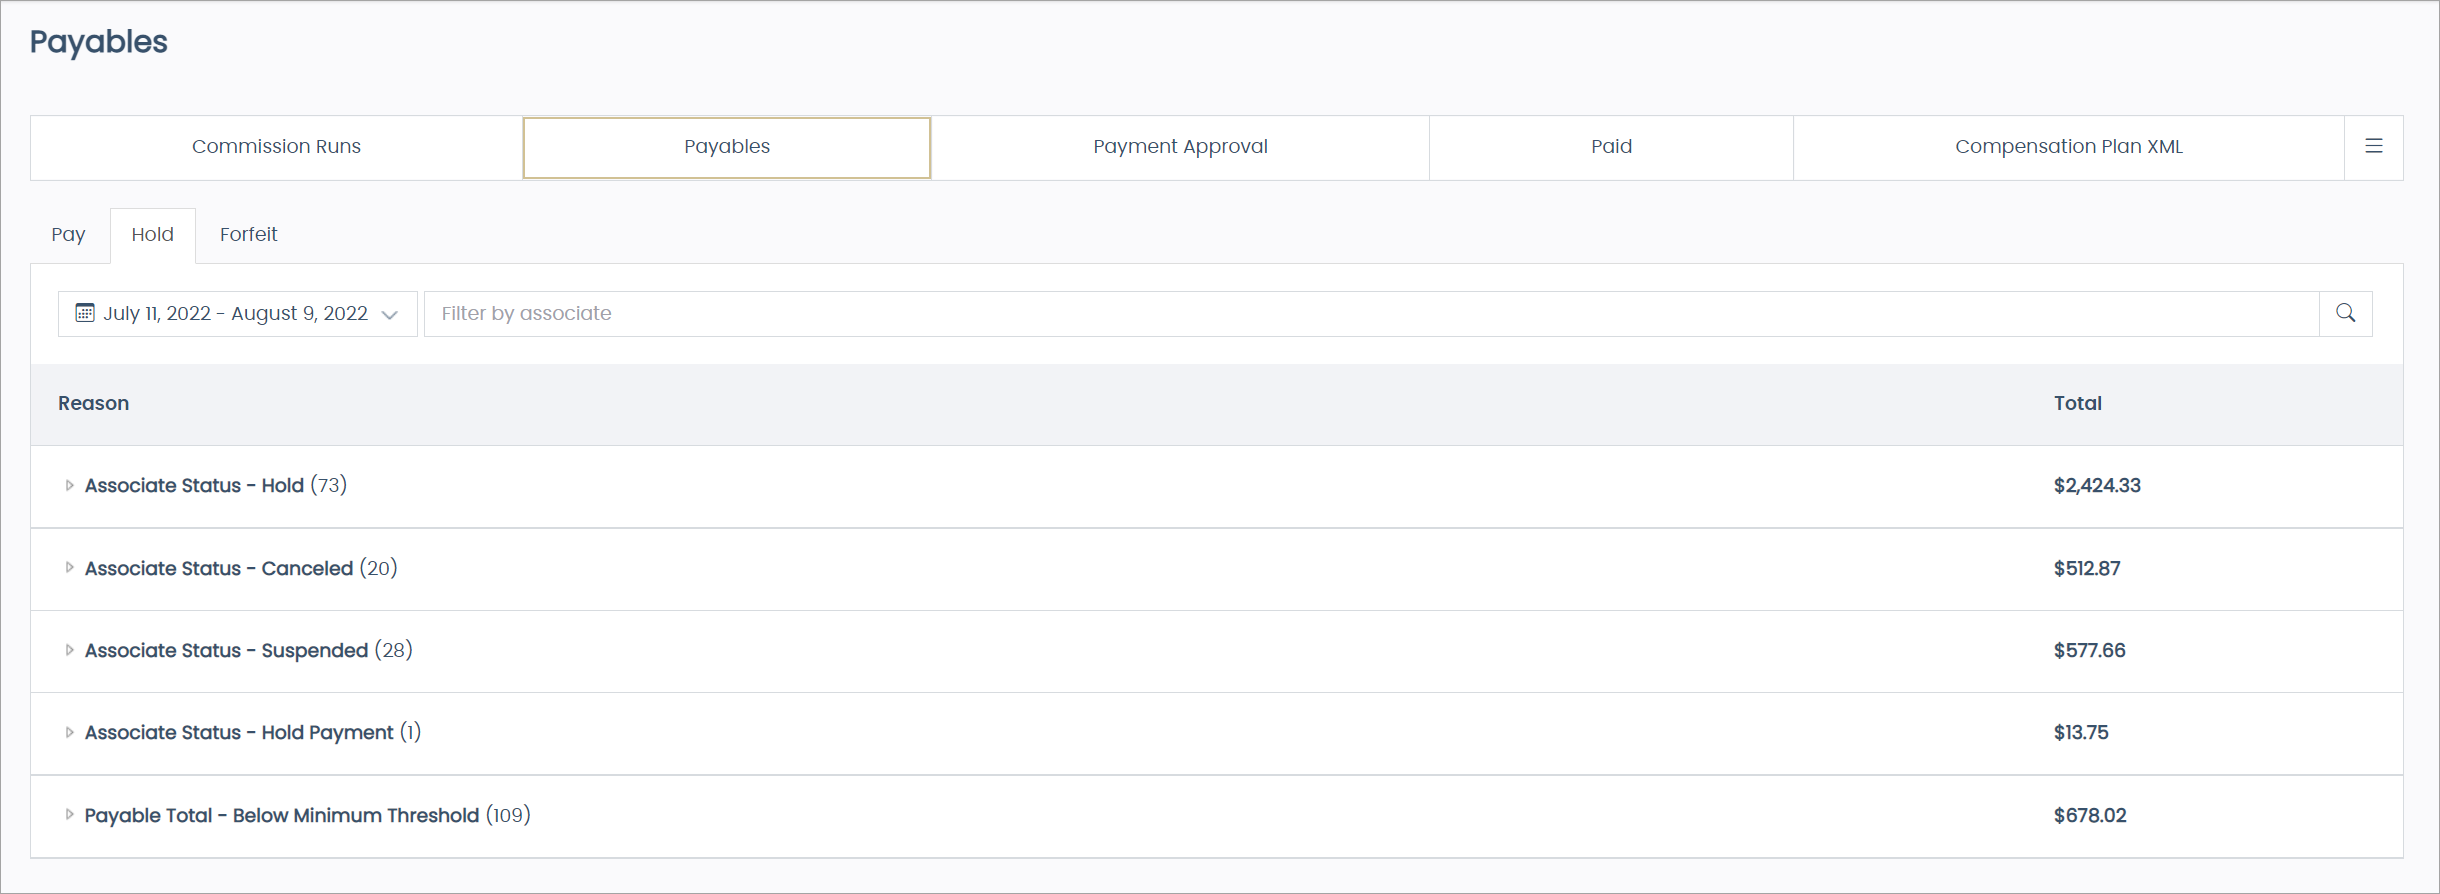
Hold - Contains all the payables held until approval. Any Associate with a status of Active — No commissions means they are under review for compliance.
-
Forfeit - Contains all the payables that are not qualified to issue, per the compensation plan. For example, they may have been under review before but were not eligible for payment.
Reason Definitions
Payables are grouped under each payable status tab by different "Reasons" such as the payment couldn’t process, or the Associates are below the minimum payout threshold.
The following is a list of definitions of the common Reasons:
-
Payable Status — Failed - Associates have earned a payment, but it could not process. This can happen if the Associate’s bank account information is invalid.
This only happens with Hyperwallet Classic (Direct Deposit). ACH marks all Associates as Paid. If you don’t want your corporate accounts to receive commissions, create a new Associate Status. Then, change the new account’s Commission Status to Forfeit. To learn more, refer to Adding and Changing Associate’s Statuses -
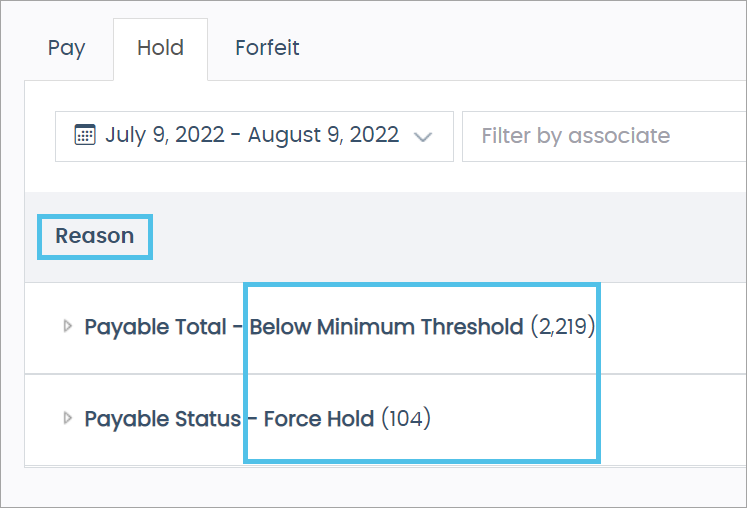
Payable Total — Below Minimum Threshold - The Associate’s commissions earned are below the set minimum amount. When they reach the minimum and qualify, the system will move them to the Pay tab.
-
Bonus Status — Deferred - The Associates are earning a time-based bonus but have not yet qualified. If the Associate eligibility period expires, this payable will move to Forfeit > Payable Status — Expired.
-
Payable Status — Force Pay - The Associates have moved from the Hold or Forfeit tab or issued an Adjustment.
-
Payable Status — Force Hold - Payables you’ve manually moved to the Hold tab.
-
Payable Status — Expired - Per the compensation plan, a deferred bonus expires after a certain amount of time. The expired payments will sit on this list as a record.
Expired payables can not move back to Hold or Pay. If you need to issue a payable to the Associate, you can add an Adjustment. -
Payable Status — Force Forfeit - Payables you’ve manually moved to the Forfeit tab.
Moving Payables
You can move payables between the different payable statuses: Pay, Hold, or Forfeit.
To move a payable:
-
Select the tab where the Associate’s payable is located.
-
Pay
-
Hold
-
Forfeit
-
-
Search for and select the payable.
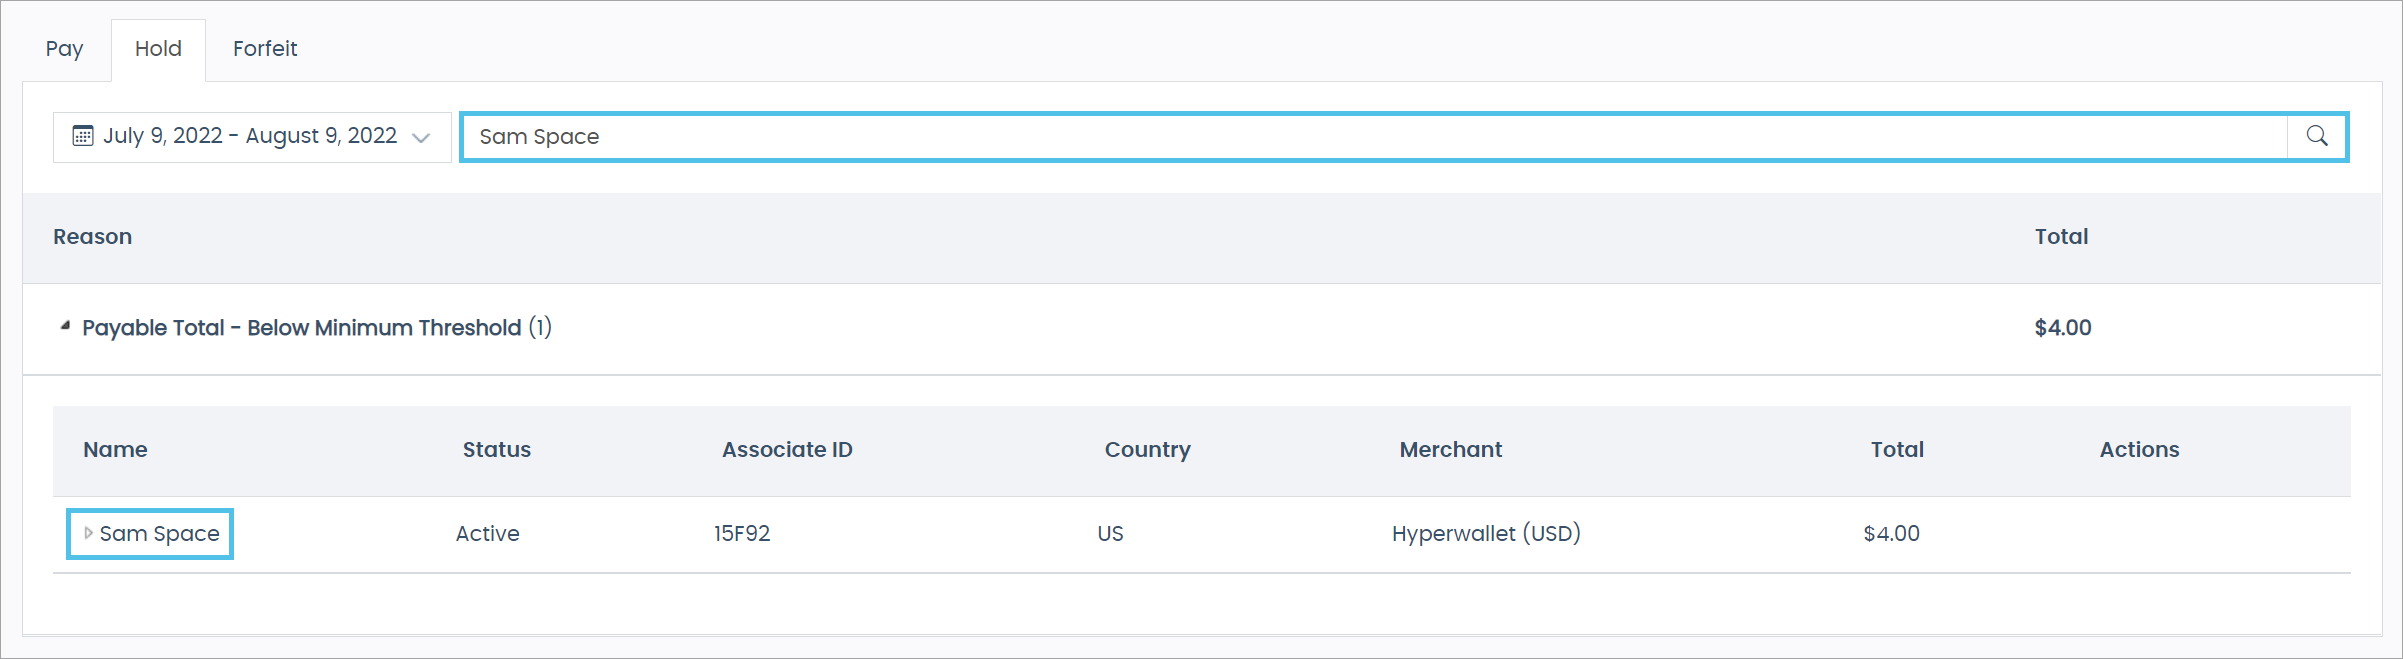
-
Click the arrow next to the Reason. Then click the arrow next to the Associate’s name until you see the payable.
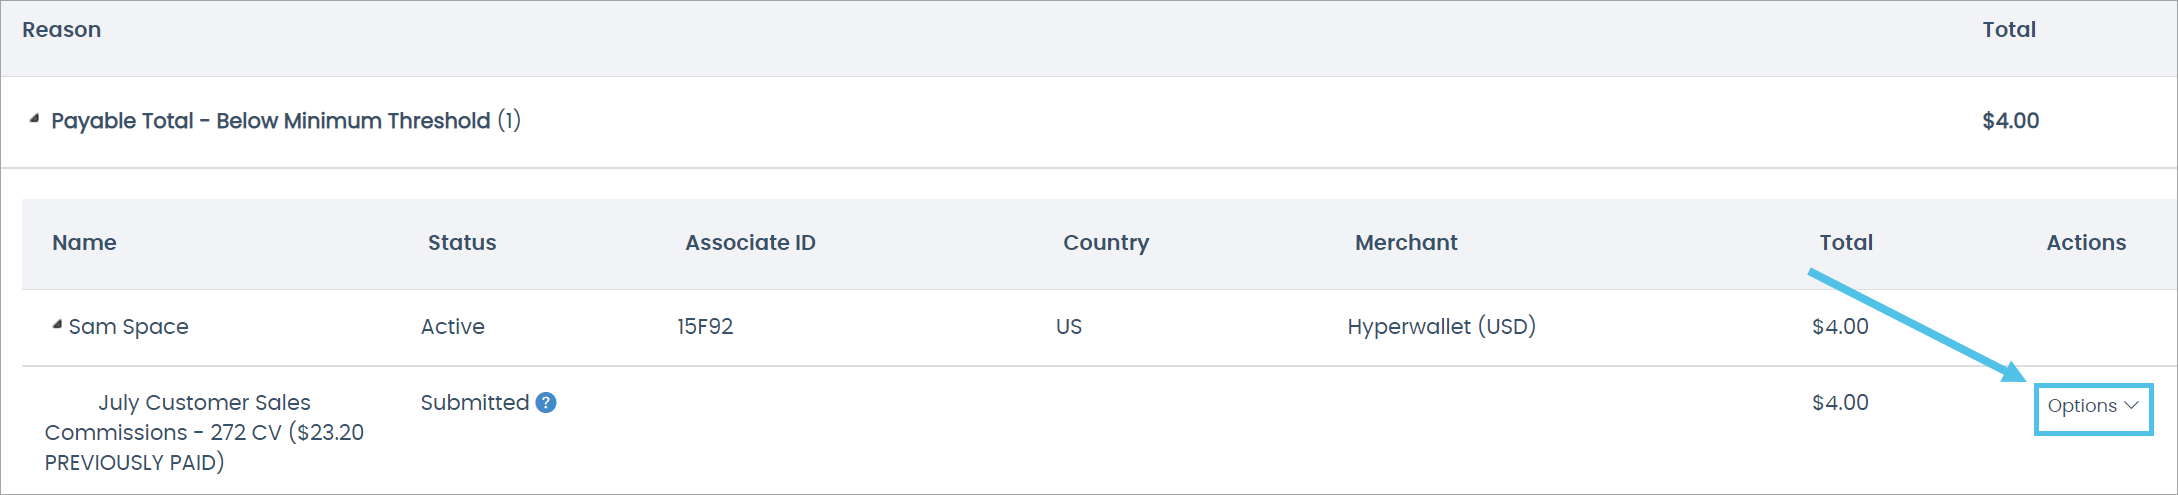
An Options button will be located next to each payable.
-
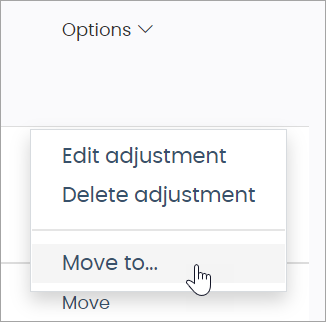
Click the Options button and select Move to.
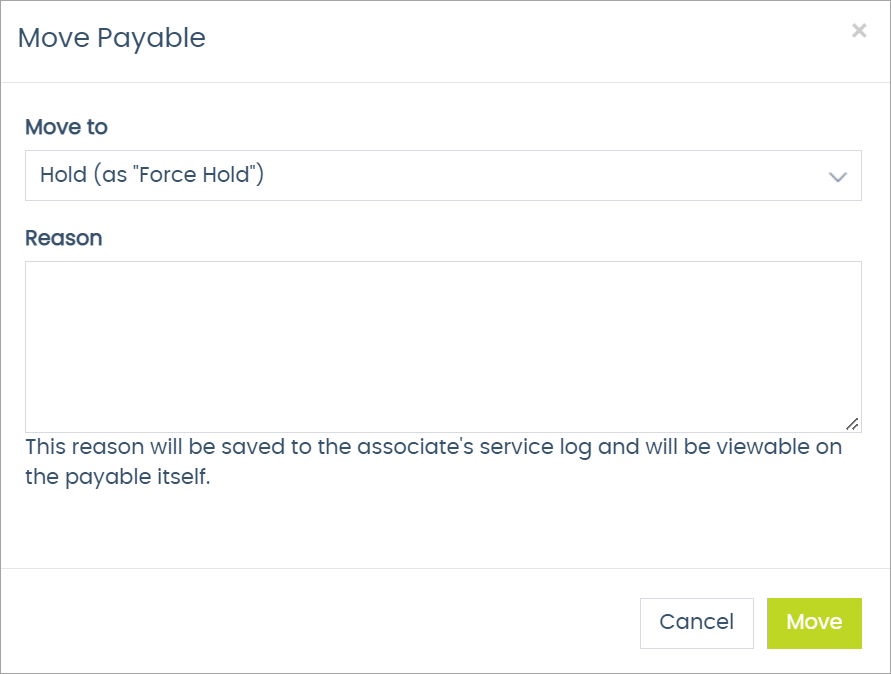
The Move Payable pop-up window opens.
-
Click the Move to drop-down and select the new status.
-
Enter a Reason for the move. This adds the note to the Associate’s Service Log and is visible in the payable itself.

-
Click Move to submit the request.
A success message appears under the moved Associate’s name if the submission is successful.

Confirming the Movement
To confirm the movement:
-
Navigate to the tab to which you moved the Associate.
-
Search for the Associate or locate them in the Payable Status — Force section where you moved the submission.
-
Click the arrow next to their name.
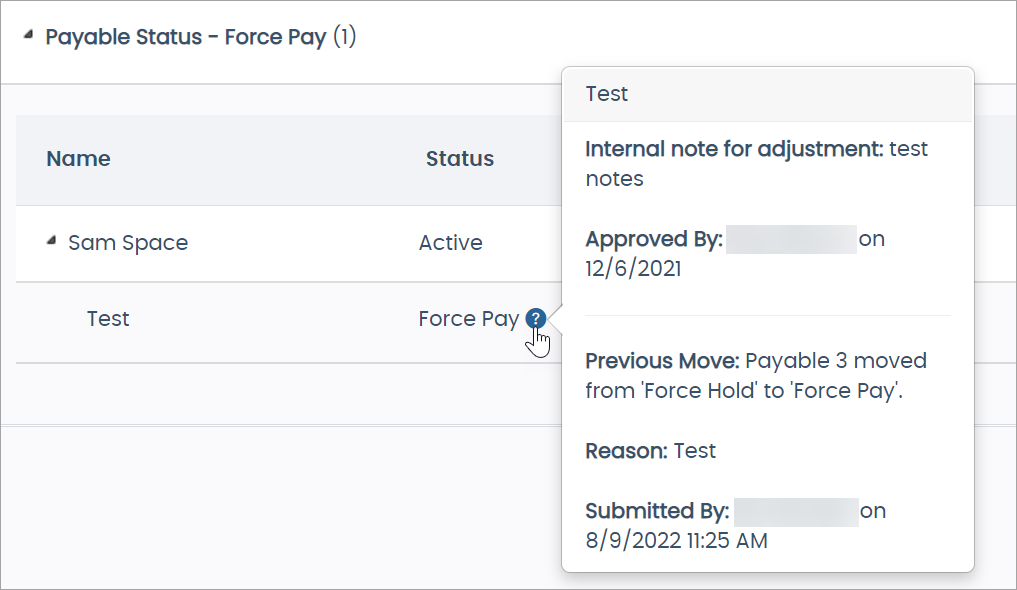
You will now see the payable status as Force (Pay, Hold, or Forfeit).
-
Hover over the icon and click it to view the movement details.
Comments
Please sign in to leave a comment.