Custom Stores allow you to segment products with pricing only available to those you allow access to the Store, or if you want to use a different payment provider or warehouse other than your standard options.
Key points:
-
You select your custom Store for certain Inventory or inventory prices making them only available in the Store.
-
You map a payment provider to your custom Store.
-
You restrict who can access the store based on their Associate Type, Rank, Region, or other Multi-faceted Configurations.
| Products available in different Stores must be purchased in separate transactions. |
To create a custom Store:
-
Edit an existing Price Adjustment or set up a new one for your Inventory Items, tied to your new Store.
-
Edit an existing payment provider map or add a new one that’s tied to your new Store.
-
Add a custom shopping cart in Web Office Admin.
Steps specific to custom stores:
-
Select Custom Shopping Cart in the Cart Type dropdown.
-
Select your Shipping Method created in step 3 in the Default Ship Method dropdown.
-
Select your Store name in the WebID dropdown.
After adding the cart, copy the CartID from the Cart Type column (your CartID will look similar to this:
c72525ca-eae1-439f-b4e2-9681c50aee6d).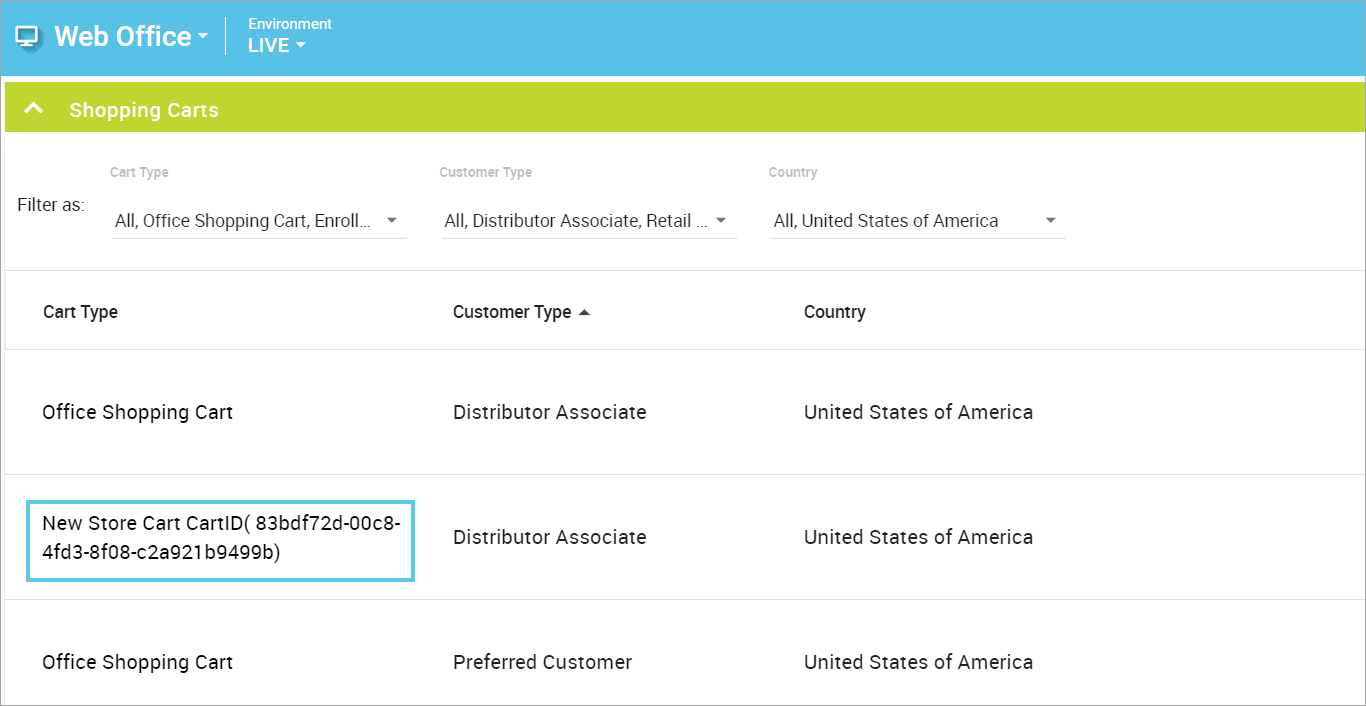
-
-
-
In the Link Name field, copy and paste the following URL:
/OrderProductList?storeTitle=[STRING KEY OF STORE NAME]&cartId=[CART ID FROM ADMIN] -
In the URL, replace:
-
[STRING KEY OF STORE NAME]- The new Store’s name is formatted with underscores instead of any spaces (i.e.,New_Store_Name) -
[CART ID FROM ADMIN]- The Card ID you copied from step 5.This URL is extremely case-sensitive and must be entered in the exact format. For example, /OrderProductList?storeTitle=New_Store&cartId=c72525ca-eae1-439f-b4e2-9681c50aee6d.
-
-
-
In navigation link configuration, use Multi-Faceted Configuration to restrict who can see the link (and, therefore, access the Store). You can use the Custom Configurations field for more advanced and specific customization. For example,
User.AssociateEnrollmentDate <= '2021-03-04'. -
Open Web Office (via direct link or Impersonate in Office) and test the link in the navigation bar. If successful, a Web Office Store will display your new Store’s specific products.
Comments
Please sign in to leave a comment.