Nexio is a payment processor merchant they describe as an "open payments platform". They offer chargeback management, tokenization, and global payments. To set up your integration, you need to enter the credentials provided to you by Nexio in Corporate Admin. You can integrate Nexio as a standard payment processor or ACH (customer uses bank account info instead of a card to pay).
Basic Payment Process
Once integrated, you can process payments for orders and Subscriptions.
-
The Associate selects their inventory items and begins the checkout process.
-
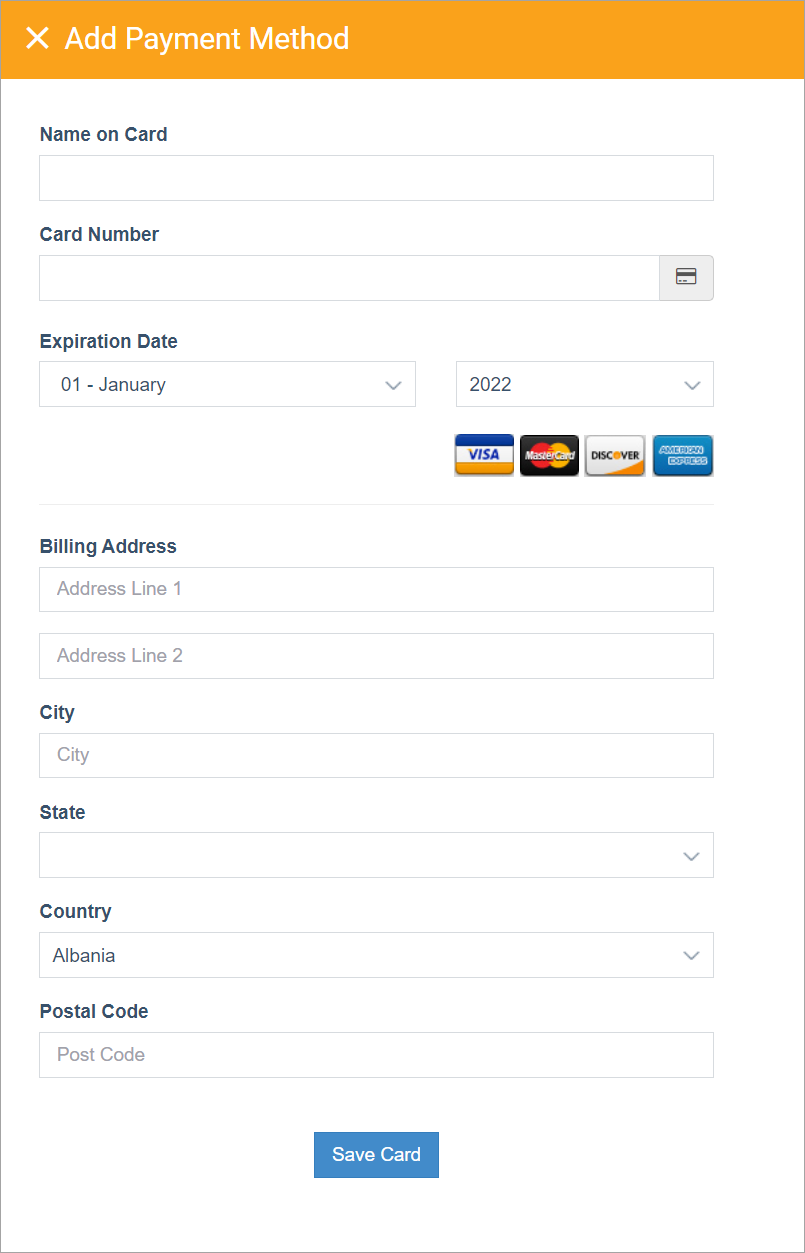
The Associate selects an existing payment method or clicks Add a Payment Method to add a new one. The Add Payment Method pop-up will display Nexio’s Save Card Form. The Associate enters their information and clicks the Submit button.

-
The Associate places the order.
-
The card information is sent to and tokenized by Nexio. Nexio sends the token back to DirectScale where it is then stored for later use, along with some billing information and card metadata (first six and last four).
-
Nexio processes the payment and sends back confirmation of acceptance (or denial if insufficient funds exist).
Before You Start
-
For testing on Nexio’s side, reach out to your account manager and gain credentials to their Sandbox site. On the DirectScale side, if you have a Stage environment, you can create test orders there before setting up on Live. See the Testing on Stage/Sandbox section for more info.
-
Acquire the necessary credentials and information (provided by Nexio when your account is created.):
-
Merchant ID - Nexio assigns every merchant account a Merchant ID upon signing a contract. Not to be confused with DirectScale’s Merchant ID.
-
Username
-
Password
-
Base API URL - Nexio’s production URL
https://api.nexiopay.comDo not include a trailing slash "/."
-
Test Username
-
Test Password
-
Test Base API URL - Nexio’s Sandbox URL
https://api.nexiopaysandbox.com)Do not include a trailing slash "/."
-
Testing on Stage/Sandbox
Admin: Corporate Admin
Page: Settings > Advanced Settings > Merchants
URL: [CLIENTID].corpadmin.directscale[ENVIRONMENT].com/Settings?category=Merchants
Permission: ViewAdministration(), ViewAdvancedSettings()
Nexio offers a Sandbox site where you can test your payment processing before going live. You must request access to this Sandbox site from Nexio. You can add the provided testing credentials to your Corporate Admin Stage environment when you have access.
-
Navigate to the Merchants page.
-
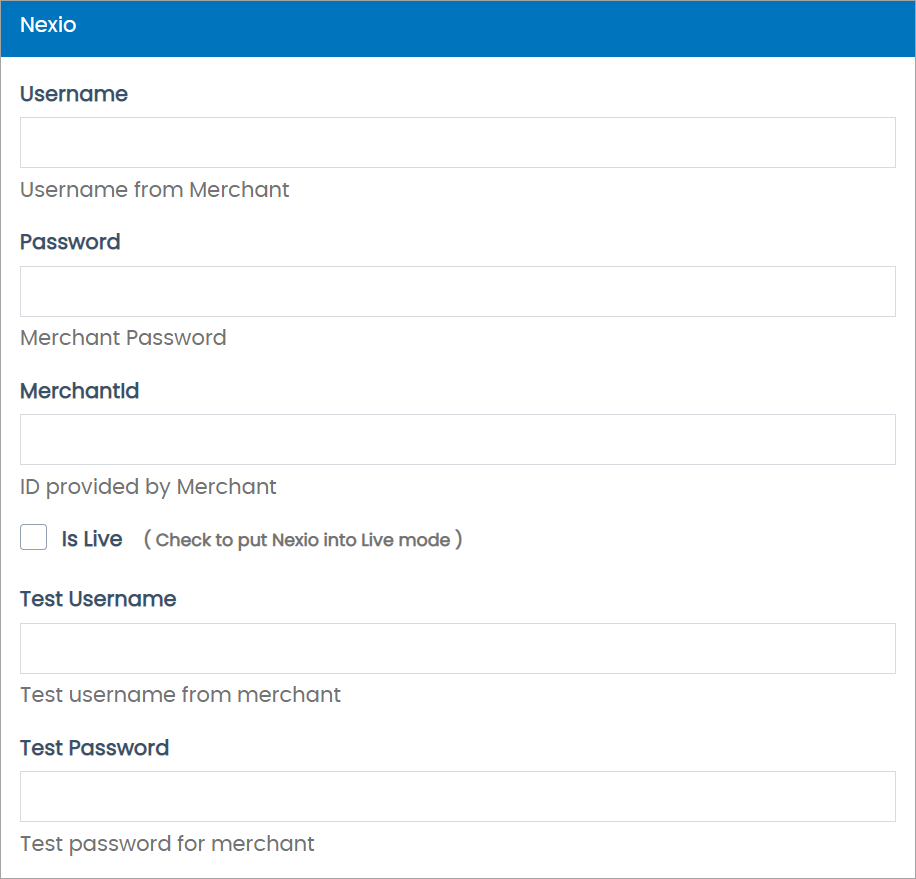
Locate the Nexio or Nexio ACH credential form.

-
Enter the testing credentials:
-
MerchantId
-
Test Username
-
Test Password
-
Test Base API URL
-
-
You can enable the different card types for testing, depending on what you what to accept:
-
Show/Verify CVC - Includes a field to enter the CVC code and validates the entry
-
Allow Visa
-
Allow Discover
-
Allow Amex
-
Allow MasterCard
-
Allow JCB
-
-
Ensure Is Live is disabled while testing. When disabled, the merchant is in a simulated transaction mode that allows you to test payments on your Stage environment.
-
Click Save Changes.
You can now create test orders on your Stage environment. See Creating Test Orders Guide for more information.
Success Test Cards
| Card Type | Card Number | Cvv |
|---|---|---|
|
Mastercard |
5424000000000015 |
111 |
|
Discover |
6011000000000012 |
111 |
|
Amex |
370000000000002 |
111 |
|
Visa |
4111111111111111 |
111 |
|
JCB |
3530111333300000 |
111 |
Error Test Cards
| Card Number | Error Message |
|---|---|
|
4000300011112220 |
Insufficient funds |
|
4000300001112222 |
The credit card has expired |
|
4000300311112227 |
Card number error |
|
4000300211112228 |
Do not honor |
|
4000300411112226 |
Verify CVC Failed |
|
4000000011112226 |
50s Gateway Timeout |
|
4000000011112267 |
60s Gateway Timeout |
|
4556217724263850 |
Creates Zombie |
Once you’ve created orders, log in to Nexio’s Sandbox site and view the payments. If there are any errors, you may need to contact either DirectScale’s Customer Care or Nexio’s Support, depending on the origin of the issue.
See also:
Adding Live Credentials
Admin: Corporate Admin
Page: Settings > Advanced Settings > Merchants
URL: [CLIENTID].corpadmin.directscale[ENVIRONMENT].com/Settings?category=Merchants
Permission: ViewAdministration(), ViewAdvancedSettings()
To set up your integration, you need to enter the credentials provided to you by Nexio in Corporate Admin.
-
Navigate to the Merchants page.
-
Locate the Nexio or Nexio ACH credential form.

-
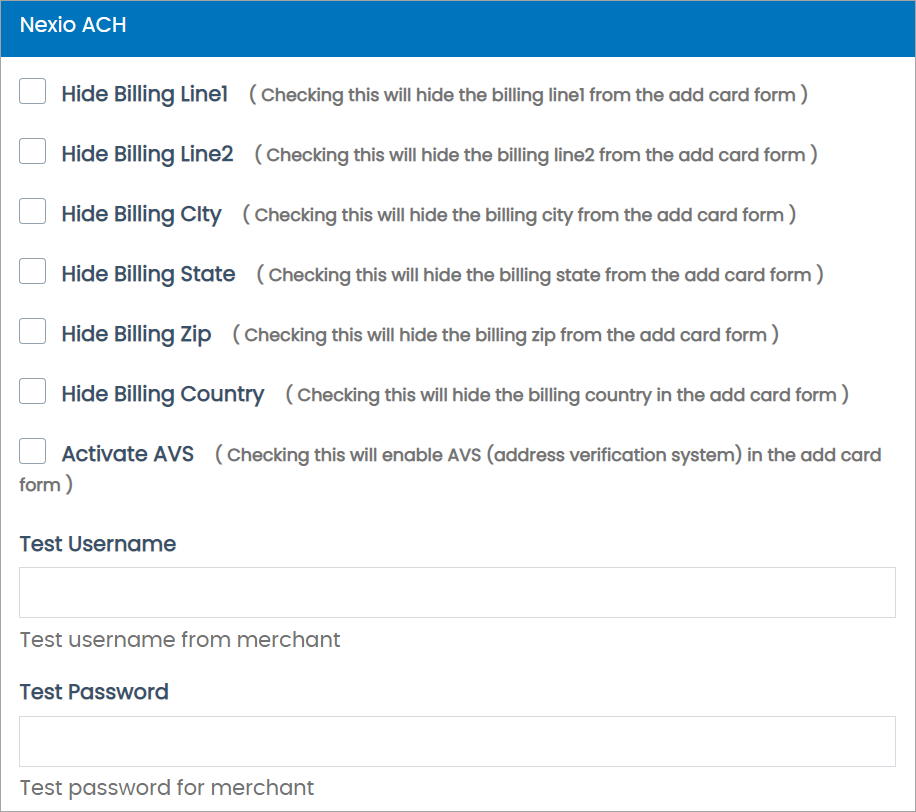
Select any optional address settings:
-
Hide Billing Line1
-
Hide Billing Line2
-
Hide Billing City
-
Hide Billing State
-
Hide Billing Zip
-
Hide Billing Country
-
Active AVS - Enable Address Verification System in the Add Card form.
-
Exclude Billing Address On Payment - If enabled, when payment information is sent to Nexio, Billing Address will be excluded. If disabled, the Associate’s account Billing Address will be sent.
-
Hide Billing - Hide all the Billing Address info in the Add Payment Method form.
-
-
Enter the provided live credentials:
-
MerchantId
-
Username
-
Password
-
Base API URL
-
-
You can enable the different card types for testing, depending on what you what to accept:
-
Show/Verify CVC - Includes a field to enter the CVC code and validates the entry
-
Allow Visa
-
Allow Discover
-
Allow Amex
-
Allow MasterCard
-
Allow JCB
-
-
Nexio offers Kount Fraud Prevention (Enable Kount setting); however, this feature is not built out in DirectScale. See the Kount Fraud Prevention section for more info.
-
Enable Is Live. When you’re ready to start using PayQuicker to accept/payout real money, enable this setting in your Live environment.
All integrated payment merchants must have Is Live enabled on Live to function. -
Click Save Changes.
Kount Fraud Prevention
Concerning Nexio’s included Fraud Prevention, enabling the Enable Kount setting is not recommended. This feature is limited in functionality and could cause some potential errors if implemented incorrectly.
What happens is when Kount sends back a fraud status of "Review," the system isn’t developed with Nexio to accept this status and wait for a response; instead, the system declines the order.
For standalone Fraud Prevention integration, see Fraud Prevention Guide.
Mapping Nexio
Admin: Corporate Admin
Page: Settings > Company Settings > Payment Methods
URL: [CLIENTID].corpadmin.directscale[ENVIRONMENT].com/Corporate/Admin/CountryPaymentMap
Permission: ViewAdministration()
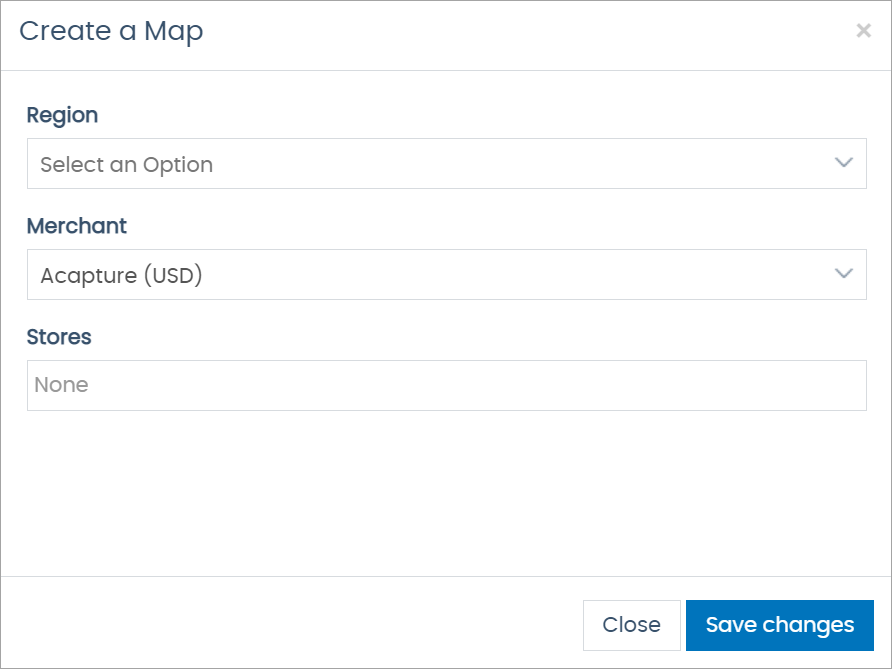
All money-in payment processors must be "mapped" to specific regions and Associate Types, and Nexio is no exception. To add a Nexio mapping, follow these steps:
-
Click the Add Payment Map button.
The Create a Map pop-up window opens.

-
In the pop-up, complete all fields:
-
Click the Save changes button.
Developer Resources
Nexio fancies itself as a platform "for developers by developers". They have an intuitive API and Sandbox site. For extending Nexio with your Client Extension (if available), the following resources may be useful:
Comments
Please sign in to leave a comment.