Now that the initial settings are taken care of, and the keys to the Platform are in your hands, let’s start adding your branding elements to give the Admins your own look and feel.
Adding Logos
Admin: Web Office Admin
Page: Web Office Configuration > Branding
URL: [CLIENTID].admin.directscale.com/#/Branding
Permission: Branding
Add your company logos to give the Platform a personalized look. To learn how to use the Branding page to customize other Platform branding elements, see:
Logos appear across various locations in the Web Office and Corporate Admin:

-
Large Logo - Color (230 x 230 PNG) — Fully colored logo used on a white background and Login page.
-
Small Logo - White (80 x 80 PNG) — Typically, an all-white logo is used on dark backgrounds and the Web Office navigation bar.
-
Favicon Logo - Color (32 x 32 PNG) — Small logo displayed on the browser tab.
- Small Logo - Color (250 x 60 PNG) — This will be used on a white background, including the header bar.
| Logos must be a PNG file type with the exact pixel specifications (see the preceding requirements). Alpha channel transparency is recommended. The maximum file size is 2 MB. |
On tile you wish to change/add a logo:
-
Click the Size Square to upload a logo.
Your computer’s file finder opens.
-
Navigate to your image’s saved location on your computer and click Open.
Your logos automatically add to the Corporate Admin.
Adding Branding Colors
Admin: Web Office Admin
Page: Web Office Configuration > Branding
URL: [CLIENTID].admin.directscale.com/#/Branding
Permission: Branding
The Branding page allows you to add your company’s branding colors to give the Platform your company’s personalized look.
To learn how to use the Branding page to customize other Platform branding elements, see:

Four primary colors affect different areas of the Web Office and Corporate Admin:
-
Main Color — Changes the application bar, headers, and text links.
-
Accent Color #1 — Changes the buttons and application bars when called from a button.
-
Accent Color #2 — Changes the selected state, application bar when the action is a pop-up (modal) or temporary window.
-
Accent Color #3 — Changes the selected item in the sidebar list.
For each color:
-
Click Edit Color on the card.
The color card flips.
-
Enter the color’s Hexadecimal code (for example,
#FFFFFF). -
Select whether you want Light or Dark text to appear over the color.
-
Click SAVE
| Many browser extensions (such as ColorZilla) or Adobe Color can provide the Hexadecimal code for any color you want. |
Adding Company Details
You must enter your company headquarters' address and contact details in the Admins.
Entering Business Information in Corporate Admin
Admin: Corporate Admin
Page: Settings > Company Settings > Business Information
URL: [CLIENTID].corpadmin.directscale.com/Corporate/Admin/Dashboard
Permission: ViewAdministration()
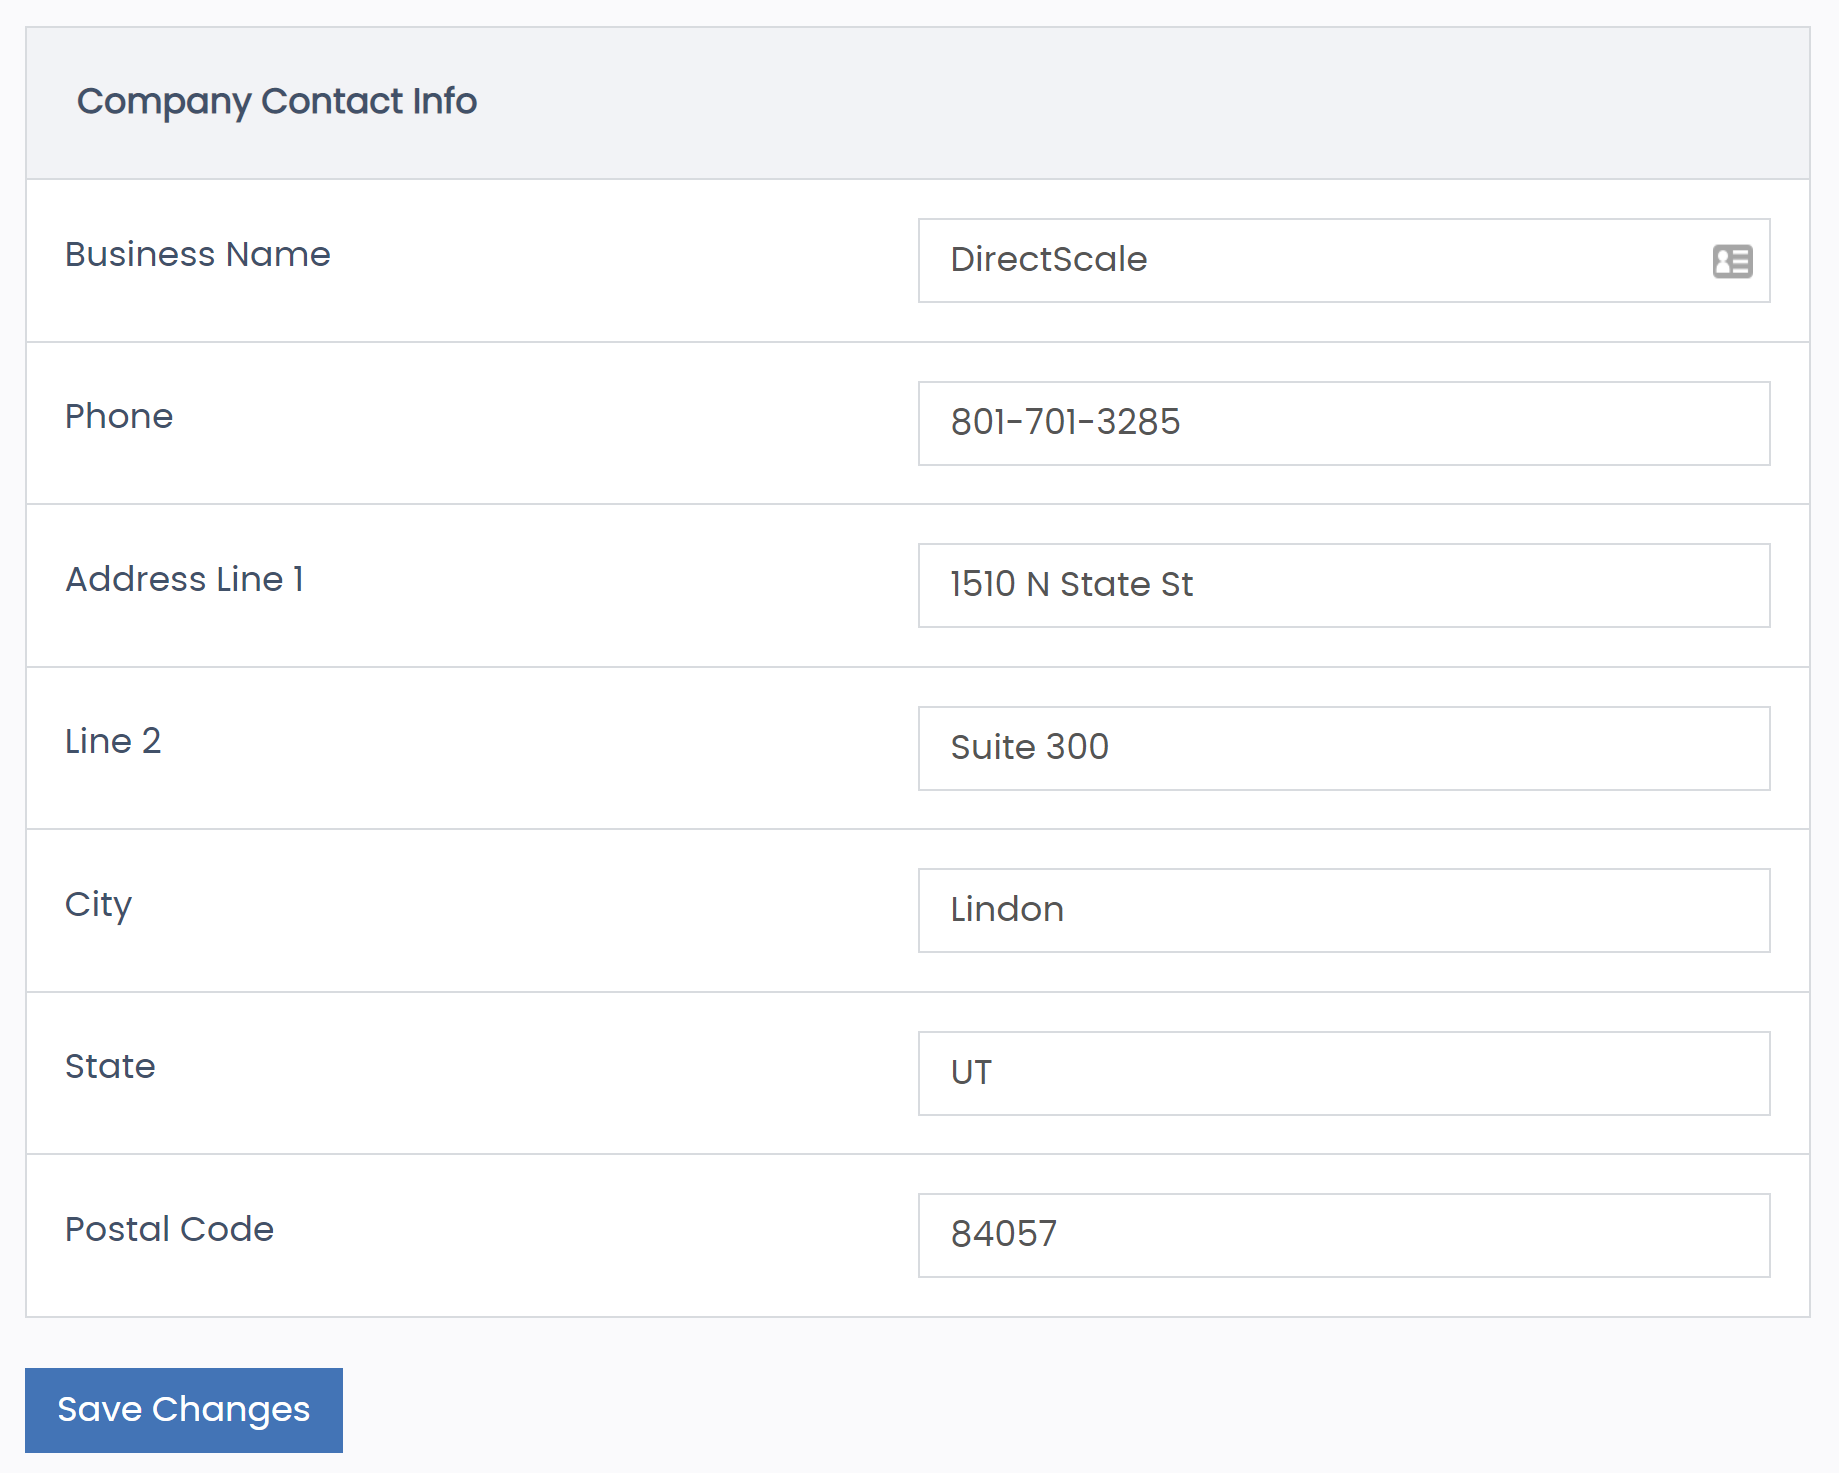
The Business Information page is where you enter your company headquarters' address. This address appears on order invoices.

-
Enter your Business Name.
-
Enter your company Phone number.
-
Enter your Addresses Line 1 and 2, City, State, and Postal Code in the appropriate fields.
-
Click Save Changes.
Entering Company Details in Web Office Admin
Admin: Web Office Admin
Page: Advanced Settings > Details
URL: [CLIENTID].admin.directscale.com/#/Details
Permission: Setup Details
You must enter your company headquarters' address and contact details. These details show for your Associates in the Web Office Support > Corporate Contact Info widget.
-
Expand the Company Details section.

-
In the form, enter your Address 1, Address 2, City, State, Zip Code, and Country in the appropriate fields.
-
Enter your company Phone number.
-
Enter your company Email address.
You will use this for official use and customer contact. -
Enter your Support Phone number and Support Email address in the appropriate fields.
-
Click SAVE.
Comments
Please sign in to leave a comment.