Admin: Web Office Admin
Page: Page Configurations > Settings
URL: [CLIENTID].admin.directscale.com/#/TabbedWidgets/Settings
Permission: Settings
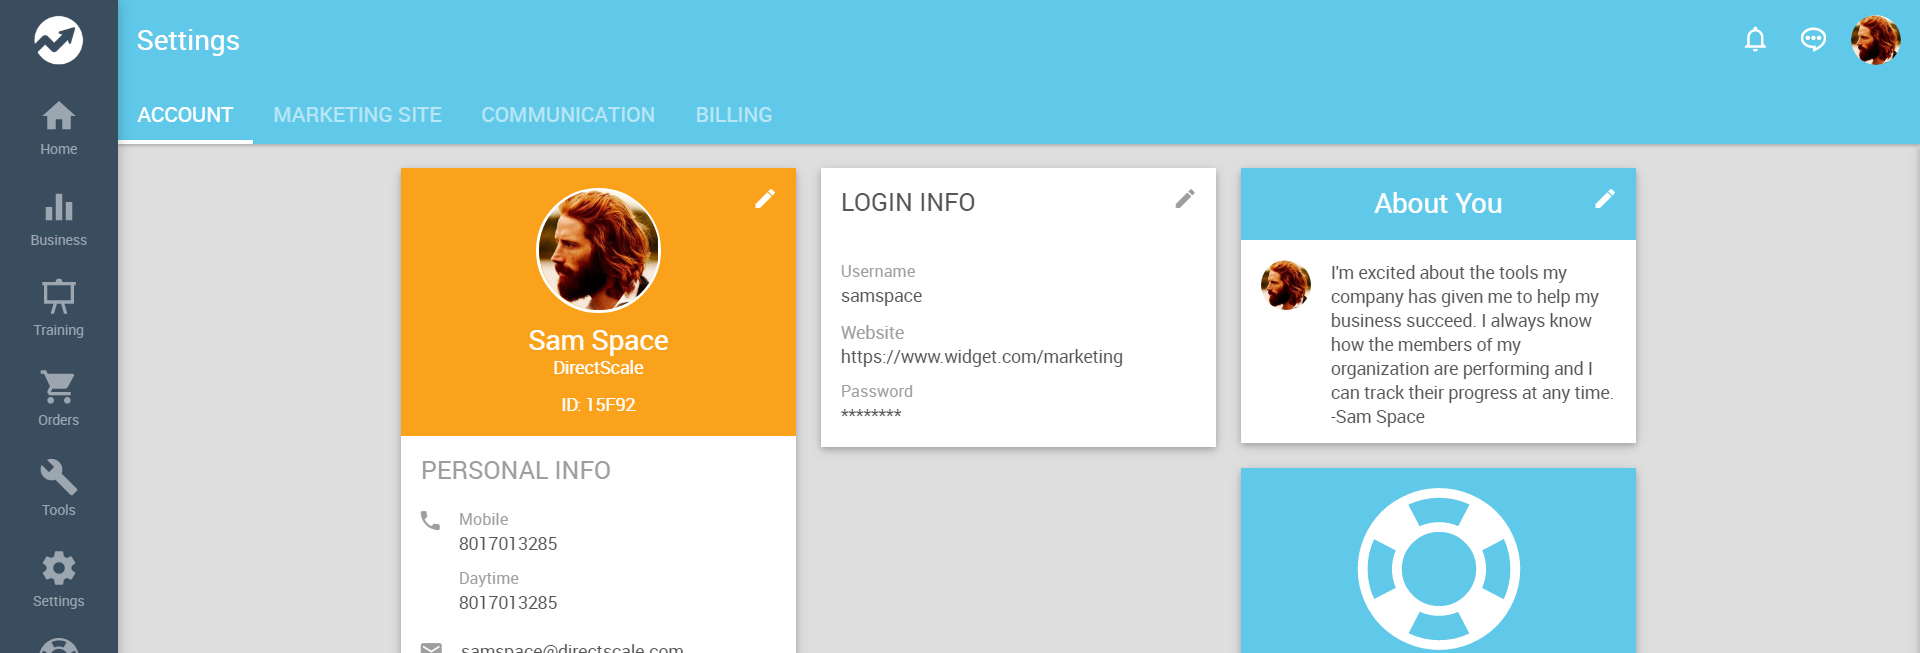
The Settings page is where your Associates can modify specific details, such as personal, about, and login info. You can control which widgets display with the Web Office Admin.
Adding a Tab
Use tabs to categorize the different widget functions. There are four default tabs:
- Account
- Marketing Site
- Communication
- Billing
To add a new tab:
- Click the ADD NEW button and select Add Tab.
- In the pop-up, enter the tab Name.
- Click SAVE.
New tabs won’t show in the Web Office until a widget is assigned to them.
Adding a Widget
Although you can add any of the available widgets, there are 15 widgets already configured to display specifically on the Settings page. Each widget is denoted by its default tab. Read more about each one by clicking its link.
Account
Marketing Site
- Settings > Marketing Site > Social Media Links
- Settings > Marketing Site > Website Addresses
- Settings > Marketing Site > Website Information
- Settings > Marketing Site > Google Analytics
Communication
- Settings > Communication > Notification
- Settings > Communication > Downline Activity Preferences
- Settings > Communication > Corporate Communication
- Settings > Communication > Offline Messages
- Settings > Communication > Custom Notification
Billing
- Settings > Billing > Add Payment Methods
- Settings > Billing > Billing History
- Settings > Billing > Binary Placement Preferences
These widgets are pre-built, but you can also create your own custom widgets. Once you create custom widgets, they will be available to select.
To add a widget:
-
Click the ADD NEW button, and select Add Widget.
-
In the pop-up, click the Widget dropdown, and select the widget you want to add.
-
Click the Tab dropdown, and select the tab under which you want your widget to appear.
-
Click the Published toggle to publish the widget now after saving the configuration.
Alternatively, you can publish the widget from the Widgets List by clicking the icon.
-
The rest of the settings are Multi-Faceted Configuration (MFC). Enter your specific configurations for who can view the widget.
-
Click SAVE.
Editing/Deleting a Widget
To edit/delete a widget:
- Locate the widget in the list.
- Click the icon.
- In the pop-up, click the icon at the bottom of the window.
- Click DELETE to confirm.
Changing the Order Widgets appear in the Web Office
-
Note the location of the widget in the Web Office.
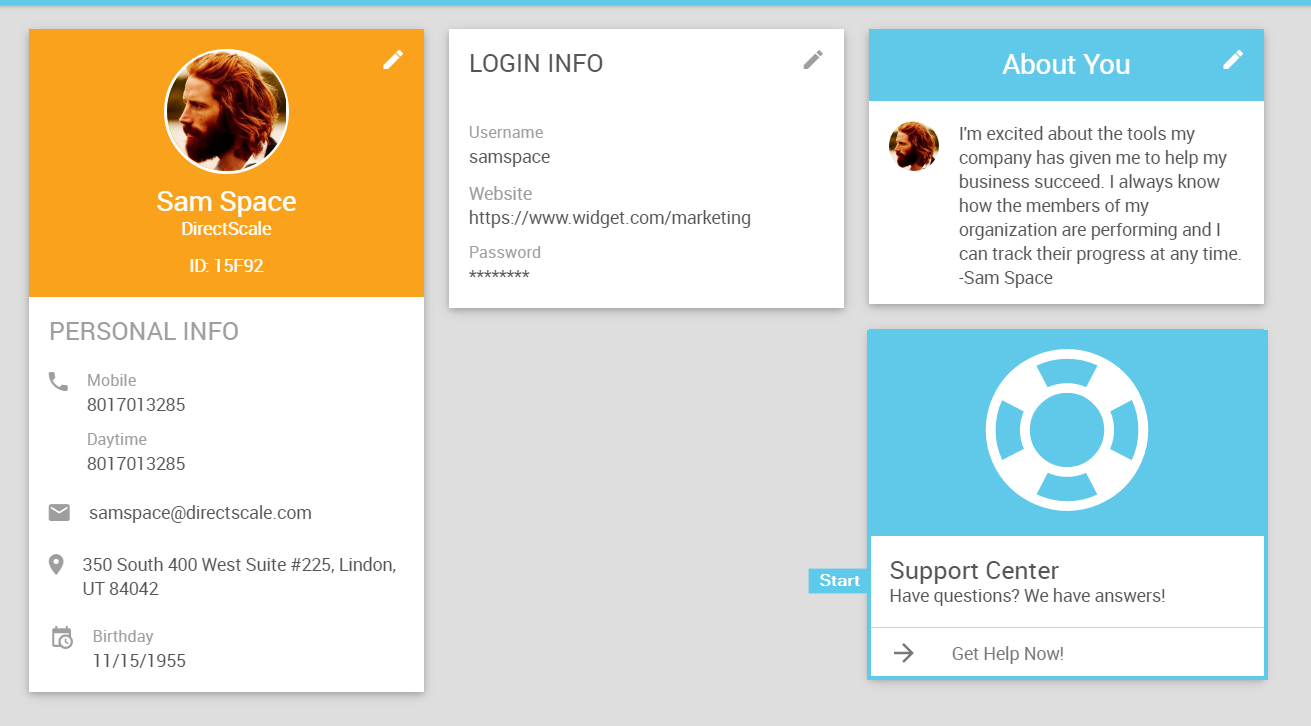
Web Office widget start location -
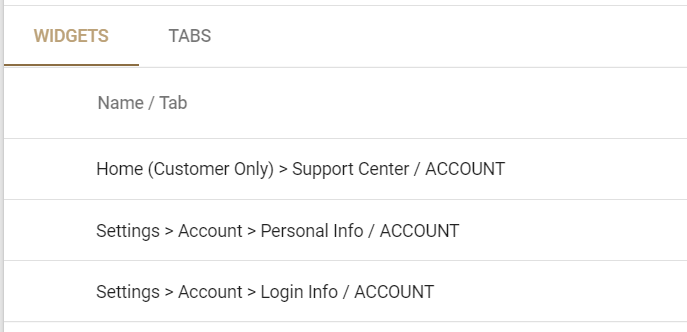
In the Widgets List, click the widget whose order you want to change and drag it to a higher or lower position in the list.

Click and drag the widget to change its location -
Drop the widget in its new position.
Drop the widget The Web Office Admin page will automatically save, and the widget will appear in its new sort order in the Web Office once refreshed.
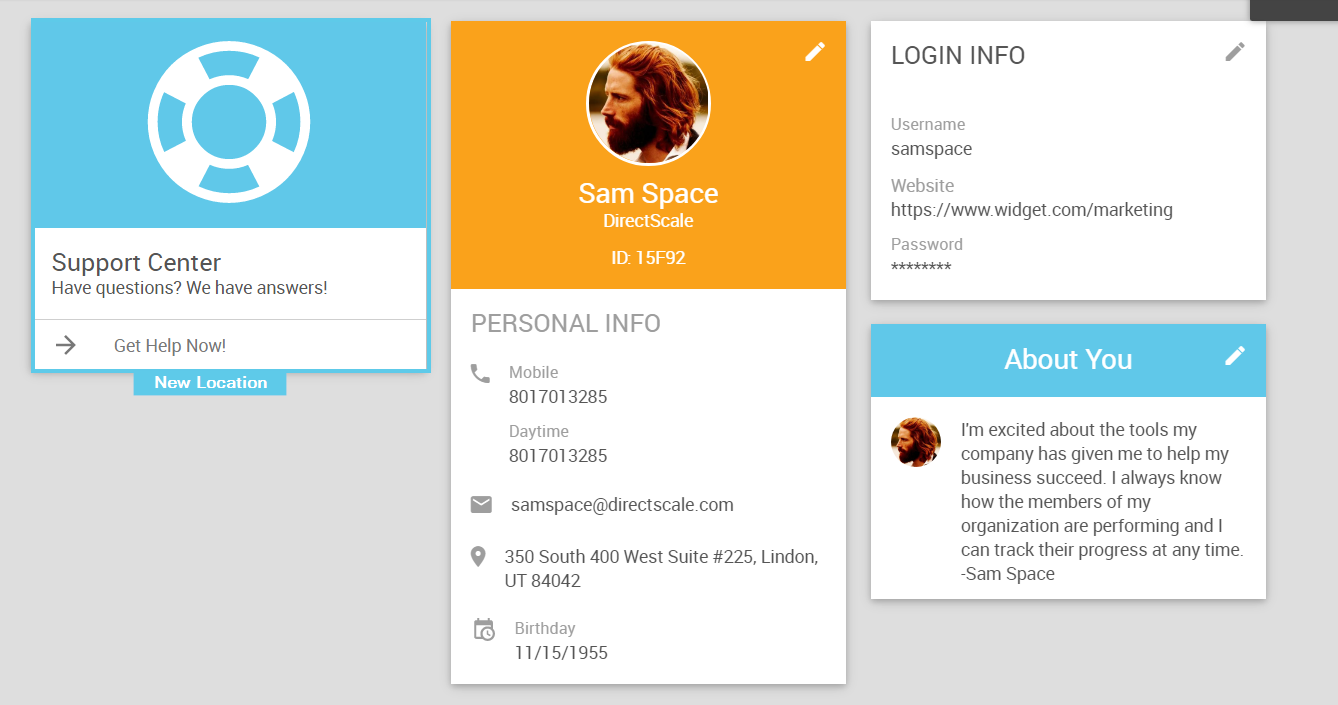
Web Office widget new location
Comments
Please sign in to leave a comment.