Before you are live, you want to ensure your order creation and payment processing work. You can test everything even before you set up a payment provider by using the Test Merchant. The Test Merchant allows you to create test orders and enter dummy payment information to test different payment statuses.
Learn About the Test Merchant
| Only use the Test Merchant on your Stage environment (if available). |
Use the Test Merchant to test order submission without sending payment to the provider.
Using the Test Merchant
| The Test Merchant only works with USD or EUR currencies, depending on the Test Merchant type selected. |
To use the Test Merchant, create an order in either the Corporate Shop, Web Office Shop, or eCommerce Shop with a test Associate:
-
Add an item to the cart.
-
In the Shopping Cart, click Checkout.
On the Checkout page, you won’t see the Test Merchant payment method under the Payment Method section. You have to add a payment method:
-
Click the Add Payment Method button
-
Enter any test Card Number.
You can test payment responses by entering specific numbers. See the list in Order Payment Responses.
-
Click Save Card.
After saving, Place the Order with the test card.
Order Payment Responses
You can test different payment responses based on the last four digits of the card:
-
1111 = Accepted
-
2222 = Payment Pending
-
3333 = Rejected
-
4444 = Fraud Rejected
-
5555 - Pending Fraud Review
-
6666 = Pending Precheck
-
7777 = Redirect
-
8888 = Not Provided
-
Any other numbers = Success
Re-Adding the Test Merchant
| Only add the Test Merchant to your Stage environment. |
The Test Merchant is already enabled by default. If you need to, you can re-add it:
-
In Corporate Admin, navigate to Settings > Company Settings > Payment Methods.
-
Click the Add Payment Map button.
The Create a Map pop-up window opens.
-
Select the necessary Regions.
-
From the Merchant drop-down, select either:
-
Test Merchant (USD)
-
Test Merchant (EUR)
-
-
Select the Stores for the payment method.
-
Click the Save changes button.
For more information, see Mapping Payment Providers.
Learn About Offline Payments
Using Offline Payments gives you flexibility with the types of payments you accept. It allows Associates to create an order and pay for it at a later time using a third-party payment method, such as:
-
Cash
-
Paypal
-
Venmo
-
Apple Pay Cash
-
Bank Deposits
-
Any company’s accepted forms of payment
Adding Offline Payment Method
Admin: Corporate Admin
Page: Settings > Company Settings > Payment Methods
URL: [CLIENTID].corpadmin.directscale[ENVIRONMENT].com/Corporate/Admin/CountryPaymentMap
Permission: ViewAdministration()
The Offline Payment method is already enabled by default. If you need to, you can re-add it:
For more information, see Mapping Payment Providers.
Offline Payment Process
When checking out an order, an Associate can select Offline Payment.
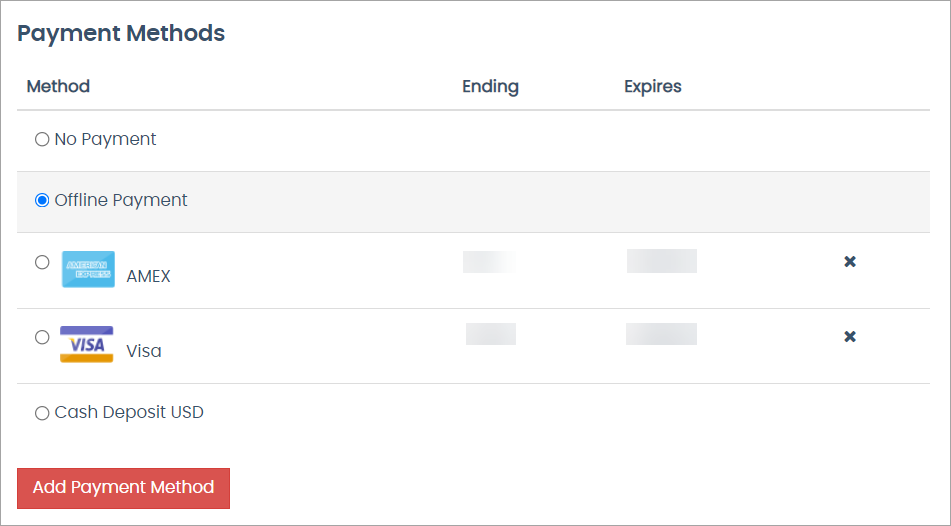
When the Associate places the order, the order status is set as "Pending processing". The Associate receives a message (email, text, chat, etc.) with payment instructions.
Following the provided Offline Payment instructions, the Associate pays for the order. Once you receive the payment, you must change the order’s status to "Paid".

Create an Order in the Corporate Shop
Admin: Corporate Admin
Page: Associates > Search Associates > Associate Detail > Corporate Shop
URL: [CLIENTID].corpadmin.directscale.com/Corporate/CRM/NewOrder?id=[ASSOCIATE_ID]®ionID=[REGION_ID]&storeID=[STORE_ID]
Permission: CreateOrder()
The Corporate Shop is a great one-stop place to create orders for your Associates. Submit orders from any Store and manage shipping and payments within Corporate Admin.
Accessing the Corporate Shop
-
In Corporate Admin, find and select an Associate to navigate to their Detail page.
-
Click the Shop button in the upper right corner, then select a Store.
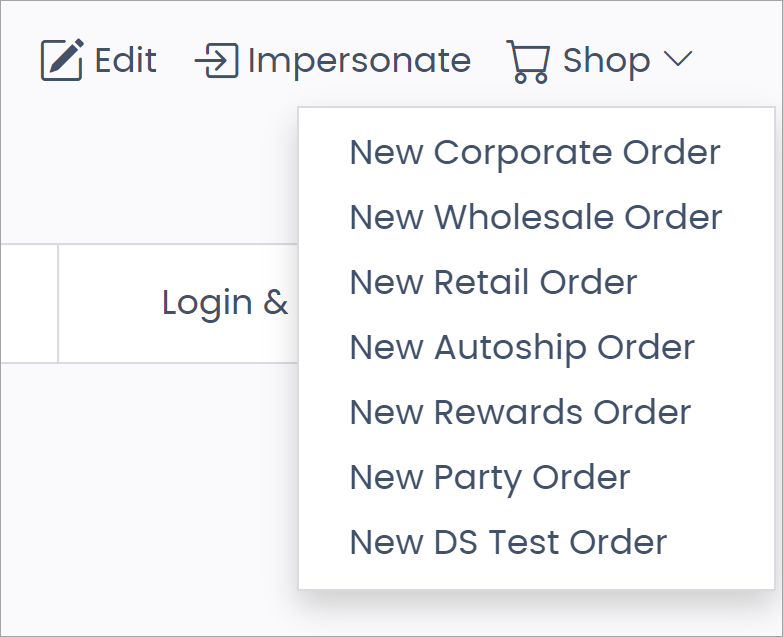
You navigate to the Corporate Shop.
Finding Items
-
Select a category from the sidebar to view items.
-
Find an item by Product Name or SKU with the Search Bar.
-
Change the display view with the List and Grid buttons.
-
List makes the item results layout appear in descending order.
-
Grid makes the results layout appear side-by-side.
-
Viewing the Product Details
Once you locate the product:
-
Click the item’s title to view the Product Detail page.
This page features all the details configured for the product. Learn more in the Inventory Items and Pricing Guide.
-
On the Product Detail page:
-
Click the thumbnails to view each image.
-
Learn how to add the Main Image in Configuring Inventory Item Data.
-
Learn how to add secondary images in Selecting Additional Item Images.
-
-
Click the Description or Benefits tabs to view the contents.
-
Learn how to add the Description and Benefits by Entering the Item’s Name and Details.
-
-
View the item’s Price and commission amounts.
-
Learn how to add an item’s price and commission amounts in Adding Inventory Prices and Discounts.
-
-
-
Click Add to Cart.
Viewing the Shopping Cart
From the Corporate Shop main page:
-
Click View Cart in the Shopping Cart sidebar.
Or, on the Product Details page:
-
Click Add to Cart.
You navigate to the Shopping Cart page, where you can:
-
Update the Quantity.
The CV (Commission Volume), QV (Qualifying Volume), and Total columns also reflect the change. -
Continue Shopping to select more items.
Navigates you back to the Corporate Shop main page.
-
Select a category from the sidebar to view and add more items to the cart.
Checking Out
On the Shopping Cart page:
-
Click Checkout.
You navigate to the Checkout page.
On the Checkout page, you can:
-
Change the Shipping Address.
The Address Details pop-up window opens, where you can make any adjustments.
-
Add a Payment Method.
-
Click Add Payment Method.
The Add Payment Method pop-up window opens.
-
Enter the payment card info.
-
Click Save Card.
-
-
Select a Shipping Method.
-
Learn how to set up shipping methods in Setting Up a Shipping Method.
-
-
Add a Coupon Code.
Learn how to set up Coupon Codes in the Coupons Guide.
-
Override the Shipping or Tax amounts.
-
Learn more in Adjusting Shipping and Tax on Orders.
-
Placing an Order
-
Click Place Order.
If the order is successful, you’ll navigate to the Order Complete page.
-
On the Order Complete page, click the order number link.
You navigate to the order’s Detail page.
Search by Order Number
Admin: Corporate Admin
Page: Associates > Search Associates
URL: [CLIENTID].corpadmin.directscale.com/Corporate/CRM/Find
Although it’s called the Search Associates page, you can also search by order number.
Switching to the Find Orders Page
On the Search Associates page:
-
Locate the drop-down next to the search bar.
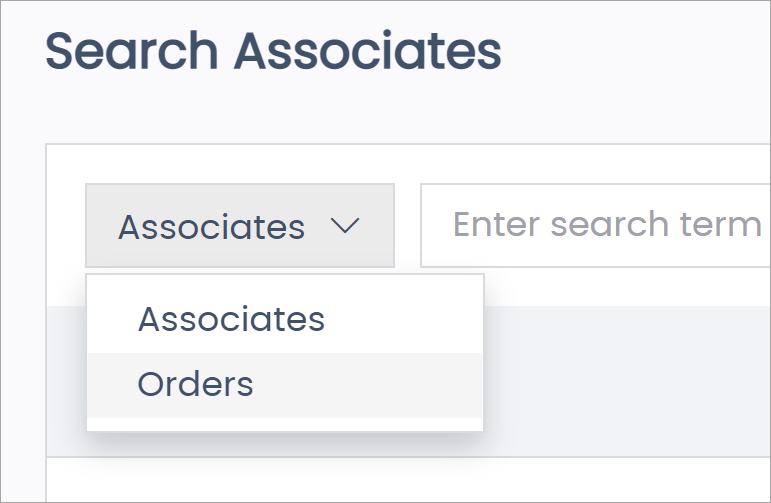
-
Click the drop-down and select Order.
The page refreshes and is now the Search Orders page. You can use this page to find orders by searching for order numbers.
Searching by Order Number
-
Type the order number in the search bar.
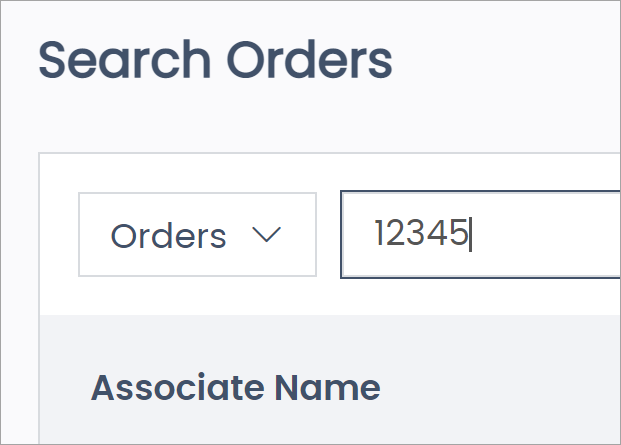
Enter the exact order number for speedier results. - Press Enter on our keyboard or click the Search button.
-
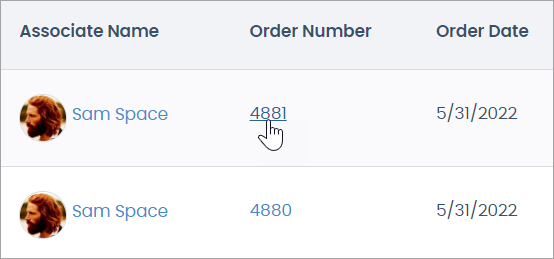
In the search results, click the Order Number link.
You navigate to the order’s Detail page.
View the Order’s Detail Page
Admin: Corporate Admin
Page: Associate Detail > Order History > Order Detail
URL: [CLIENTID].corpadmin.directscale.com/Corporate/CRM/OrderDetail?order=[ORDER_NUMBER]&id=[ASSOCIATE_ID]
Permission: EditAssociateOrder()
On an order’s Detail page, you can:
Locating the Order Detail
In Corporate Admin, to find an order’s Detail page, there are several methods:
-
You can click the drop-down next to the search bar and select Orders on the Search Associates page. The page becomes the Search Orders page, where you can search by order number.
-
If you are on an Associate’s Detail page, you can click the Order History tab. Select the period, if necessary, and find the order in the list.
-
Or, you can find orders from the Reports > Orders section. Click the Orders report link under the Orders category box. You can select the period, country, and search by the order number, name, and Customer ID on the Orders page.
Whichever method you use to find the order, to navigate to the order’s Detail page, you click the Order Number link.
Order Number and Status
A display of the current order number and status. The status will update with changes to the order.

Statuses can include:
-
"Pending Processing"
-
"Paid"
-
"Shipped"
-
"Returned"
-
"Refunded"
For more information, see Changing an Order’s Status to Paid.
Order Management Options

Enable access to order-related actions.
- Pay Now (Waiting Payment status only)
Click each link to learn more.
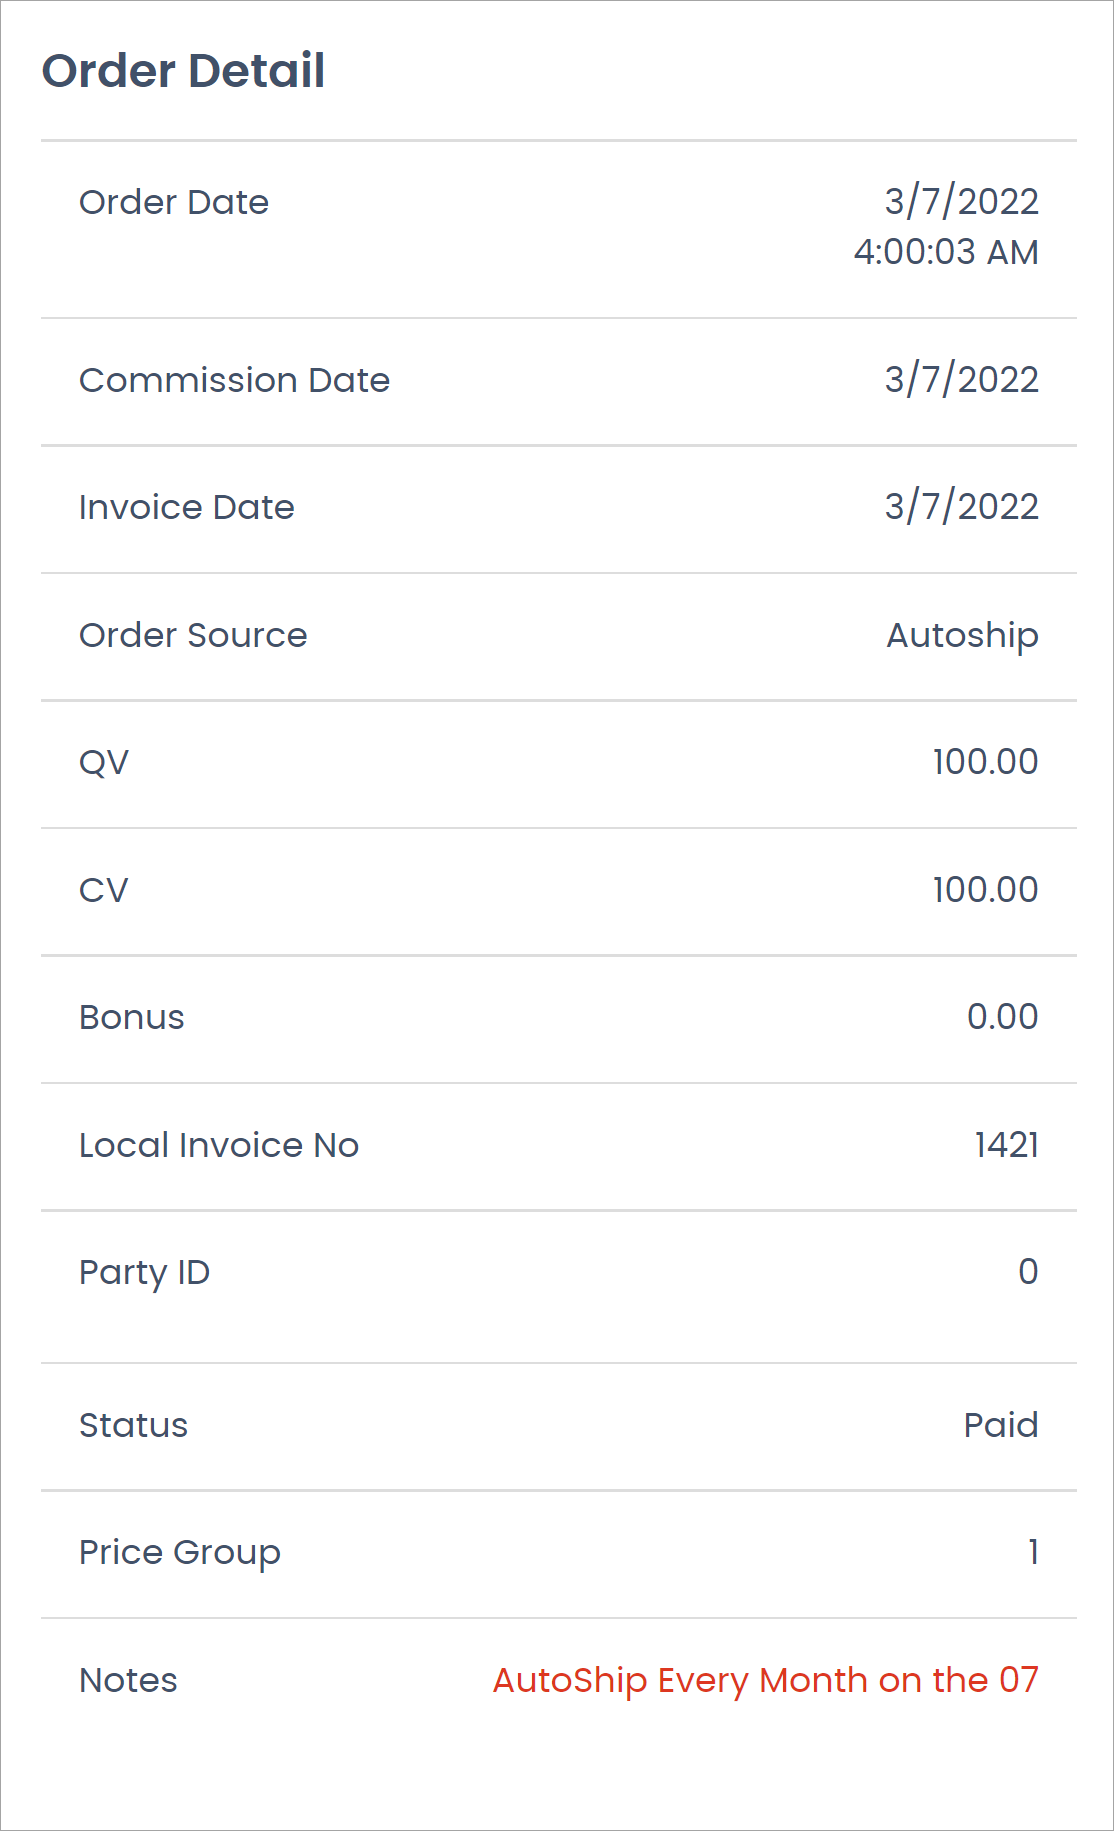
Order Detail
-
Order Date - Date the Associate placed the order.
-
Commission Date - Date the commission engine counted the order.
-
Invoice Date - Date the invoice was created.
- Order Source - Where/which application the order originated from is known as the Order Source.
-
QV - Total Qualifying Volume (QV) earned during the order.
-
CV - Total Commissionable Volume (CV) earned during the order.
-
Bonus - Total bonus paid.
-
Local Invoices No. — Invoice number. Same as the order number, unless changed on the Edit Order page.
-
Status - Order status (Paid, Refunded, Shipped, Waiting Payment).
-
Price Group - Numerical Associate Type that relates the price chosen for the inventory items. It can be essential to know (for reporting or some compensation plans):
-
The Associate Type of the Associate who placed the order
-
When the Associate placed the order
Knowing the Price Group/Associate Type ensures that if the Associate upgrades/downgrades, the Associate Type they were at the time remains unchanged in the Order History.
-
-
Notes - Notes for the order entered on the Edit Order page. If the order is a recurring AutoShip, it will be noted here along with the AutoShip’s frequency.
Product Description
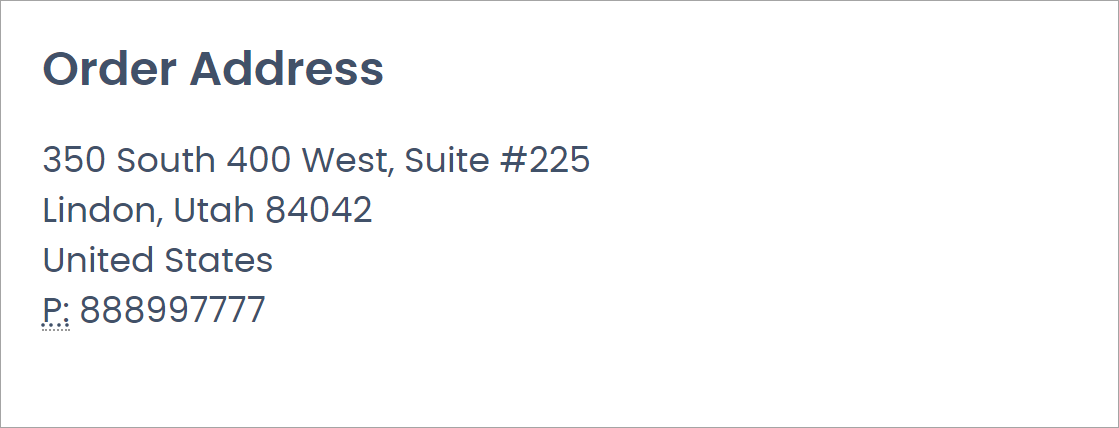
Order Address
Displays the Associate’s address.
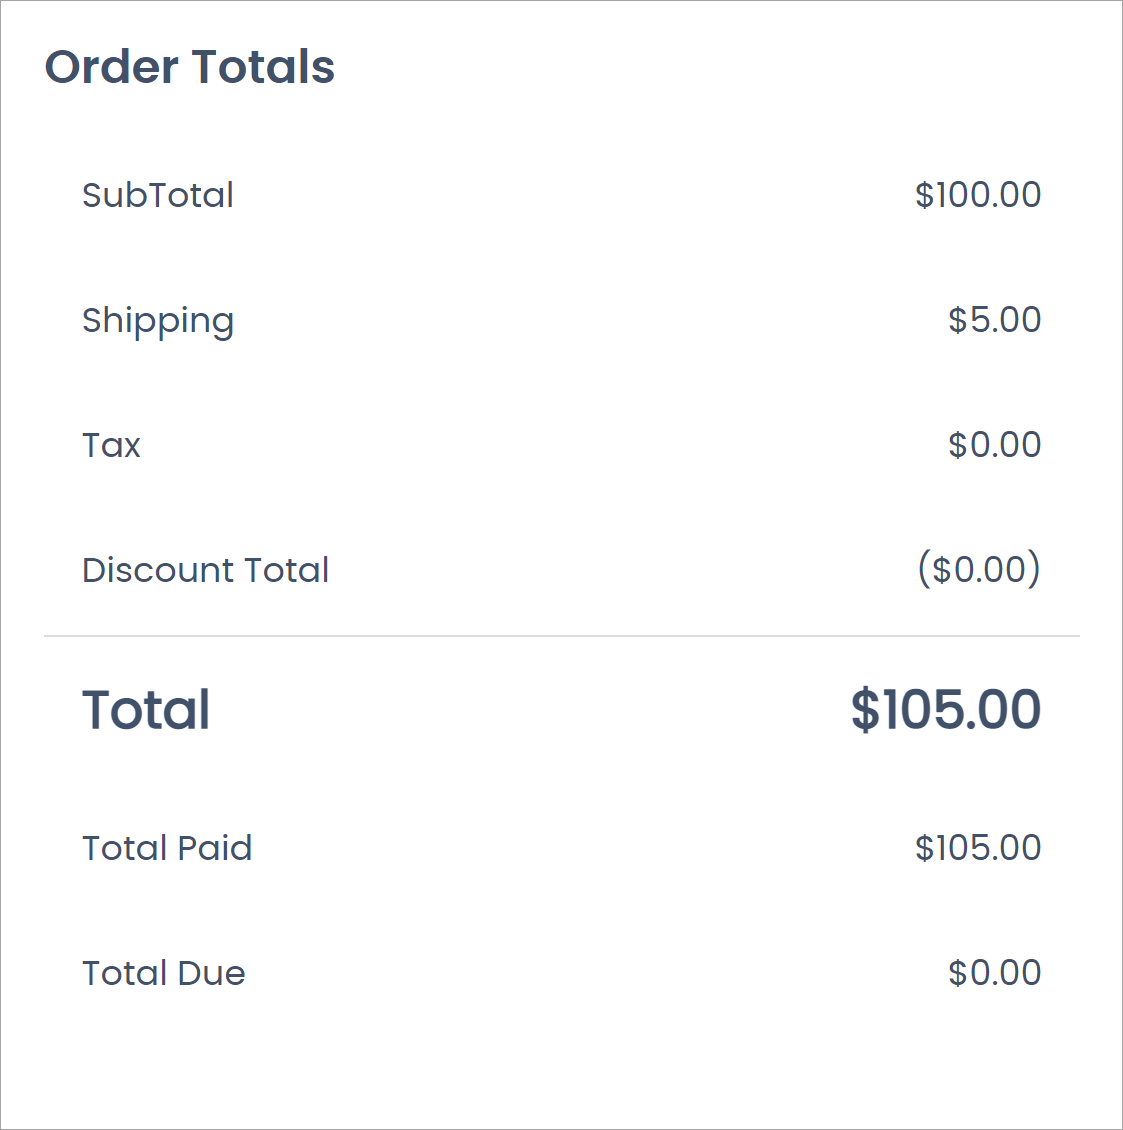
Order Totals
Displays the price paid with applicable shipping, tax, and discounts.
Payments
Displays the transactions and their status.
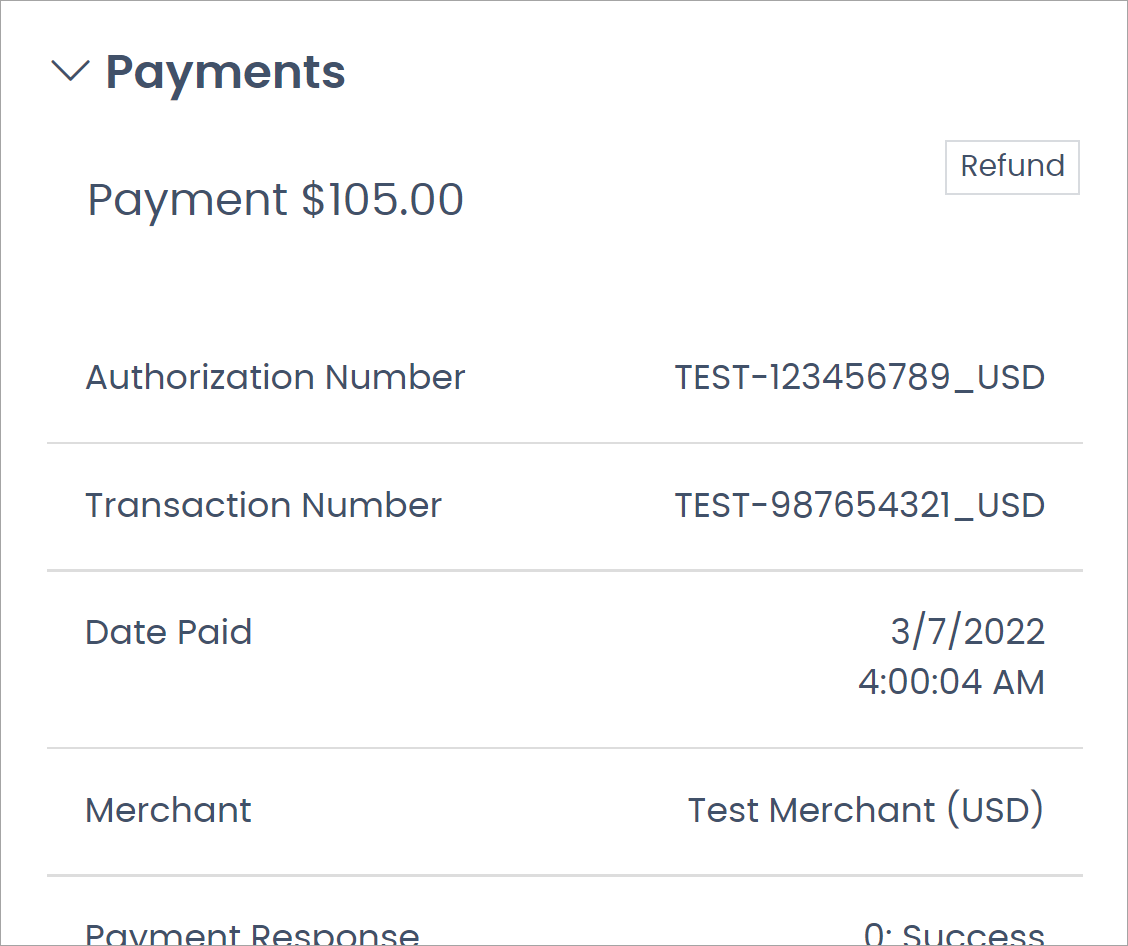
-
Refund - Click the button to start a refund
-
Merchant - Displays the payment provider.
Packages
Displays shipping details and status.
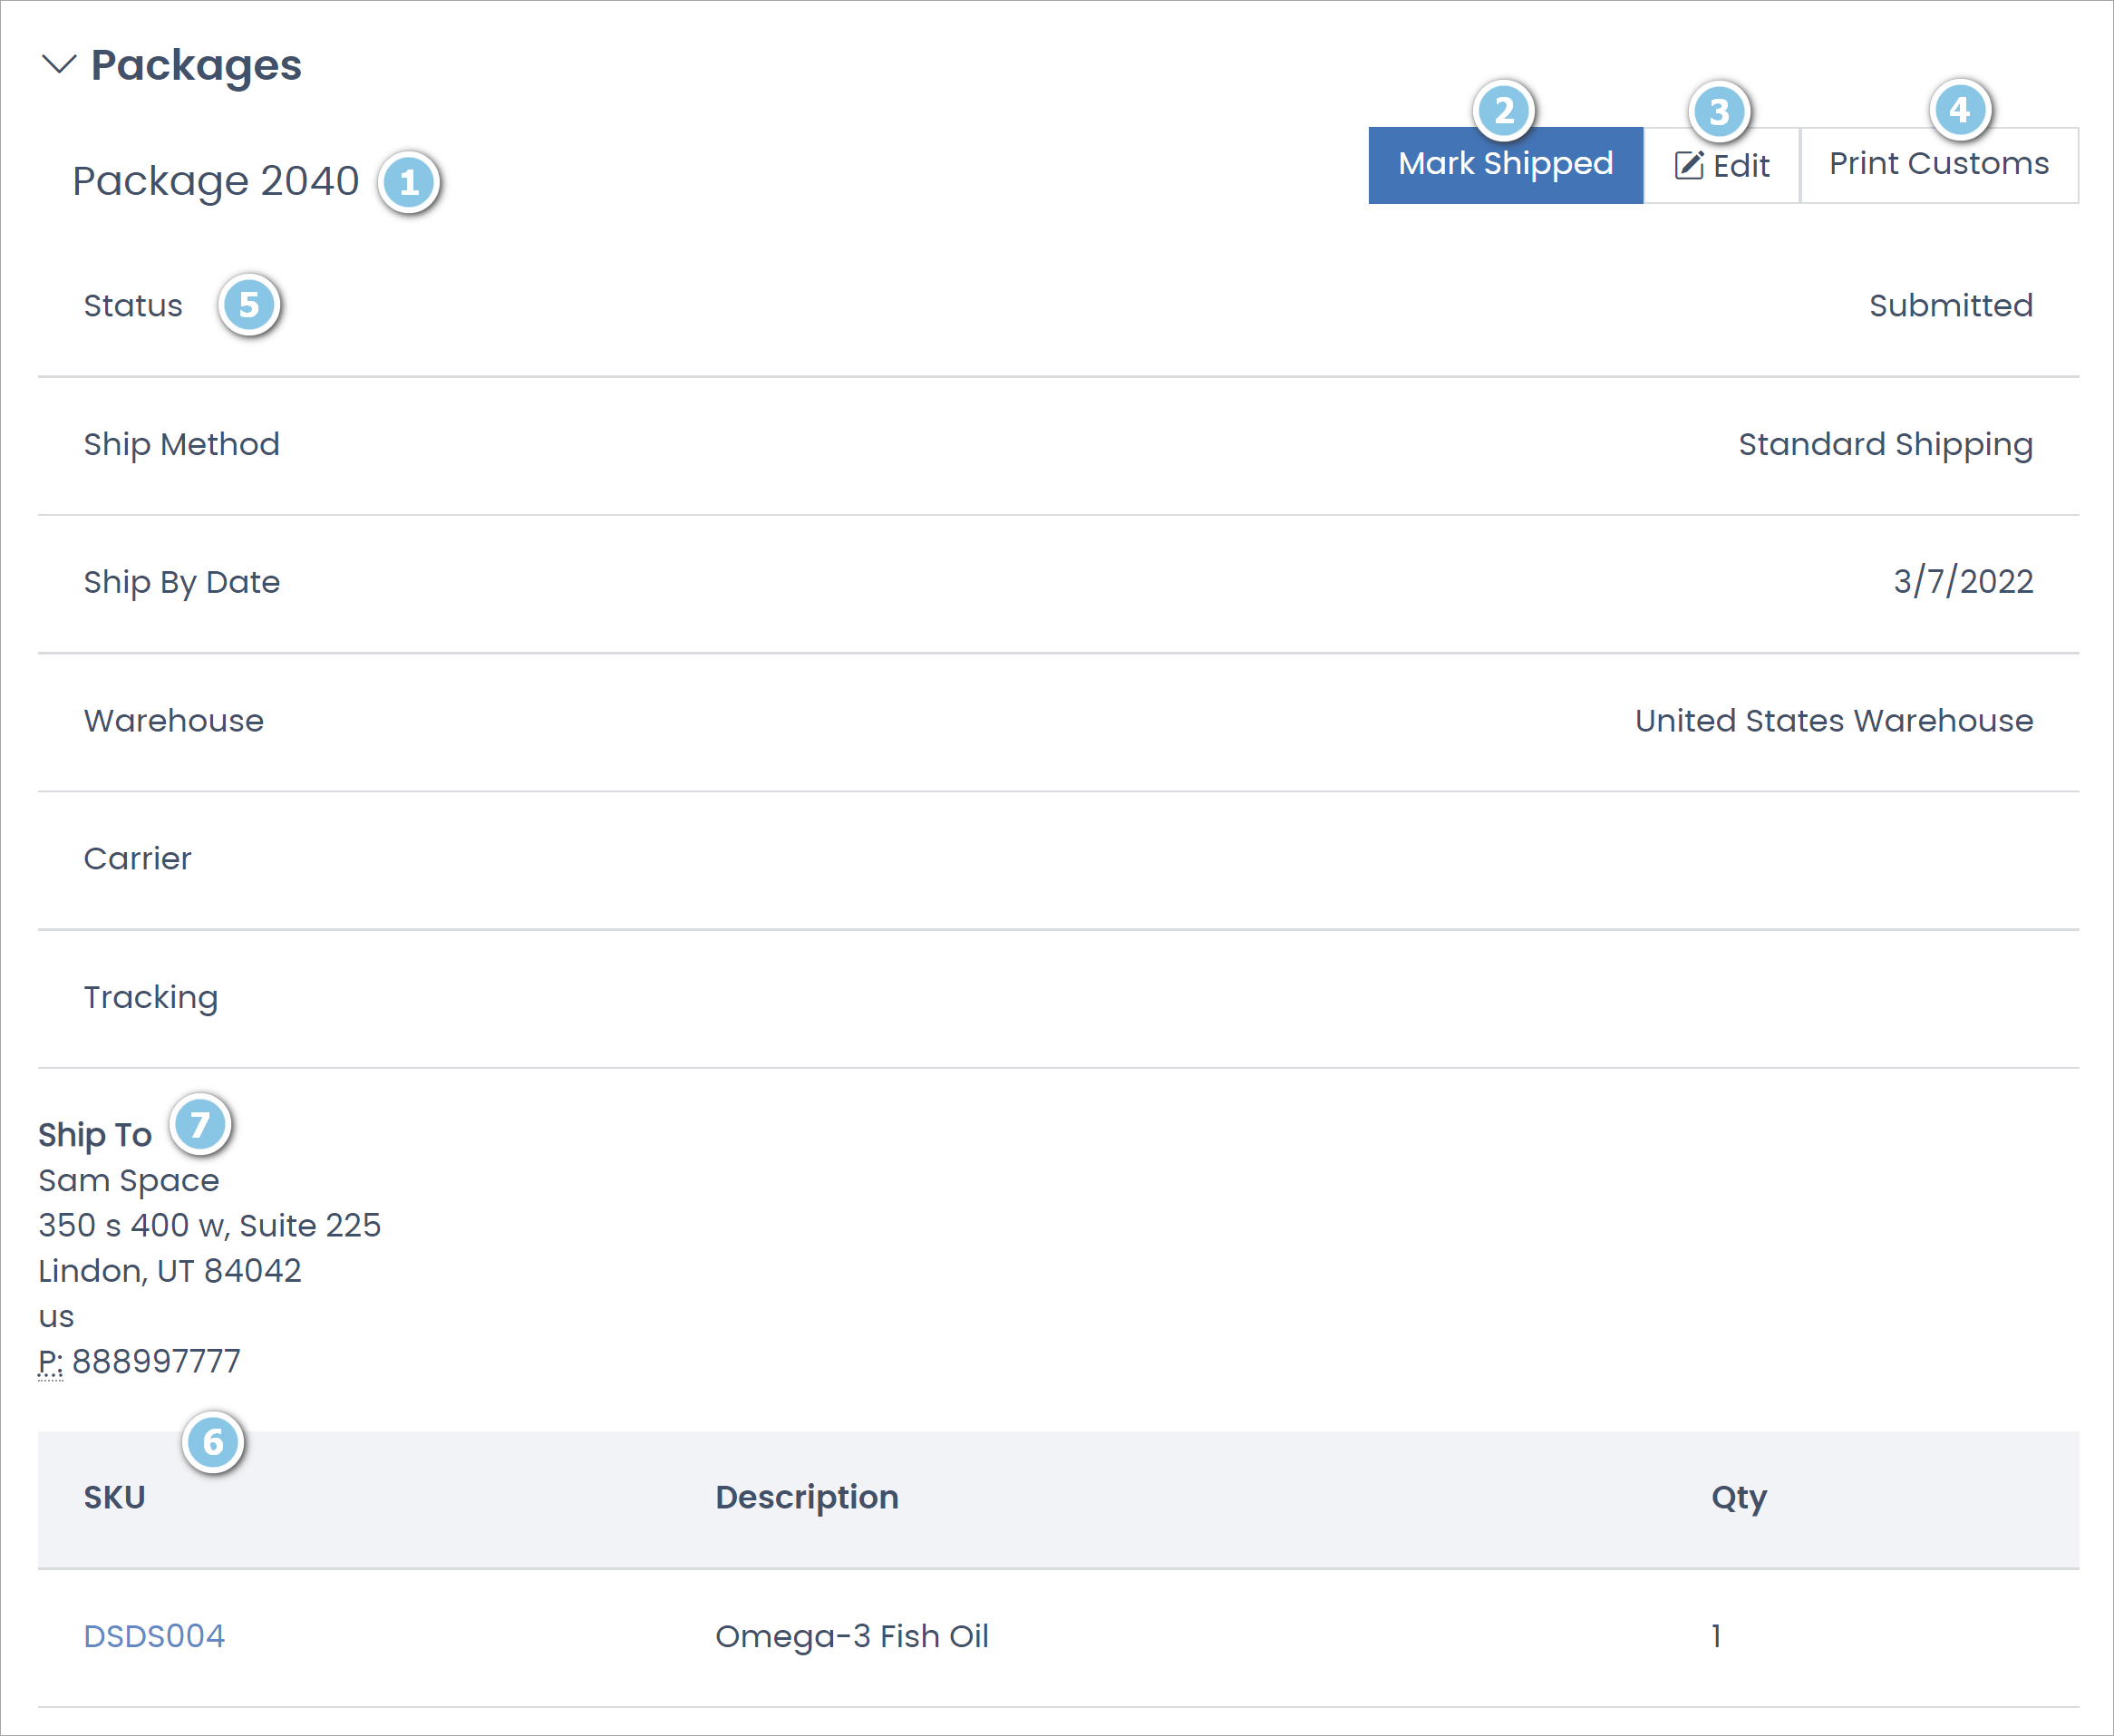
-
Package Number - Displays the package number.
-
Mark Shipped - Click to change the order’s status to "Shipped". Once clicked, a shipping confirmation email sends to the Associate.
-
Edit - You can edit the shipping details before the order ships.
-
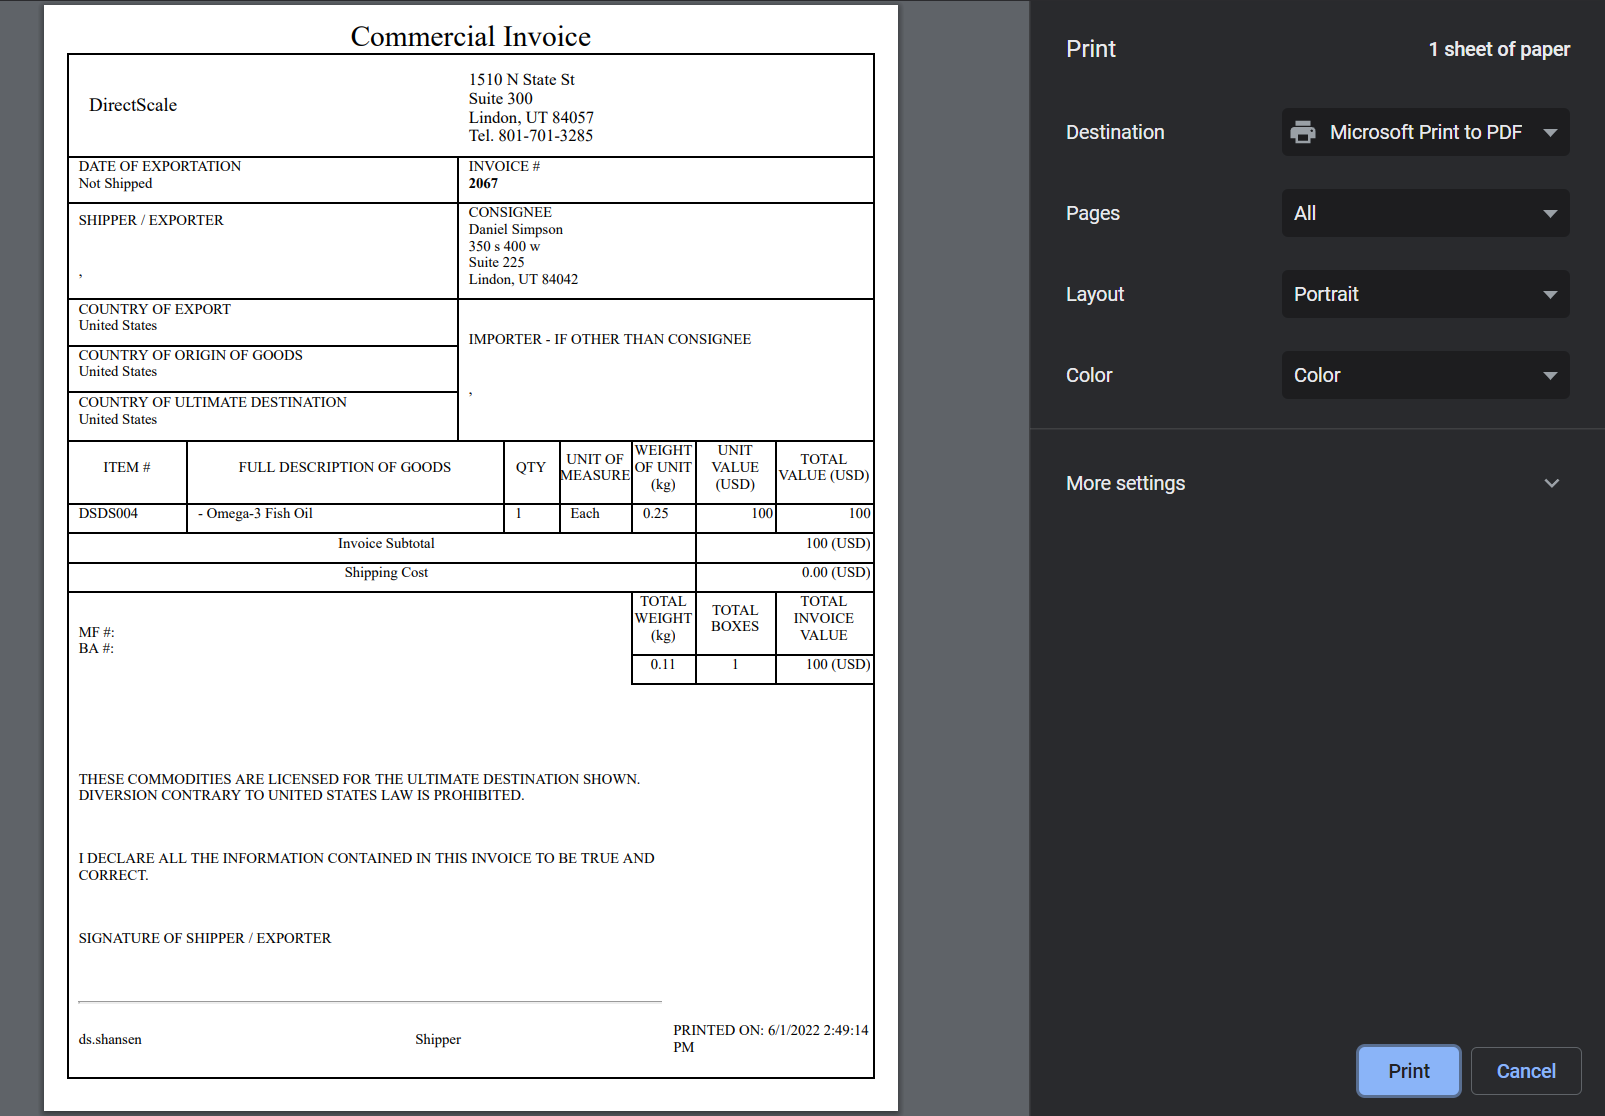
Print Customs - Print a form you can use for customs. Opens your computer’s print dialog box.
-
Shipping Status
-
Status - Displays the current status.
-
Ship Method - Displays the chosen ship method for the order.
-
Ship By Date - Displays by which date the order should be shipped. After the package is marked shipped, this field will be labeled as Date Shipped and display the date the package’s status was changed.
-
Warehouse - Displays the warehouse from where the inventory items will ship.
-
Carrier - Displays the carrier service that will deliver the package after the order is marked shipped.
-
Tracking Number - Displays the entered tracking number after the package is marked shipped.
-
-
Products Description - Displays the products in the order and the quantity purchased.
-
Click on a SKU Value link to navigate to the inventory item’s configuration.
-
-
Ship To Address - Displays the Associate’s shipping address.
For more information, see Shipping an Order.
Volume Distribution
Displays only if the order’s volume is split up by Type, Distribution Date, and Commission Period.

Read more:
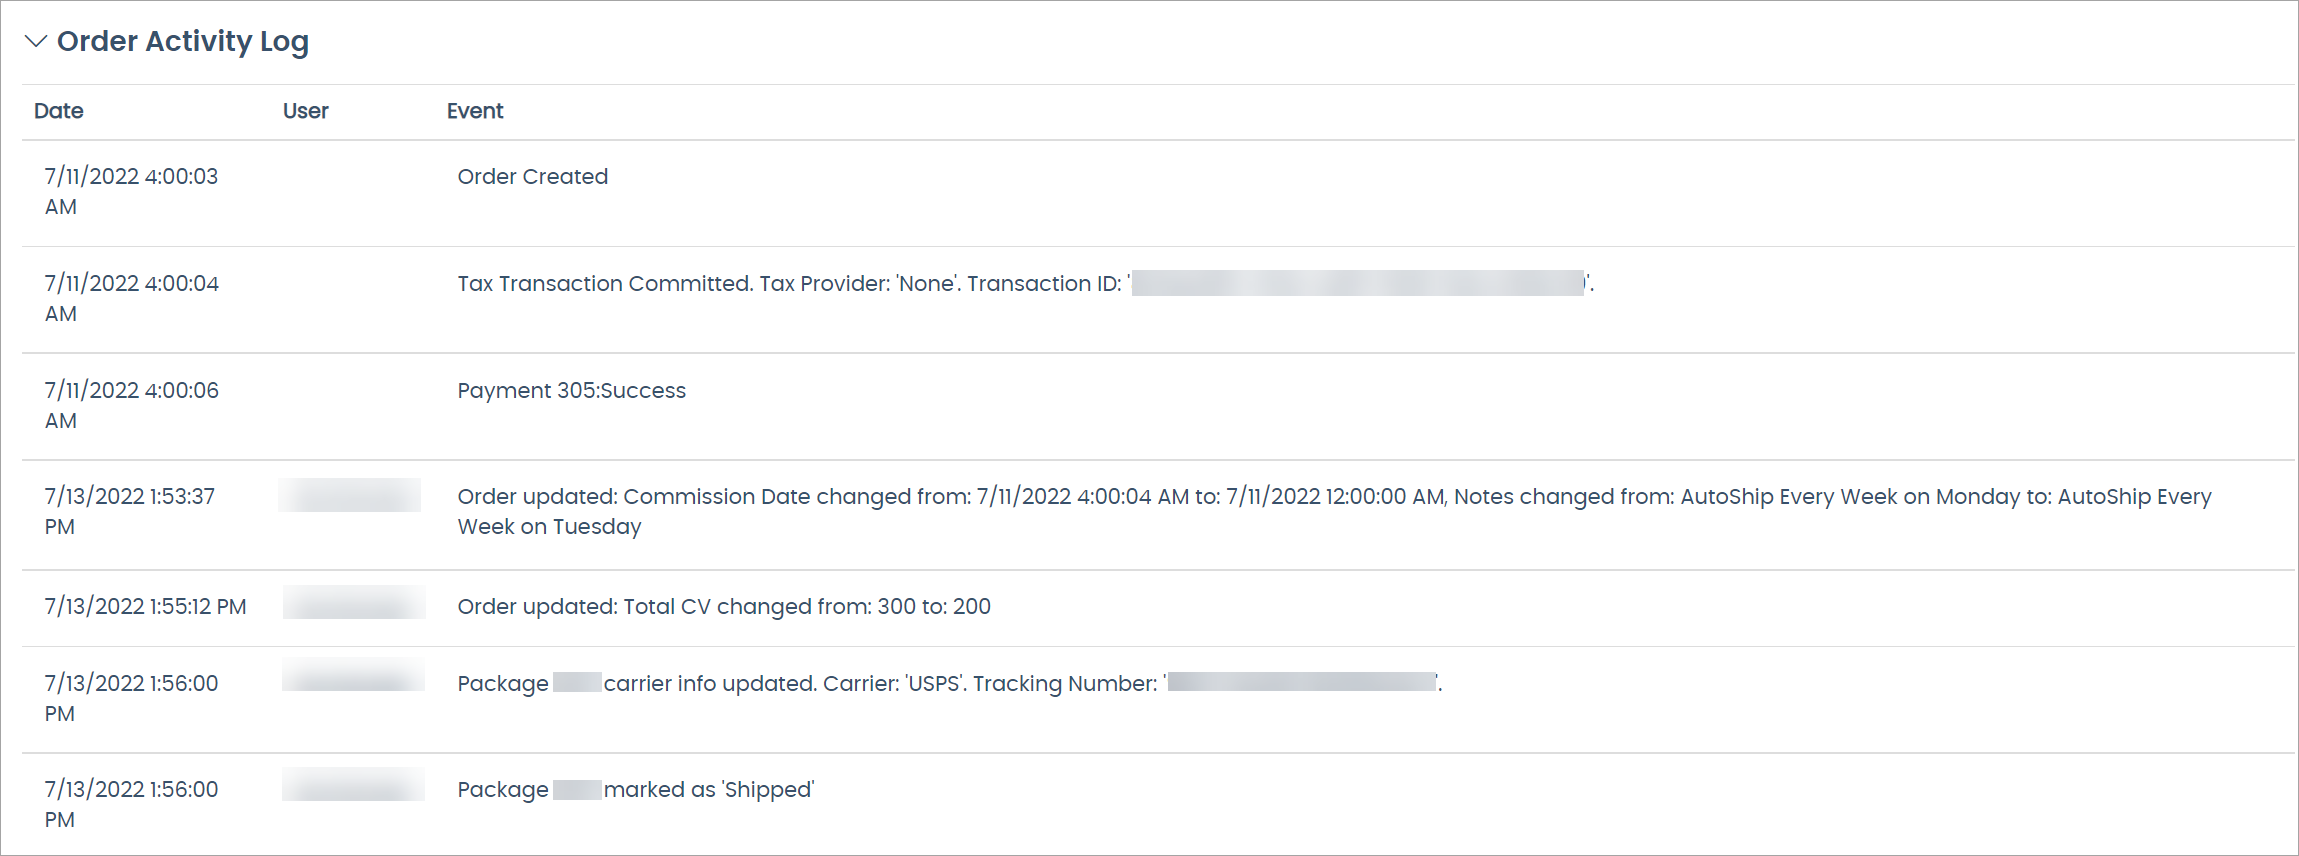
Order Activity Log
Displays all the order’s updates and changes, as well as who made the changes and when.
Learn How to Edit an Order
Admin: Corporate Admin
Page: Associate Detail > Order History > Order Detail
URL: [CLIENTID].corpadmin.directscale.com/Corporate/CRM/OrderDetail?order=[ORDER_NUMBER]&id=[ASSOCIATE_ID]
Permission: EditAssociateOrder()
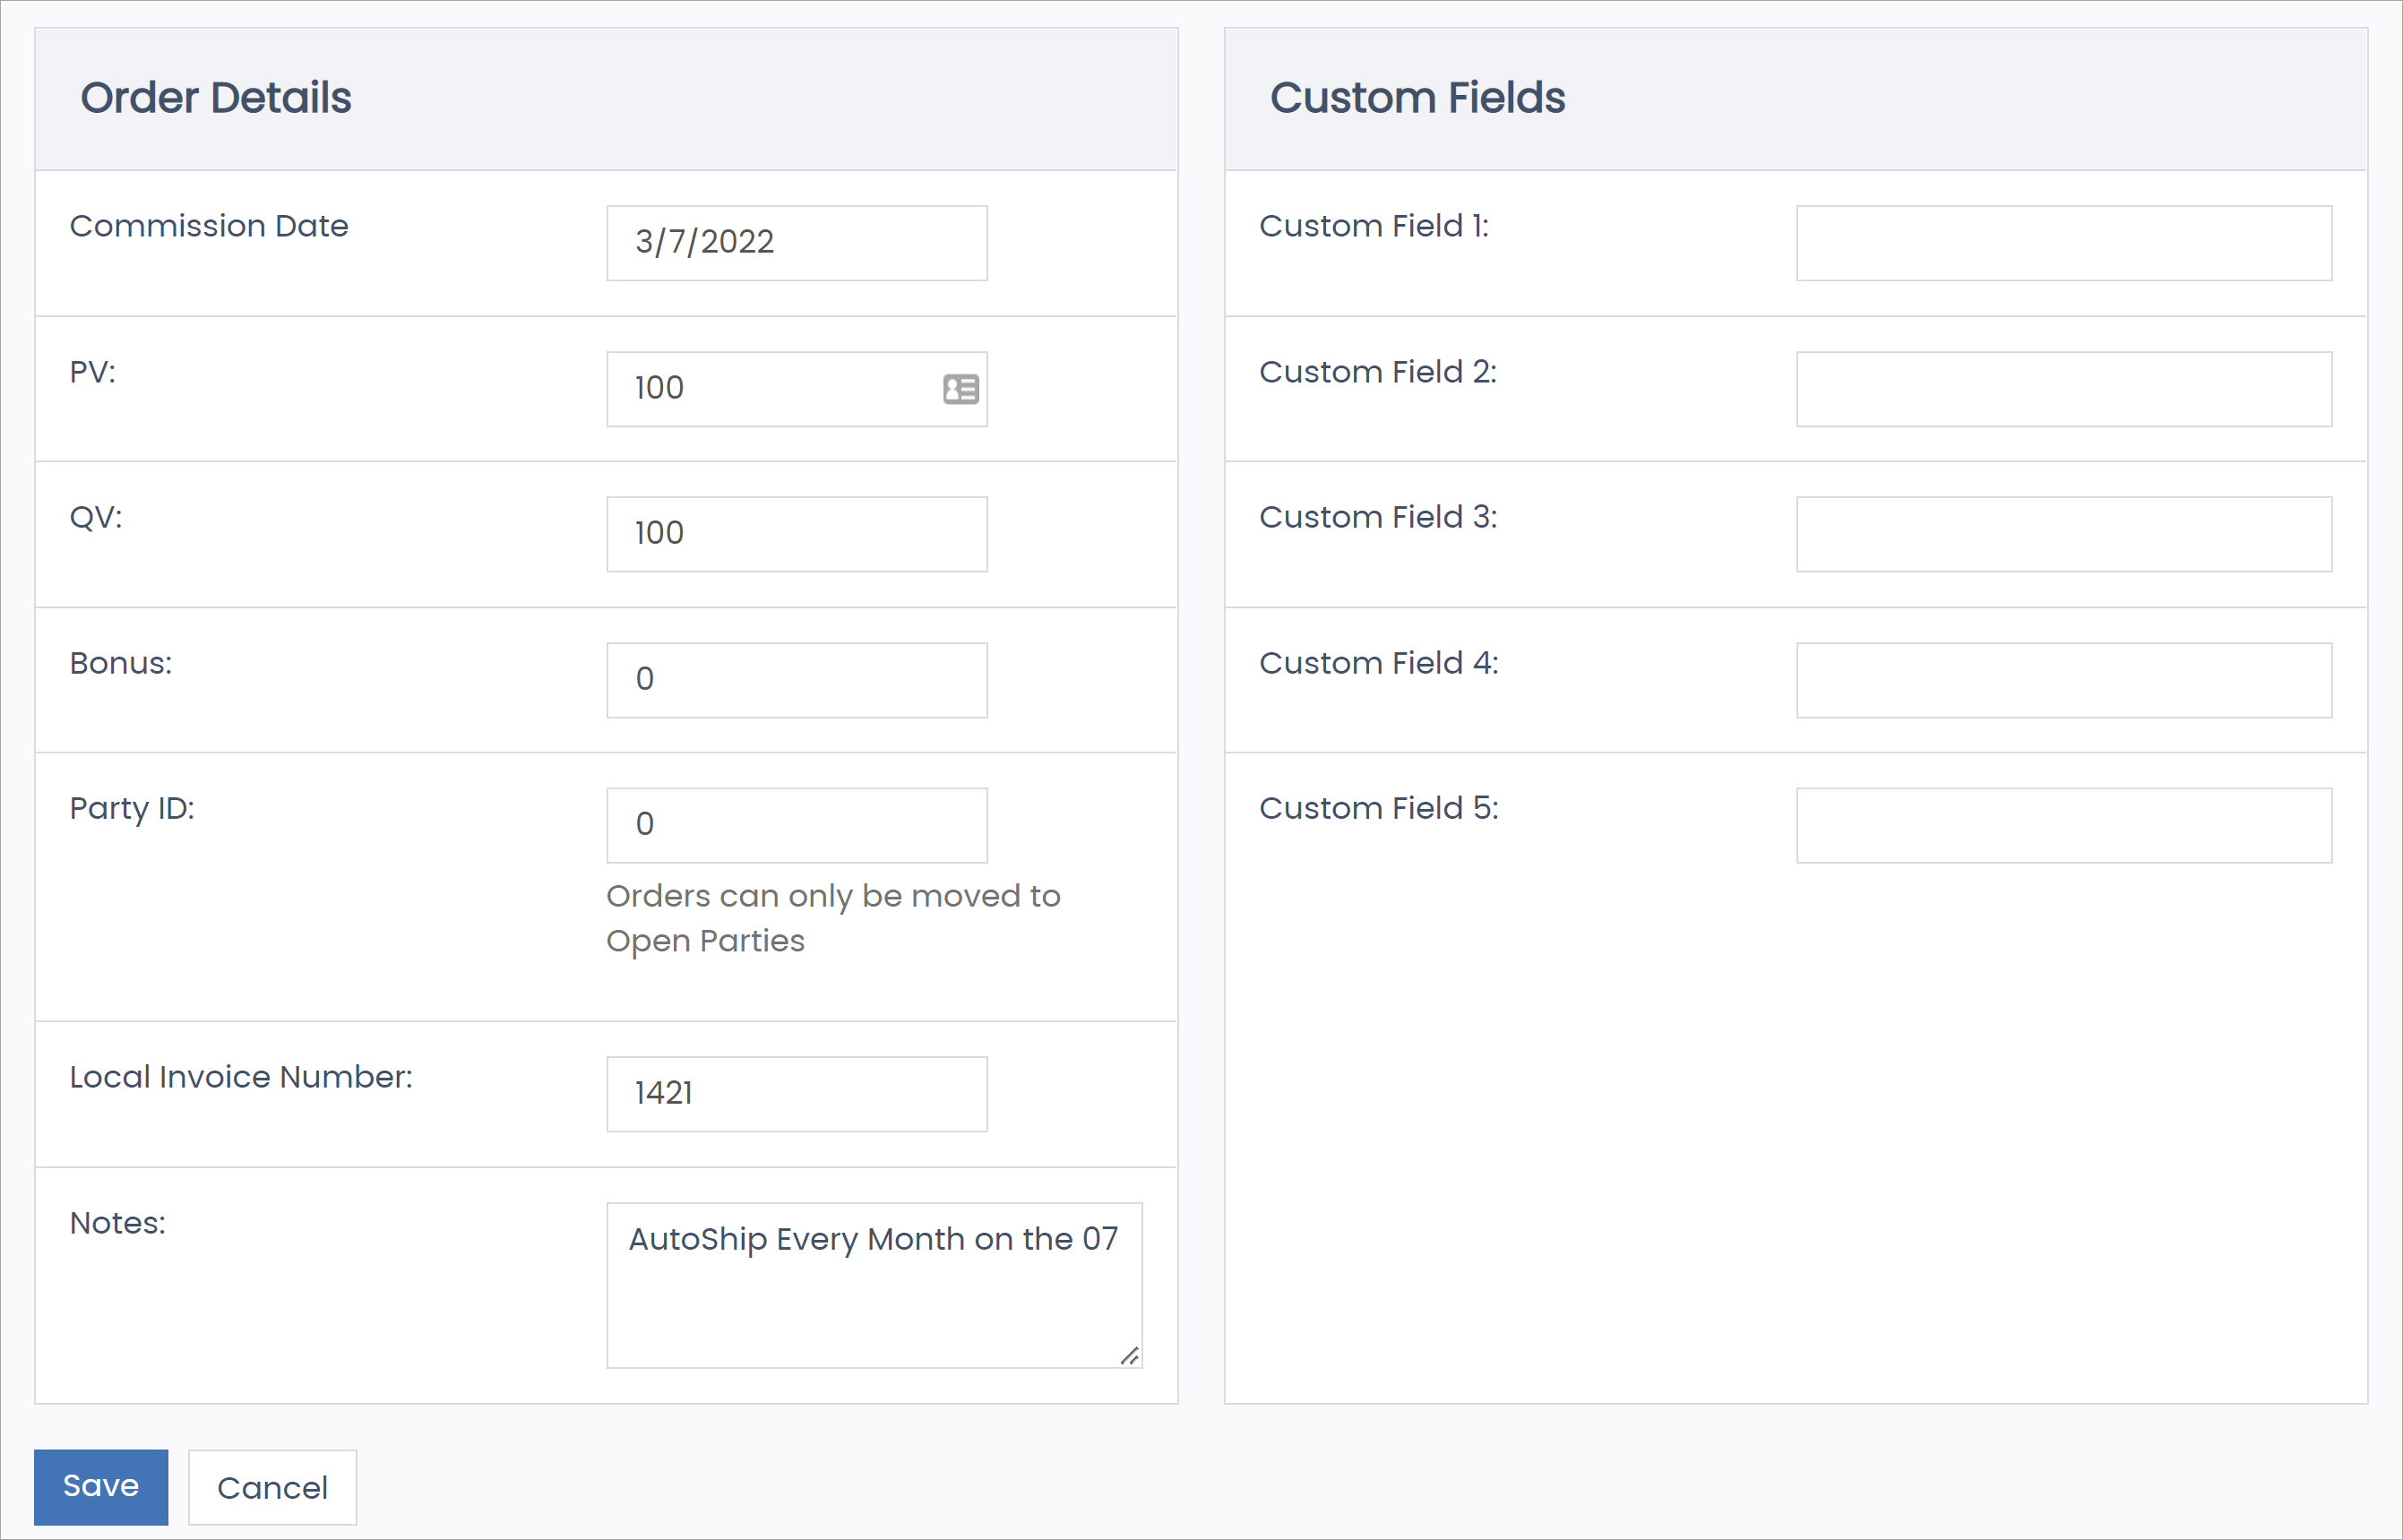
Before committing and locking its commission period, you can edit an order’s Commission Date, Volume and Bonus amounts, and Invoice Number.
On the order’s Detail page:
-
Click the Edit button.
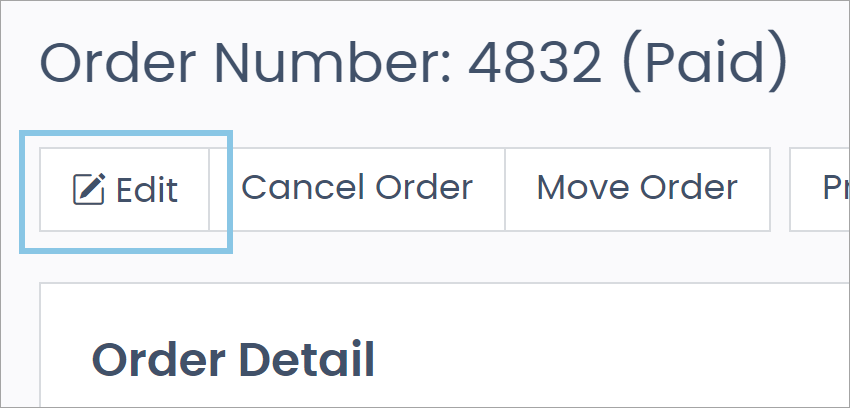
You navigate to the Edit Order page.
-
Edit any necessary details.
After the commission period closes, the only editable fields are the Local Invoice Number and Notes. -
Click Save Changes.
Learn How to Cancel an Order
Admin: Corporate Admin
Page: Associate Detail > Order History > Order Detail
URL: [CLIENTID].corpadmin.directscale.com/Corporate/CRM/OrderDetail?order=[ORDER_NUMBER]&id=[ASSOCIATE_ID]
Permission: EditAssociateOrder()
You can cancel an order on the order’s Detail page. Canceling an order deletes the order record from the system. You’ll have no record of the order after canceling.
To cancel an order:
-
On the order’s Detail page, click the Cancel Order button.

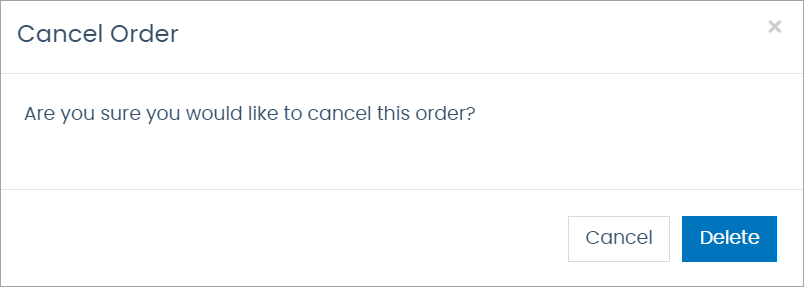
The Cancel Order pop-up window opens.
-
In the pop-up, click Delete to confirm the cancellation.
View an Associate’s Order History
Admin: Corporate Admin
Page: Associates > Search Associates > Associate Detail > Order History
URL: [CLIENTID].corpadmin.directscale.com/Corporate/CRM/OrderHistory?id=[ASSOCIATE_ID]
You can view the orders placed by an Associate on their Order History page.
To view order history:
-
In Corporate Admin, find and select an Associate to navigate to their Detail page.
-
Click the Order History tab.

The Order History will load based on the period selected with the Period Selector.
The columns displayed are:
-
Order Number - Number assigned to the order.
Select to view the full order details.
-
Order Date - Date order was placed.
-
Commission Date - Commission period that the order was applied.
-
Product - All products that were purchased in the order.
-
QV - Total QV earned during the order.
-
CV - Total CV earned during the order.
-
Total - Total amount paid for the order (includes tax and shipping).
-
Status - Order status (Paid, Refunded, Shipped, Waiting Payment).
-
Tracking - Tracking number assigned to the order.

Comments
Please sign in to leave a comment.