Inventory items are the products you sell to your Associates. Each item has a set of configurations. This guide demystifies the item creation process, taking you through the required and optional tasks.
Add Inventory Items
Admin: Corporate Admin
Page: Inventory > Products
URL: [CLIENTID].corpadmin.directscale.com/Corporate/Inventory/ItemList
Permission: ViewInventory()
-
Click the New Item button.
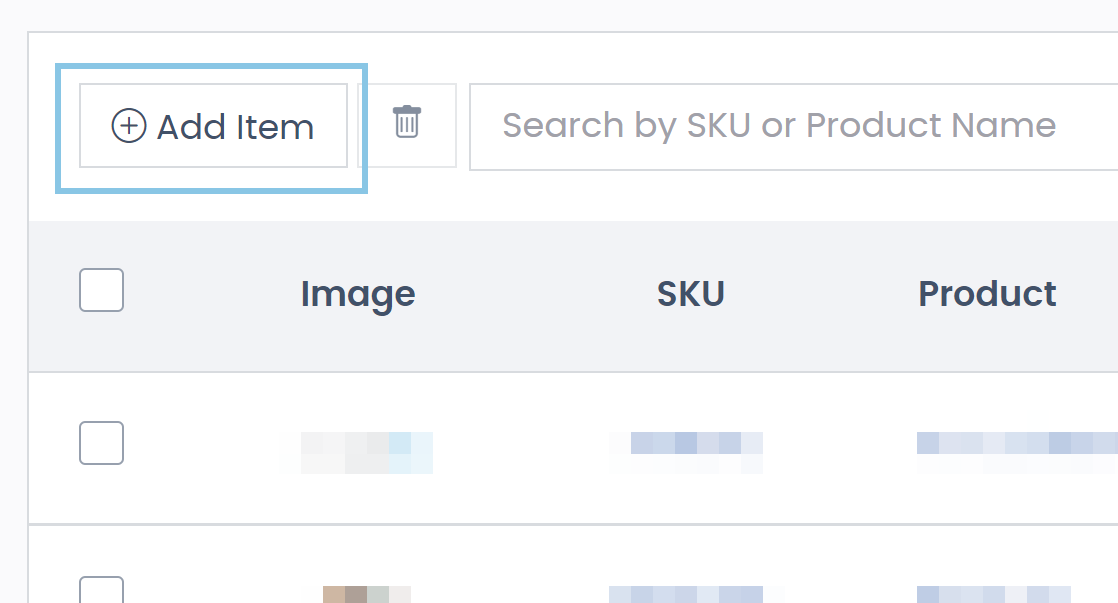
You navigate to the New Item page.
-
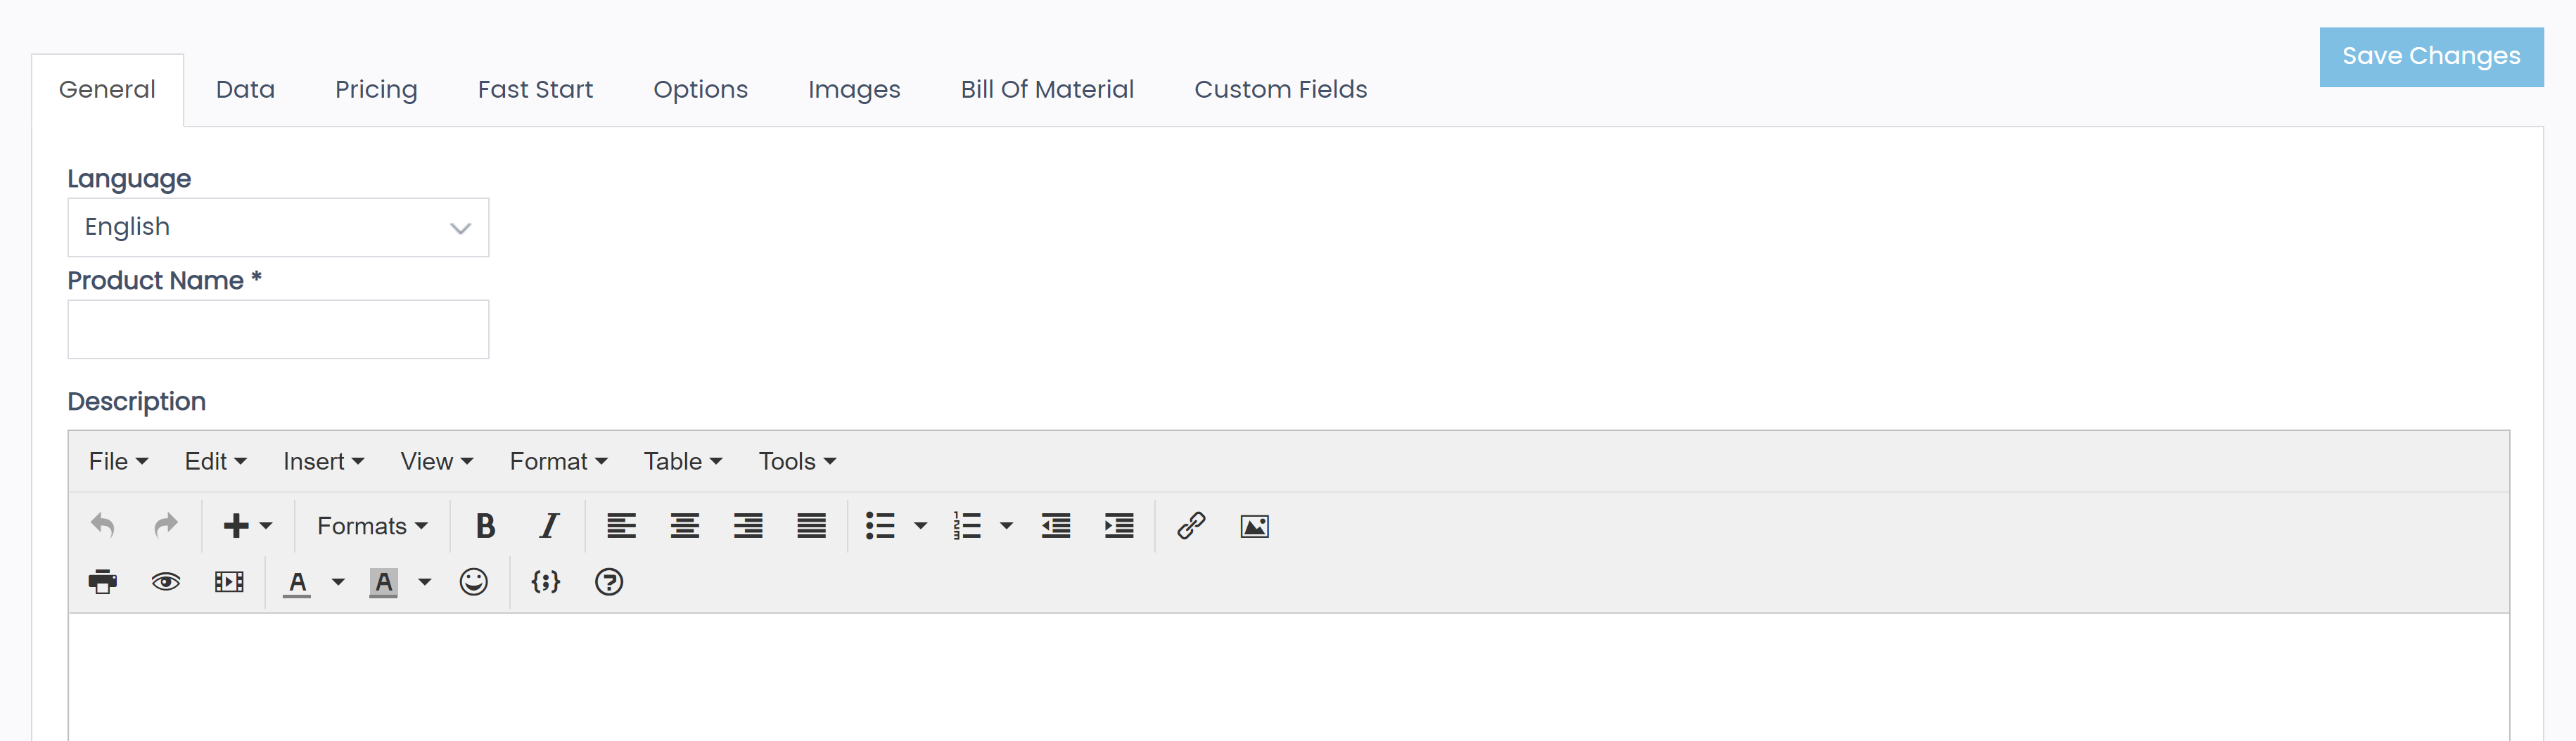
The New Item page is where you enter the specifications for your inventory item (referred to in other articles as the Item Detail page).
For each inventory item:
-
Add item options (for example, sizes, flavors, etc.) if applicable.
-
Additional settings:
-
Click Save Changes.
The item adds to the Inventory Items page.
-
To edit an item:
-
Navigate back to the Inventory Items page.
-
Locate your item in the list.
-
Click the SKU or Product name link.
-
Edit the configuration from the Item Detail page.
-
Comments
Please sign in to leave a comment.