If your company has recently experienced or is planning on a brand or name change, you’ll need to make sure the Platform reflects these changes. This guide will help you know wherein each Admin to check and make any updates efficiently when your company is officially rebranded.
Before You Start
When you are officially ready to make your changes, you’ll need to begin by Changing your Live Domain.
Preparing Assets
There are certain assets to prepare so you can complete your rebrand efficiently:
-
If you customized your Corporate Admin to have a unique color palette, update the color palette to your new branding.
-
Review your Email Templates, ensuring template names, logos, images, colors, and information match your new branding.
-
Update the details of any of your Inventory Items that reference your old branding. Be sure to also check an Inventory Item’s data, item options, and additional images.
-
Update any Banners that reference your old branding. This could be banner names, images, and Call to Action URLs.
-
Update any of your Documents and Media that reference your old branding.
-
Update any of your Training Courses that reference your old branding.
If you have access to the Stage environment, it’s recommended to prepare assets during the re-branding process.
The Corporate Admin assets can be prepared and then manually copied to Live when you are ready.
For the Web Office and eCommerce Admins, you can begin updating everything and then publish your updates to other environments.
Rebranding Process for Corporate Admin
Updates within the Corporate Admin will mainly take place in these sections:
Administration
-
Update your Company information in the Admins.
-
Review your Email Templates, ensuring template names, logos, images, colors, and information match your new branding.
-
Review your Corporate Admin Nomenclature, look for and update any references of your old company name or terms associated with previous branding.
-
If you customized your Corporate Admin to have a unique color palette, update the color palette.
-
Update any of your Associate Type Names that reference your old company name or previous branding.
-
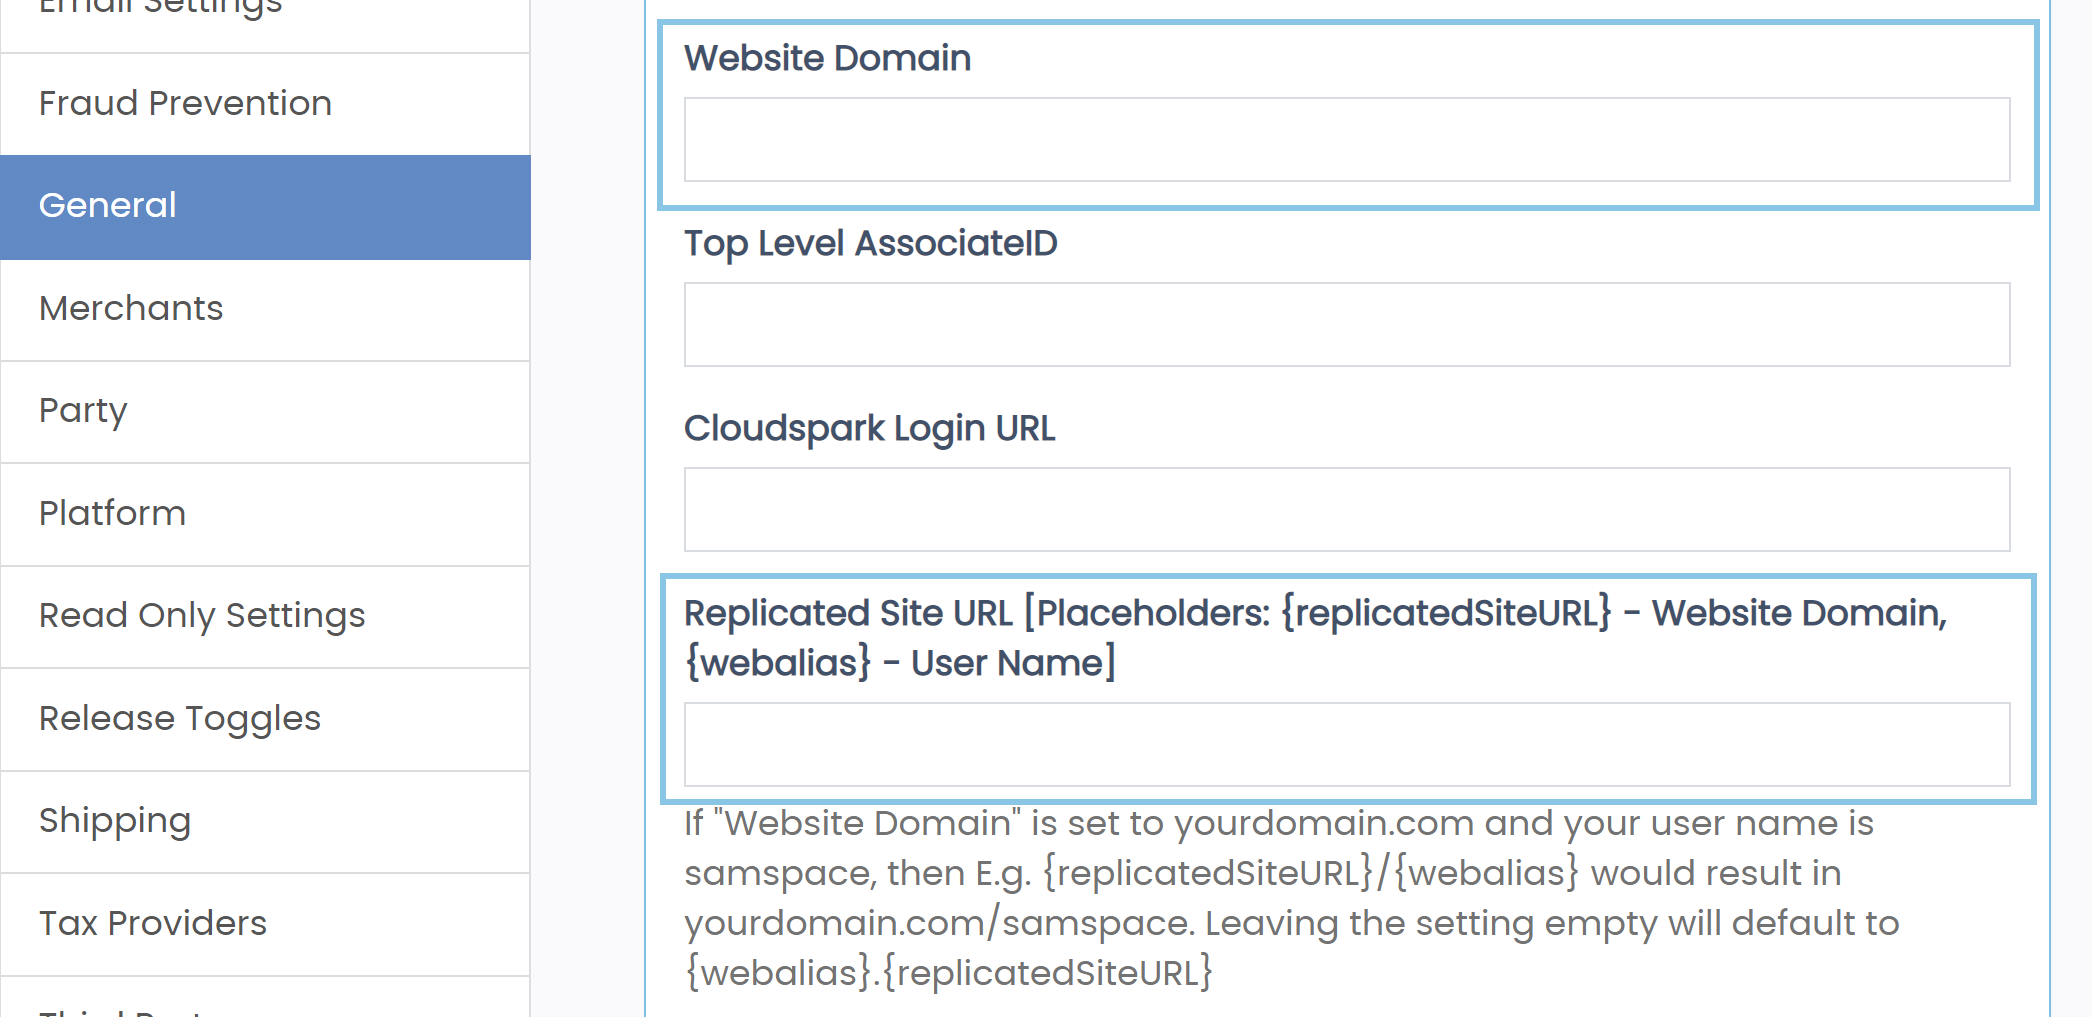
In Corporate Admin > Settings > Advanced Settings > General, update the Website Domain and the Replicated Site URL fields.

Find Associates
-
Update your Corporate Test Associate’s Information if it references your old branding.
-
Update your Default Webalias URL if it references your old company name.
Inventory
-
Review the details of any of your Inventory Items; update any references to your old company name. Be sure to also check the Inventory Item’s data, item options, and additional images.
Employees
-
Update any of your Corporate Role Names if they reference your old company name.
-
Update any of your Corporate Employee Names if they reference your old company name.
Rebranding Process for Web Office
Updates within the Web Office Admin will mainly take place in these sections:
Advanced Settings
-
Update your Company information in the Admins.
-
Update your Replicated Site URLs.
Content Management
-
Update any Banners that reference your old branding. These might be found in banner names, images, and Call to Action URLs.
-
Update any localized features that reference your old branding. An efficient way to accomplish this would be to export all translations to search for the localizations you’ve made.
-
Review your Training Courses and update any that reference your old branding.
-
Review your Documents and Media and update any that reference your old branding.
-
Update any Testimonials that reference your old branding through the name, tags, or My Story text field.
-
Update any Social Posts that reference your old branding through the name, Sharing Text, or images.
-
If needed, update any blocked words or phrases on the Community page to match your new branding needs.
Web Office Configuration
-
Edit and update any Navigation Link that references your old branding through its name or URL.
-
Update Corporate Contact Information.
-
Edit and update your Social Links.
-
Review and update any Rules on the Custom Notifications page that reference your old branding.
Code Customization
-
Update any Login Events that reference your old branding. These might be found in popup names or content added to the text editor.
-
Edit and update any Tracked Site URLs that reference your old company name.
Rebranding Process for eCommerce Shop
Updates within the eCommerce Admin will mainly take place in these sections:
Company Settings
-
Update your Company information in the Admins.
-
If you’re not using the DirectScale default Shop, update your integrated shop site.
-
Update any information in the Footer that references your old branding.
-
Update your eCommerce default Webalias URL.
eCommerce Shop Configuration
-
Edit and update any Shop Navigation Link that references your old branding through its name or URL.
-
Update your eCommerce Shop Branding Colors.
-
Update your eCommerce Shop Logos.
-
Update any of your Social Share Link URLs that reference your old branding.
Content Management
-
Update any Banners that reference your old branding. These might be found in banner names, images, Call to Action URLs, and Call to Action text.
-
Update any localized features in the eCommerce Shop that reference your old branding. An efficient way to accomplish this would be to export all translations to search for the localizations you’ve made.
Advanced Customization
-
Update any eCommerce Shop Login Events that reference your old branding. These might be found in popup names or content added to the text editor. For Redirects, check their names and URLs.
Comments
Please sign in to leave a comment.