Admin users are those individuals who are granted access to the Corporate Admin. Each admin user is granted access to Admin areas based on their "Role". Roles are related to the position an admin user has within your company (such as Customer Service Representative, Sales Manager, etc.).
Each Role is assigned various permissions that allow access to only the Admin's areas relevant to an employee’s Role.
Create and Assign Roles
Admin: Corporate Admin
Page: Settings > Company Settings > Admin Users > Manage Roles
URL: [CLIENTID].corpadmin.directscale.com/Corporate/Employees/Roles
Permission: ViewEmployee
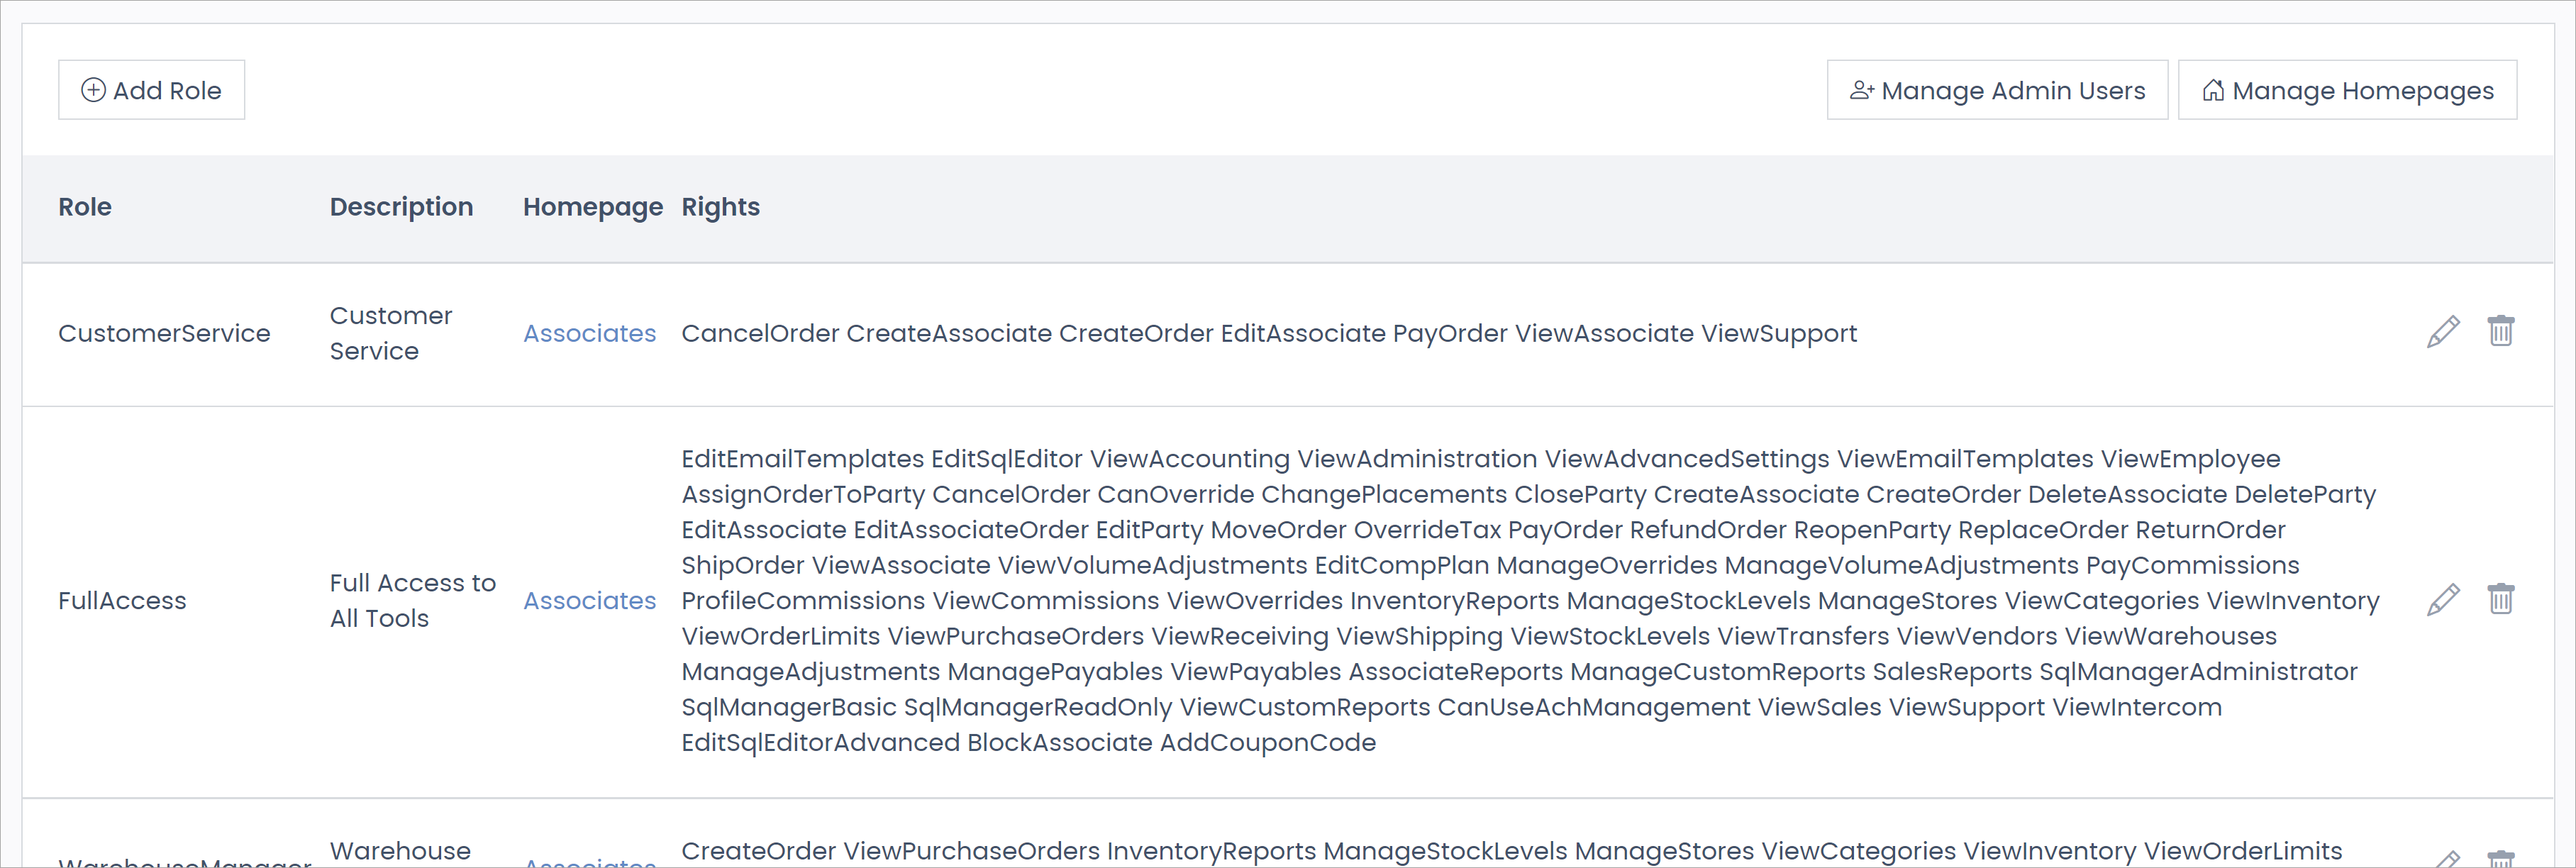
The Admin User Roles page is where you view and assign permissions to employee Roles or the position an employee has within your company (such as Customer Service Representative, Sales Manager, etc.). Using Roles allows you to tailor employee access to certain parts of the Corporate Admin. By default, you have a handful of pre-built Roles: Customer Service, Full Access, Warehouse Manager, and Standard User.
Adding a New Role
-
Click the + Add Role button.
The Role pop-up window opens.
-
In the pop-up, enter a Role name.
-
Type a Description of the user role within the company.
Such as Customer Service, Warehouse Manager, Standard User, etc.
- Select the Homepage for this role. This is the first page that admin users with this role will see when they log in to the Corporate Admin.
-
Enable the relevant Permissions.

-
Click Save.
Added Roles are sorted in a table that previews the Role’s name, Description, and enabled Rights/permissions.
Editing an Existing Role
-
Click the icon for the Role you want to modify to re-open the Role pop-up window
-
In the pop-up, edit the Role’s name, Description, and Homepage if necessary.
-
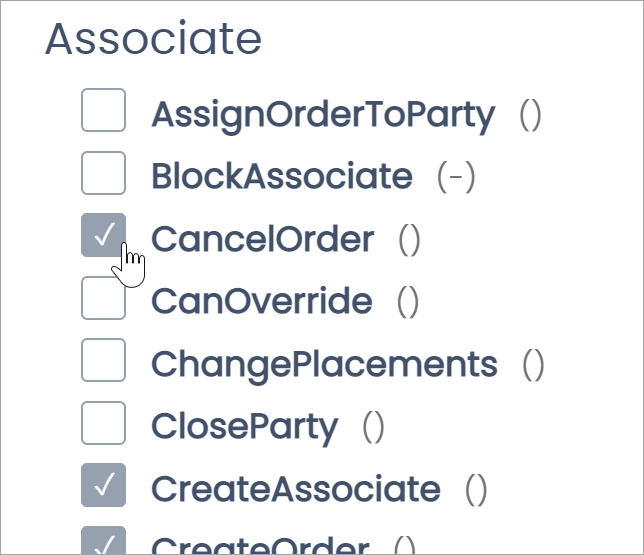
Enable/disable permissions to your preference by checking/unchecking the boxes next to each permission.
-
Click Save.
Permissions Definitions
Permissions are organized by the section in which they are relevant. Each box checked allows employees to access different features, such as editing an order or making changes to the email templates.
Administration
-
AddCouponCode - Allow a user to add coupon codes to a corporate order
-
EditEmailTemplates - Allow access to edit Email Templates
-
ViewEmailTemplates - Allow access to view Email Templates
-
EditSqlEditor - Allow access to the Data Editor to edit data in SQL tables
-
EditSqlEditorAdvanced - Allow a user to write and execute SQL statements with the Data Editor. This permission should be reserved for developers only
-
ViewAccounting
-
ViewAdministration - Allow access to the Administration section
-
ViewAdvancedSettings - Allow access to Advanced Settings
-
ViewEmployee - Allow access to the Employees section
Associate
-
AssignOrderToParty - Allow access to assign orders to party plans
-
BlockAssociate - Allow access to block an Associate
-
CancelOrder - Allow access to cancel orders
-
CanOverride - Allow access to override commissions
-
ChangePlacements - Allow access to make Tree Movements
-
CloseParty - Allow access to close a created party
-
CreateAssociate - Allow access to create an Associate
-
CreateOrder - Allow access to create an order in the Corporate Shop
-
DeleteAssociate - Allow access to delete an Associate
-
DeleteParty - Allow access to delete a created party
-
EditAssociate - Allow access to edit an Associate’s personal information
-
EditAssociateOrder - Allow access to edit an Associate’s order details
-
EditParty - Allow access to edit a created party
-
MoveOrder - Allow access to move an Associate’s order to another Associate for commission purposes
-
OverrideTax - Allow access to override the tax charged on an order
-
PayOrder - Allow access to mark an order as paid
-
RefundOrder - Allow access to process a refund
-
ReopenParty - Allow access to re-open a created party
-
ReplaceOrder - Allow access to replace an order
-
ReturnOrder - Allow access to generate a Return Merchandise Authorization (RMA)
-
ShipOrder - Allow access to mark an order as shipped
-
ViewAssociate - Allow access to view an Associate’s personal information
-
ViewVolumeAdjustments - Allow access to the Volume Adjustments page
Commissions
-
EditCompPlan - Allows access to edit compensation plans
-
ManageOverrides - Allows access to view, edit, delete, and add commission overrides
-
ManageVolumeAdjustments - Allows access to view, edit, delete, and add Volume Adjustments
-
PayCommissions - Allows access to payout commissions
-
ProfileCommissions - Allows access to create a commission profile
-
ViewCommissions - Allows access to view Commissions section
-
ViewOverrides - Allows access to view the Overrides page
Inventory
-
InventoryReports - Allows access to view Stock Levels reports
-
ManageStockLevels - Allows access to edit/adjust Stock Levels
-
ManageStores - Allows access to create, edit, and delete Stores
-
ViewCategories - Allows access to view the Categories page
-
ViewInventory - Allows access to the Inventory section
-
ViewOrderLimits - Allows access to view the Order Limits page
-
ViewPurchaseOrders - Allows access to view the Purchase Orders page
-
ViewReceiving - Allows access to view the Receiving page
-
ViewShipping - Allows access to view the Shipments page
-
ViewStockLevels - Allows access to view the Stock Levels page
-
ViewTransfers - Allows access to view the Transfers page
-
ViewVendors - Allows access to view the Vendors page
-
ViewWarehouses - Allows access to view the Warehouses page
Payables
-
ManageAdjustments - Allows access to create, edit, and delete commission adjustments
-
ManagePayables - Allows access to create, edit, and delete commission payouts
-
ViewPayables - Allows access to view the Payables page
Reports
-
AssociateReports - Allows access to view Associate Reports
-
ManageCustomReports - Allow access to create custom reports and to edit, delete, view, and export all custom reports
-
SalesReports - Allows access to view Sales Reports
-
SqlManagerAdministrator - Allow access to run, save, export, and delete their queries and run, export, and delete saved queries created by other users
-
SqlManagerBasic - Allow access to run, save, export, and delete their queries, and to run and export saved queries created by other users
-
SqlManagerReadOnly - Allow access to run and export their queries and to run and export saved queries created by other users
-
ViewCustomReports - Allow users to create, update, and delete their custom reports and to view and export all custom reports
Sales
-
CanUseAchManagement
-
ViewSales - Allows access to view the Sales section
Support
-
ViewSupport - Allows access to view the Support section
Add Admin Users
Admin: Corporate Admin
Page: Settings > Company Settings > Admin Users
URL: [CLIENTID].corpadmin.directscale.com/Corporate/Employees/Dashboard
Permission: ViewEmployee()
Adding an Admin User involves assigning a username and password the employee uses to login to the Admins and assigning their specific Role within the company. Roles have selected permissions that grant access to different areas of the Admins.
Before you start adding Admin Users, you need to create Roles with enabled permissions.
For more information, see Assigning Employee Permission Roles.
Employee Profiles

Admin User profiles display on the page in a grid format. To find an admin user, enter their name or username in the Search Bar.
Admin User profiles feature the user’s picture, display name or username, primary/secondary roles, email, and status.
Adding a New Admin User
-
Click the + New Admin User button.
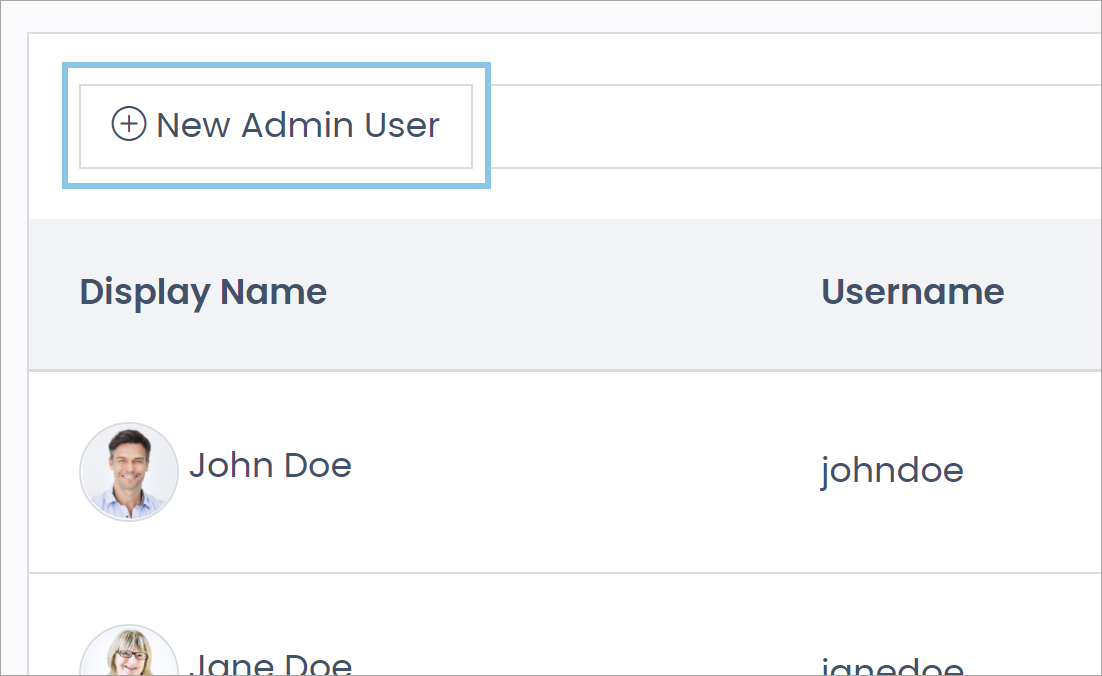
The New Admin User pop-up window opens.

-
Enter a Username for the new admin user.
-
Enter a Display Name.
-
Enter the user’s Email Address.
-
In the Locations/Department drop-down, use the search bar to select a location or department.
Corporate is the default.
-
Select a Role.
-
Select a Secondary Role.
Secondary Role may or may not match Primary Role. The system grants access to the combination of the selected Roles' permissions. If the Admin User has no secondary role in the company, then the Primary Role and Secondary Role selection should match. -
Enter a Password.
Password requirements:
-
One uppercase letter
-
Minimum of 8 characters
-
Maximum of 30 characters
-
One number
-
-
Re-type the password in the Confirm Password field.
-
Click Save changes.
Editing an Admin User Profile
You can edit a profile by clicking the edit button next to the corresponding user.. For more information, see Editing an Admin User.
Next Steps
-
To complete the process of adding an Admin User, the user must log in with the credentials to Web Office Admin (
[CLIENTID].admin.directscale.com). -
The system adds the employee to the Users and Role page under the USERS tab and assigns the Standard User Role. Standard User has no permissions by default.
-
Read more in Managing Web Office Users and Roles.
| The new employee won’t appear in Web Office Admin until they log in with their credentials. |
Create and Assign Web Office Admin Roles
Admin: Web Office Admin
Page: Administration > Users and Roles
URL: [CLIENTID].admin.directscale.com/#/Users
Role: Administrator
If you are an Administrator, you can manage Admin User access to Admins areas.
Adding a New Employee
-
Provide the credentials to the Admin User.
-
The new admin user must log in to Web Office Admin with the credentials.
The system assigns the employee the Standard User Role. By default, this Role has no permissions enabled.
You can use the Filter Bar to locate the employee by selecting a Role from the drop-down or searching with the Search Bar.
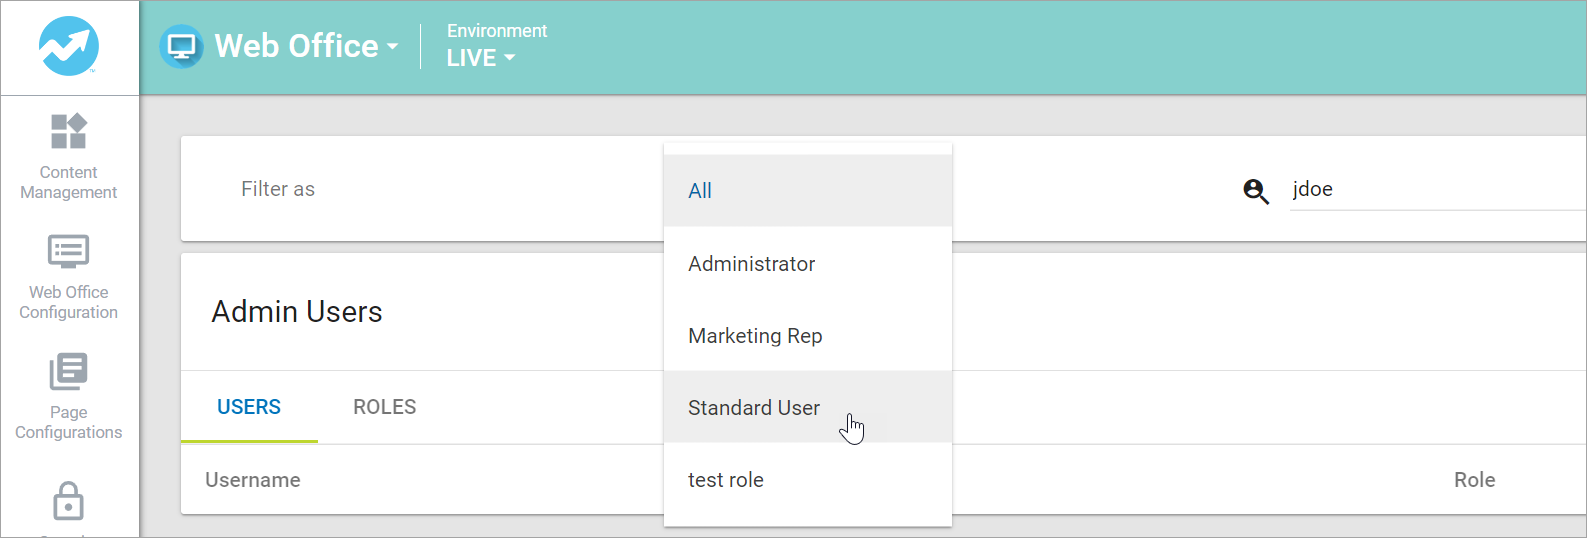
Once you locate an employee, you can manage their permissions or assign them a new Role.
Assigning a Role to an Employee
-
Select the USERS tab.
-
Click the icon next to the employee you want to assign a Role to.

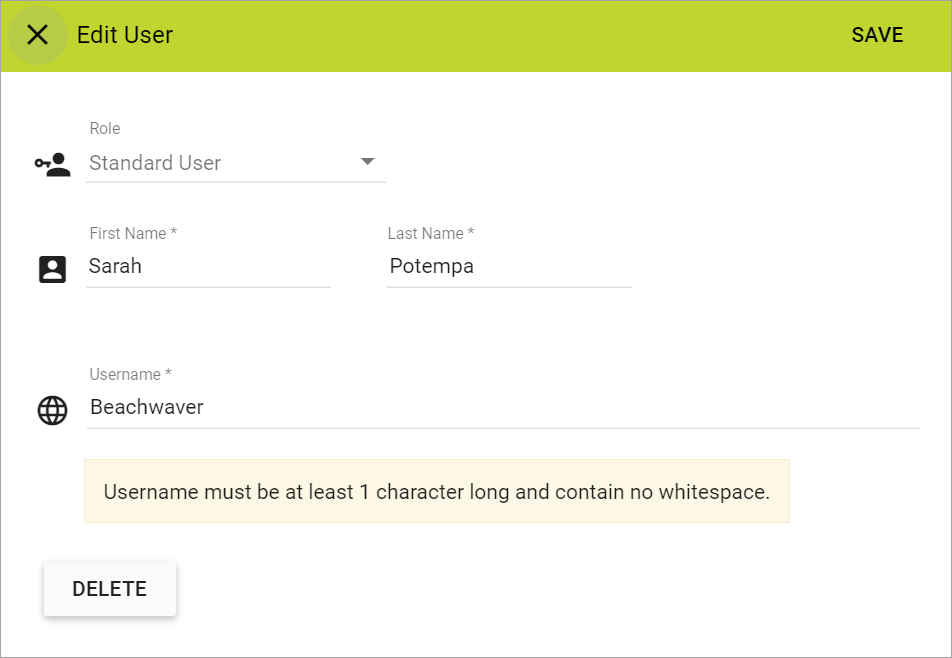
The Edit User pop-up window opens.
-
Select the appropriate Role for the employee.
-
Enter the employee’s First and Last Name.
The configuration won’t save unless you enter the First and Last Names. -
Modify the Username if necessary.
-
Click SAVE.
Removing an Employee
To remove an employee, click the DELETE button.
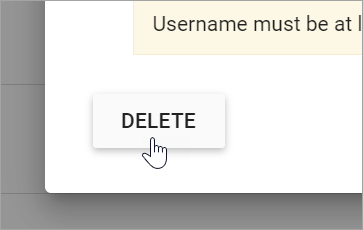
| This will not remove them from Corporate Admin. To remove their access to all systems, you must delete them in Corporate Admin. |
Creating a New Role
Administrators can create Roles and manage employee permissions to use or view specific tools. You can assign Roles to individual employees.
-
Click the ROLES tab.

-
Click the + Add Role button.

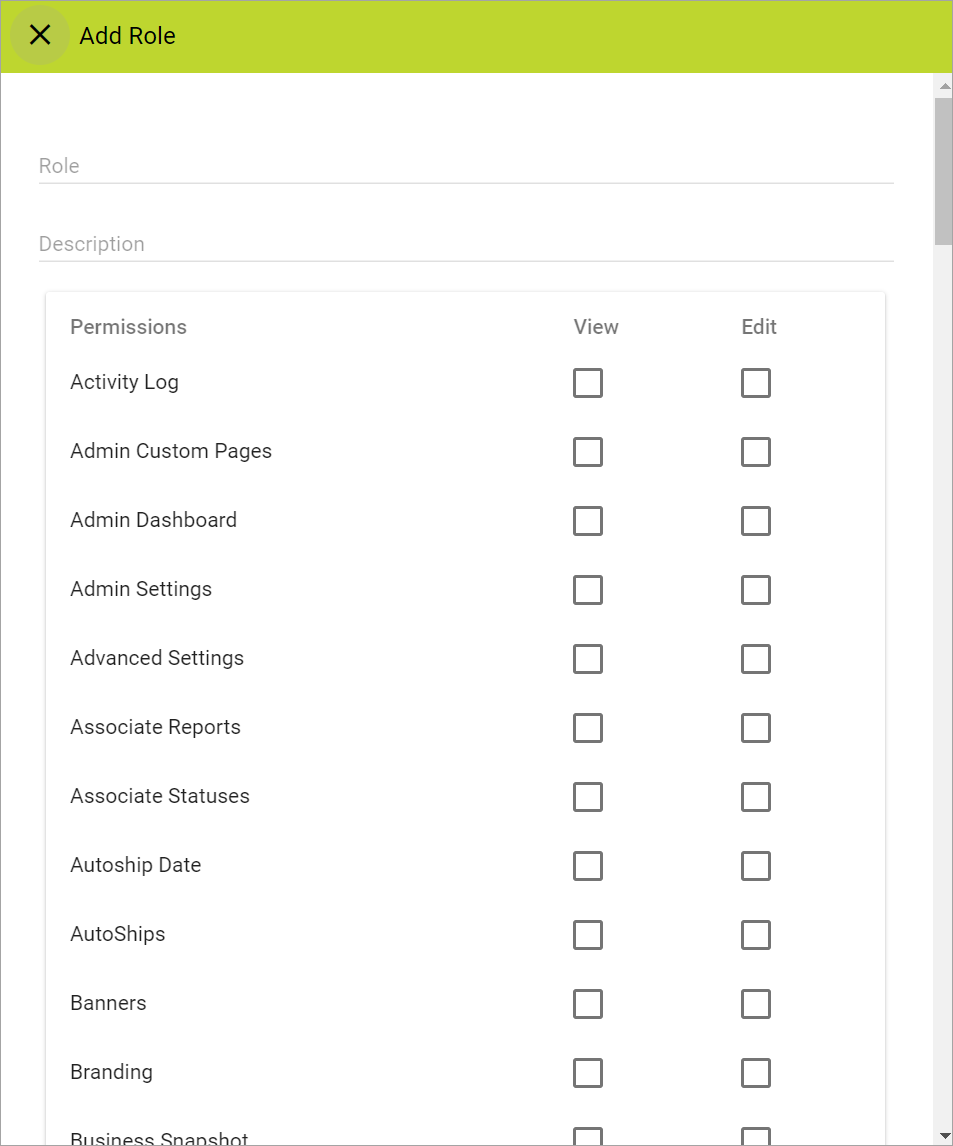
The Add Role pop-up window opens.
-
Give the Role a name.
-
Add a Description.
-
Select which Permissions will apply to the Role.
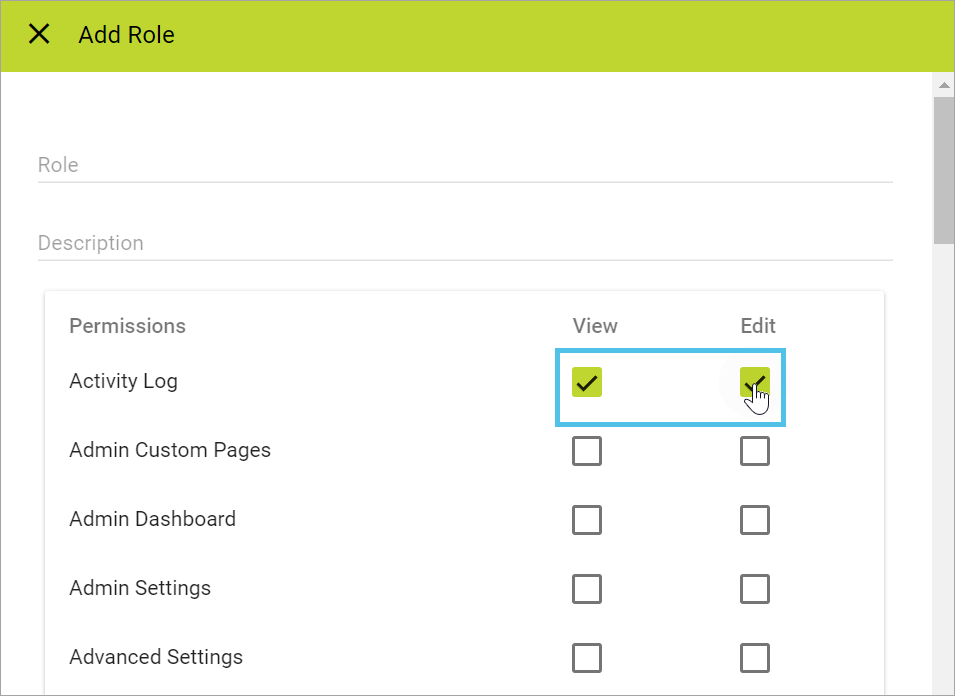
All the available Admin pages are listed.
-
View allows the employee to view the page but not edit it.
-
Edit gives the employee access to view and edit the page.
-
-
Click SAVE.
The new Role shows on the Role tab, and you can assign the Role to employees.
Troubleshooting
The Employee Updates Their Profile
Admin: Corporate Admin
Page: Click your username > My Profile
URL: [CLIENTID].corpadmin.directscale.com/Corporate/UserProfile
It’s easy for you and your employees to update their picture, username, email, or password.
Accessing Your Profile
-
In the top right corner of Corporate Admin, click your username.
-
In the menu, select My Profile.
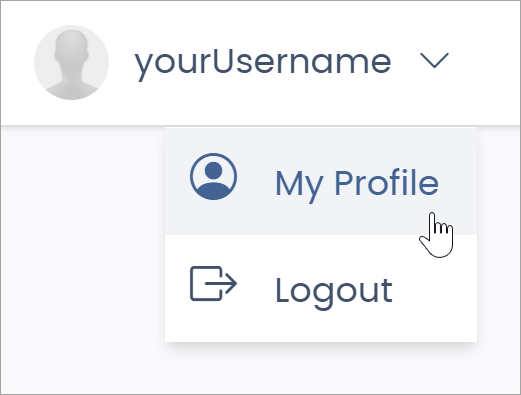
You’re now on the User Profile page.
| In Unified Admin, you can find your profile under the CorpAdmin module. Navigate to Employees > Your Profile. |
Uploading a Profile Picture
On the User Profile page:
-
Click the Change button.
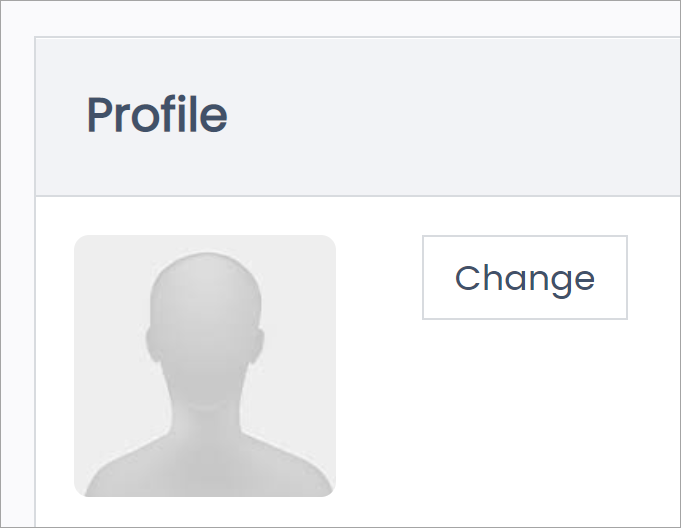
You navigate to the Edit User Image page.
-
Click the Choose File button.
Your operating system’s file finder window opens.
-
In your file finder window, navigate to and select your profile image.
-
Click Open.
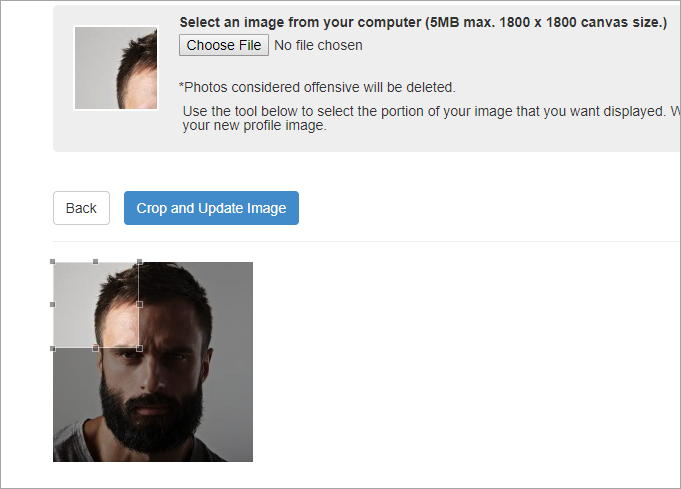
The file finder window closes, and the page updates with your selected profile image, ready to crop.
Cropping Your Profile Picture
-
With the Crop tool, drag the handles to select the appropriate portion of your image.

-
Click Crop and Update Image to set your new profile image.
You navigate to the User Profile page with your new profile image visible.
Updating Your Information
On the My Profile page:
-
In the Display Name field, type an updated user name.
-
In the Registered Email field, type your email address.
-
Click Update Details when finished.
You can also change your password.
Changing Your Password
-
In the Login section, enter your Old Password.
-
In the Enter New Password and Confirm New Password fields, type a new password.
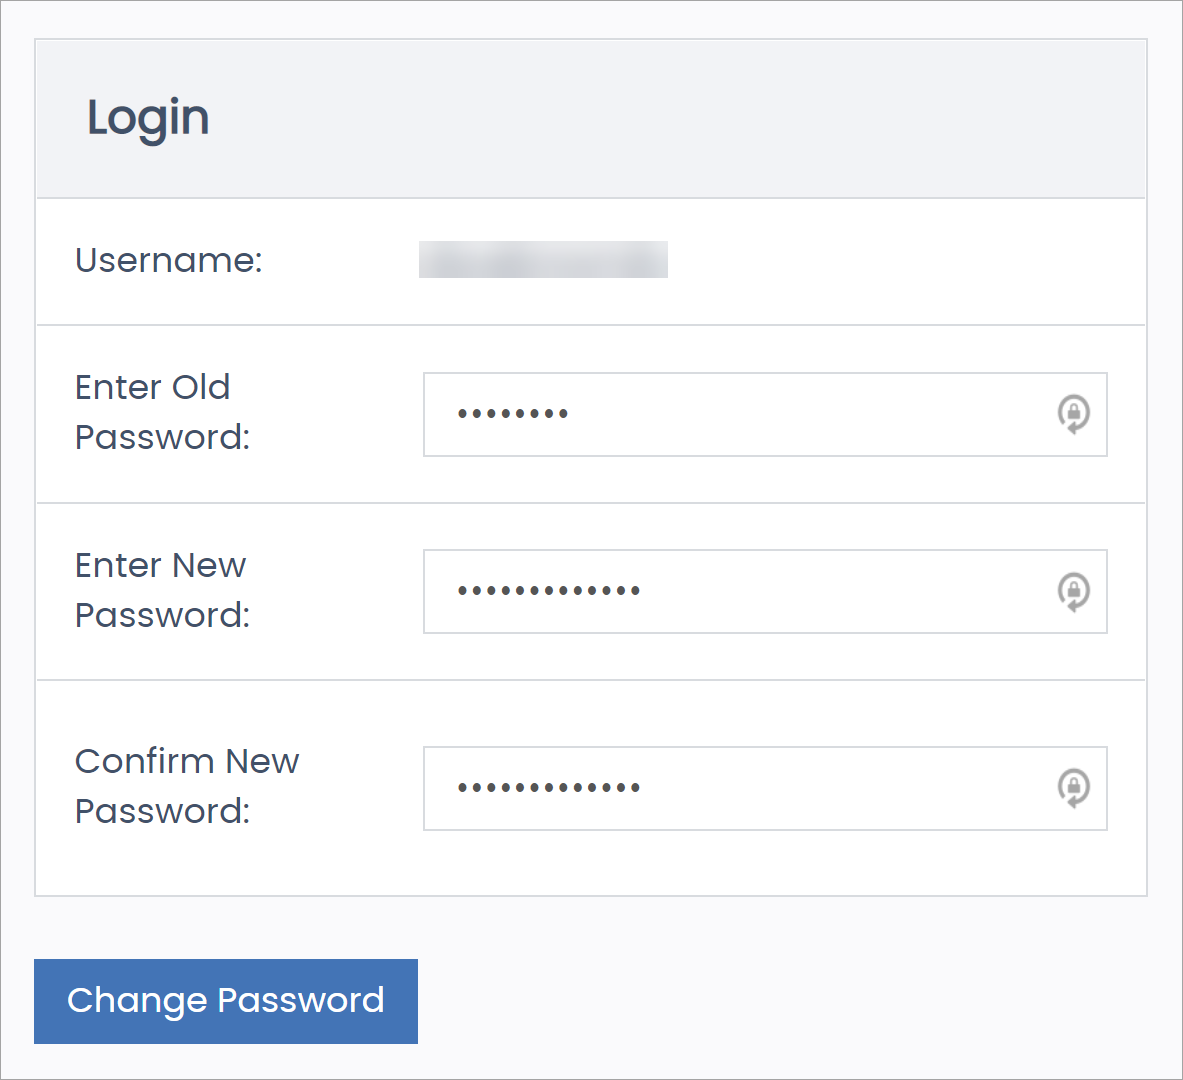
The default password requirements are:
-
Min. eight characters
-
Max. 30 characters
-
One number
-
One capital letter
-
-
Click Change Password.
Resetting Your Password
If you’ve forgotten your Admin password and can’t log in, you’ll have to request that another Admin User (with the proper permissions) change your password for you on the Admin Users page.
For more information, see Editing the Username and Password.
Comments
Please sign in to leave a comment.